Sunday, September 28, 2014

DIY Witch Legs

So I looked around for a tutorial online for how to make "Witch Legs" and they were all much more complicated than they needed to be! People using irrigation tubing, tube socks with sand and tape, mannequin legs, etc... I don't know about you, but I'm all for cheap and easy! So I tried it my way, fingers-crossed that it'd work out, and it did! I just love our witch legs...costing under $10, they took about 15-20 minutes to make! 


Materials needed:
-heeled, sparkly shoes (find them at a thrift store!)
-kids, knit halloween tights
-poly fil stuffing
-hot glue gun and glue
-scissors

(I originally thought I'd decorate the shoes with some pipe cleaner curlicues, but they ended up looking best without! That's why the pipe cleaners are pictured here, if you're wondering.)

First, stuff the tights with the poly fil. Leave about 4-5 inches at the top not stuffed.


Next, cut the legs off the tights, as far to the top as possible. Then tie a knot in each.


Position one foot into a shoe to have a good idea how it will set. Then, starting with the toes, glue each foot into the shoe. It's okay if the "foot" is smaller than the shoe...it probably will be because they're adult shoes and kid's tights. You can continue pushing the leg down into the shoe just past the heel and nobody will be able to tell the difference. 


And now for the fun part...find the perfect spot to display your witch legs and surprise the neighbors! If you have an overhanging porch on your house or a large bush in the yard, you can hide the ends underneath. There's about a half-inch gap between the siding of our house and the front porch that I was able to wedge the ends down into. A big flower pot set on top would work too! Get creative and have fun! Ding-dong the wicked witch it dead!!!


Wednesday, September 24, 2014

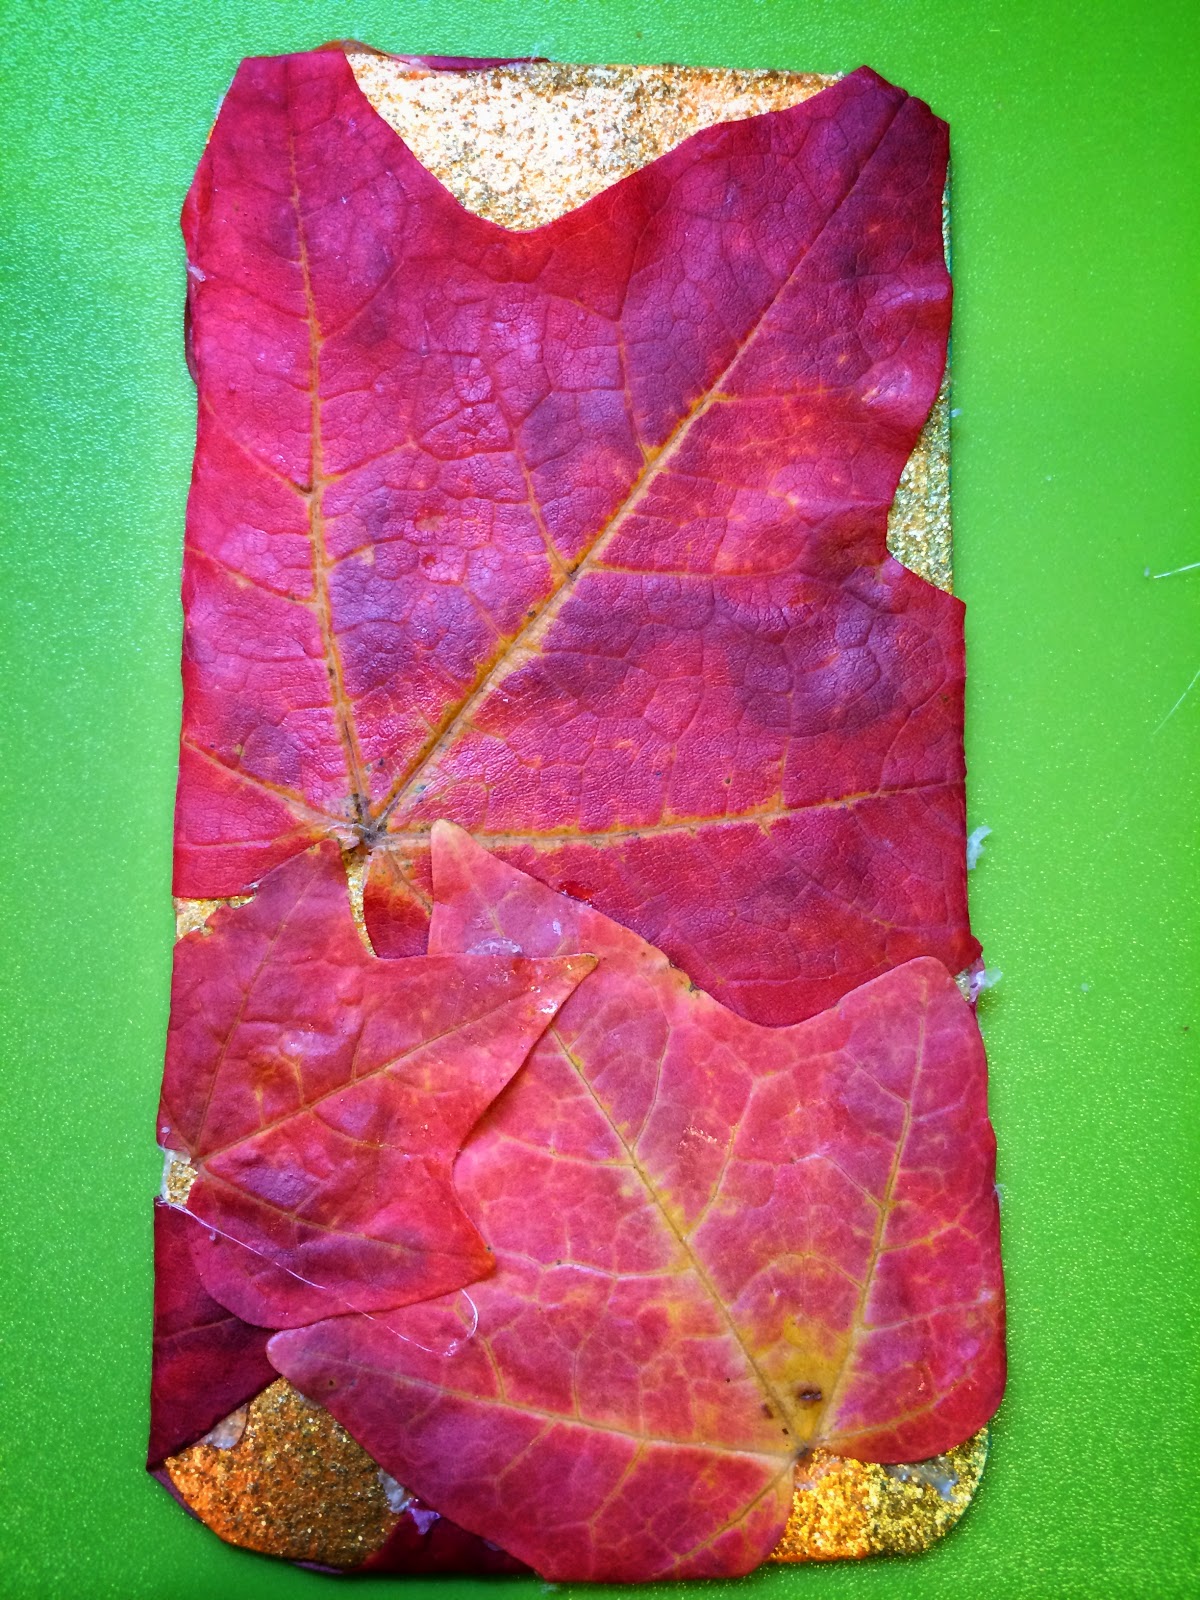
DIY Autumn Leaf Bookmarks

We are so, so excited in Our Beautifully Messy House that Fall has finally arrived and with it new projects and crafts to do! Nature offers so many free materials this time of year...from brightly colored leaves to acorns and buckeyes of all different sizes, not to mention weird and crazy seed pods. These Autumn Leaf Bookmarks were just too perfect for me to do this week with the new addition of our Little Free Library at our house, as well as all the leaves starting to change and fall in our backyard! 


Materials Needed:
-empty cereal or cracker box
-scissors
-gold acrylic paint
-brightly colored leaves
-hot glue gun and glue
-Mod Podge and brush

First, cut your cereal box cardboard into bookmark-shapes. I did some thin ones with square edges and a couple thicker ones with rounded edges...both turned out great!


After cutting your bookmarks, paint a couple layers of gold acrylic paint on each side. The paint job doesn't have to be perfect since the leaves will cover up most of the cardboard.


Once the paint has dried completely, it's time to glue on your leaves. First, prepare your leaves by cutting the stems off.


Start with one of your larger leaves, and apply the glue directly onto the bookmark. After you've pressed your leaf into the glue,  smooth it down as flat as possible, working from the center of the leaf out. And work quickly...hot glue dries super-fast! 


Once the central part of your leaf is attached, apply small dabs of glue to the edges and tips of the underside of the leaf and continue to smooth it flat. Fold over-hanging tips around and glue to the opposite side. Continue layering and gluing leaves on both sides.


Once all the leaves are attached, examine the bookmark and try to remove any little pieces of hot glue that may be visible. Now paint one or two coats of Mod Podge on each side of the bookmark. The Mod Podge helps preserve the leaves and their bright colors. It also makes the bookmark a bit more durable! 


Too easy, right? It makes such a cute, lil gift for a friend or neighbor! Check back for many more Fall crafts to come in the next couple months! Enjoy!


Sunday, September 21, 2014

Playing Monet

Ever since I was a kid and was given the book "Linnea in Monet's Garden," Claude Monet has been one of my very favorite painters. When L found my old book last week, I immediately thought of our melted crayon art and thought that we could try to make our own impressionist, water lily artwork. We used a different technique to melt the crayons this time, and we used materials found in the recycling basket for a "canvas." I was thrilled to be able to teach L a little bit about Monet and his phenomenal paintings...and in such a fun way too!


Materials Needed:
-empty cereal or cracker box
-acrylic paints
-crayons
-oven

First, I cut the cereal boxes to make nice little "canvases" to paint on. I left the side flaps intact, making the artwork easier to move while working, using the flaps as handles. You can cut them off at the end.


Next, looking at Monet's painting we talked about what colors to paint the background, representing the water. We chose two colors of green and two of blue to use. I let L paint the cardboard canvas however she pleased, encouraging her to cover the entire thing.


After the paint dried, it was time to create the lily pads and flowers. I made crayon shavings by simply cutting up crayons into little shavings or pieces. You can use a cheese grater if you like, but a sharp knife works just fine! (The crayon shavings pictured here are from another piece of work...hence the orange, yellows and reds. For Monet's water lilies, I made shaving from three different green crayons, as well as some pinks, yellows and white.)


Now, using one color at a time, L sprinkled the crayon shavings onto her canvas. We started with the greens for the lily pads, putting the shavings into little piles, and followed it with the pink and white for flowers.


Next is the really fun part...melting the crayons, transforming the artwork! With the oven set to 200 degrees F, I lay the cardboard on a cookie sheet and placed it in the oven for 5 minutes. L loved watching the crayons melt!


Once the shavings were all melted, we removed the artwork from the oven to cool. Be very careful not to tilt or shake the artwork at this point...for the first minute or two before the melted crayon cools, it's very liquid and will drip or move-mix around. After a couple minutes, the crayon is dried and the art ready to show off and display! 


I hope you have as much fun with this one as we did! If you have a favorite impressionist painter, other than Monet, I'm sure the melted-crayon technique would work to mimic their work too! Enjoy!

Wednesday, September 17, 2014

DIY Wind Chimes

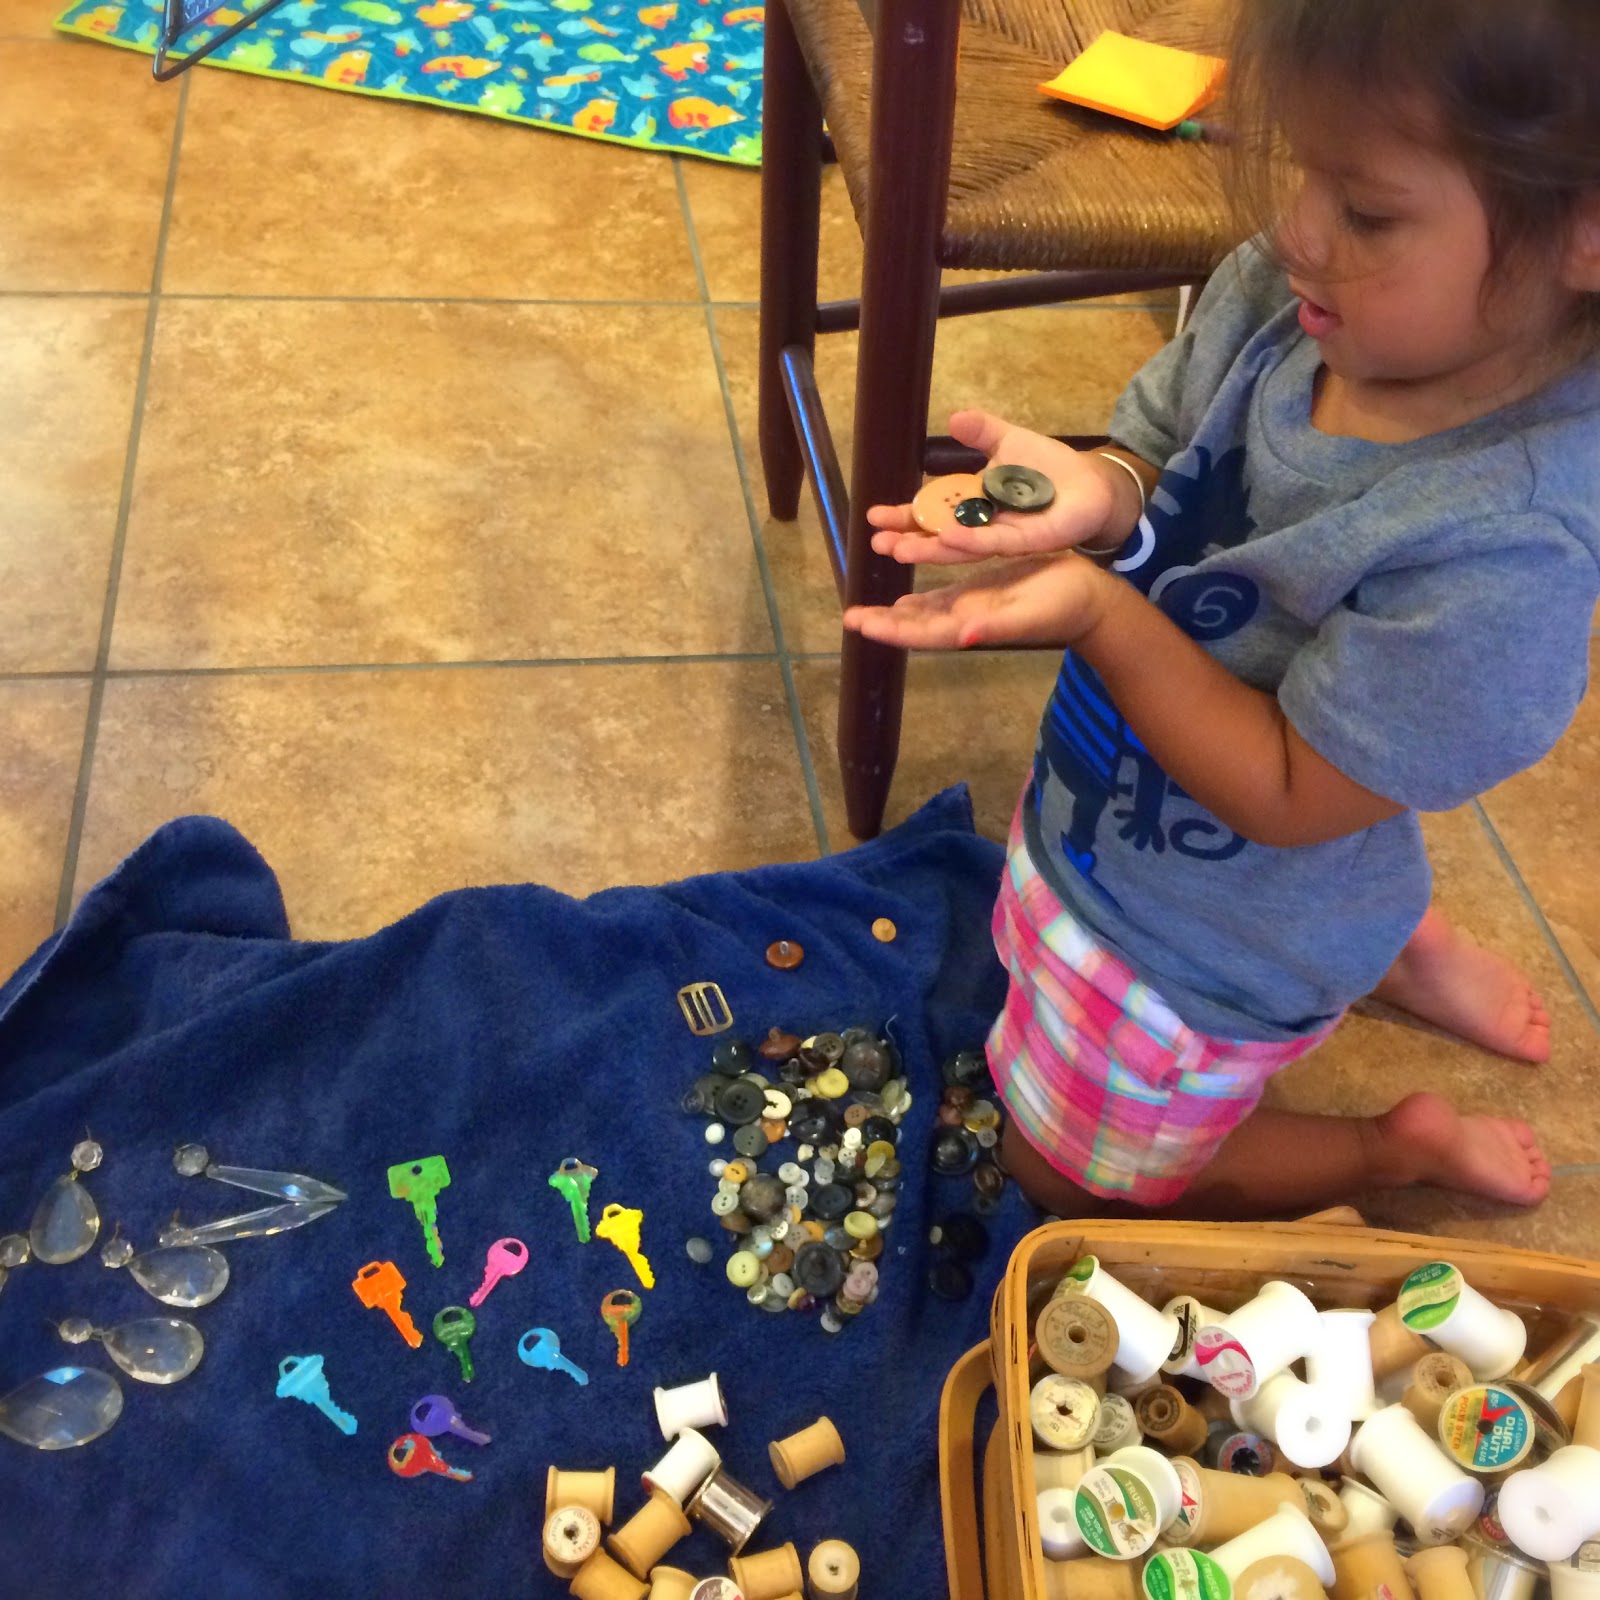
I love finding new uses for old things and I'll take any excuse to peruse an antique store, so making these wind chimes was the perfect project for L and me! Like most of our home decor projects, L couldn't help with everything, but I let her help where she could...she painted all the keys and picked out all the buttons we used. Your wind chime doesn't have to include everything ours does, but hopefully it inspires you to make one with things you do have around the house!


Materials for Wind Chime #1:
-antique cheese grater
-old buttons
-keys
-an old prism
-sturdy thread or cord
-acrylic paint
-glossy sealant spray


Materials for Wind Chime #2:
-antique, silver candy dish
-old buttons
-keys
-an old prism
-sturdy thread or cord
-acrylic paint
-glossy sealant spray

For Wind Chime #1, which we made for my younger brother, I painted an old cheese grater that I had found at an antique store. While I painted the cheese grater, L painted a bunch of old keys. Once the keys dried, we turned them over and painted the other side different colors. After both sides were painted and dried, I sprayed the keys and the cheese grater with a glossy sealant. It gives the items a more finished look and will help them stand up to the weather a little better too.


First, figure out how you'd like your wind chime to hang...for instance Wind Chime #1 was hung on a slight angle, so the painting was visible. Wind Chime #2 was an antique candy dish hung upside-down. Hang the wind chime between two chairs while you work on it. This makes fastening all your keys and buttons soooo much easier!


To assemble the wind chime, we first laid out all the materials we had on hand...buttons, keys, old thread spools, and prisms. From here we decided what we wanted the wind chime to look like and started piecing it all together. It's a great opportunity to talk about patterns with your little ones!


After everything was strung-up and fastened the way we liked it, I put a spot of crazy-glue on each knot and cut the extra strings. Now for the fun part...ready to wrap it up and give it away as a gift or find the perfect spot for your wind chime to hang! What will your wind chime look like?