Showing posts with label valentines day. Show all posts

Sunday, February 15, 2015

DIY Chocolate Orange Sugar Scrub

As we move towards Spring, I keep thinking of citrus, lemon-blueberry muffins, lemonade and sunshine! Unfortunately though, we're not quite there yet...wind chills today in the negative digits! I think it was 4 degrees out when we woke up this morning! Brrr... And let me tell you, this cold weather is not helping the chocolate addiction I acquired over the holidays. So with all that stirring around inside of me, I dreamed up this CHOCOLATE ORANGE SUGAR SCRUB and it is divine!!! Just what I needed today! This would be great to use in the bath or shower!


Ingredients:
1 cup white sugar
1/2 cup brown sugar
2 Tbsp cocoa powder
3 Tbsp olive oil (almond oil or coconut oil)
~15 drops (1/2 tsp) Sweet Orange oil
1-2 tsp orange zest (optional)


First, mix together the sugars with a fork. If your brown sugar is clumpy, try to mix until most of the clumps are gone.


Mix in the 2 Tbsp of cocoa powder.


Next, stir in the olive oil one Tbsp at a time. Some olive oils are pretty potent...if you have almond or coconut oil on hand you can certainly substitute that for the olive oil. I'm all about using what I already have though...and it turned out great!


Once the olive oil is added, stir in some Sweet Orange Oil. (I found mine in the organics section of our grocery store.) To really bring the aroma up a notch, add about 2 tsp of orange zest to the scrub! Now it is certainly good enough to eat, but even better to exfoliate your skin with in the bathtub! The sugars will scrub away any dry, dead skin and the oil will leave you with just the right amount of moisture. 


Spoon your concoction into 2 jars...one for you and one for a friend! Enjoy!!!


Wednesday, February 4, 2015

DIY Cereal Bird Feeder

Being that February is National Bird-Feeding Month, I thought we'd make and share a few homemade, bird feeders with you over the next few weeks! This DIY CEREAL BIRD FEEDER may be the quickest and easiest one to make! I remember making similar ones when I was in grade school. So cute! 


Materials needed:
-pipe cleaners (or other thin wire)
-O-shaped cereal (non-sugary)
-ribbon


First, bend the wire in half gently, making a V-shape.


Have your little ones string the cereal onto the wire, as you would with beads. Leave about 1/2 - 1 inch of the wire showing at the ends.


Twist the ends together and shape into a heart. 


Tie some ribbon in the middle of your bird feeders and hang them outside for the birds! 


Notice the hearts are rather light, so hang them up in a bush or against a tree trunk...someplace protected from the wind. Enjoy! 

Check out our DIY TIN CAN BIRD FEEDER as well!

Sunday, February 1, 2015

It's Tea Time!!! Tea Party Ideas

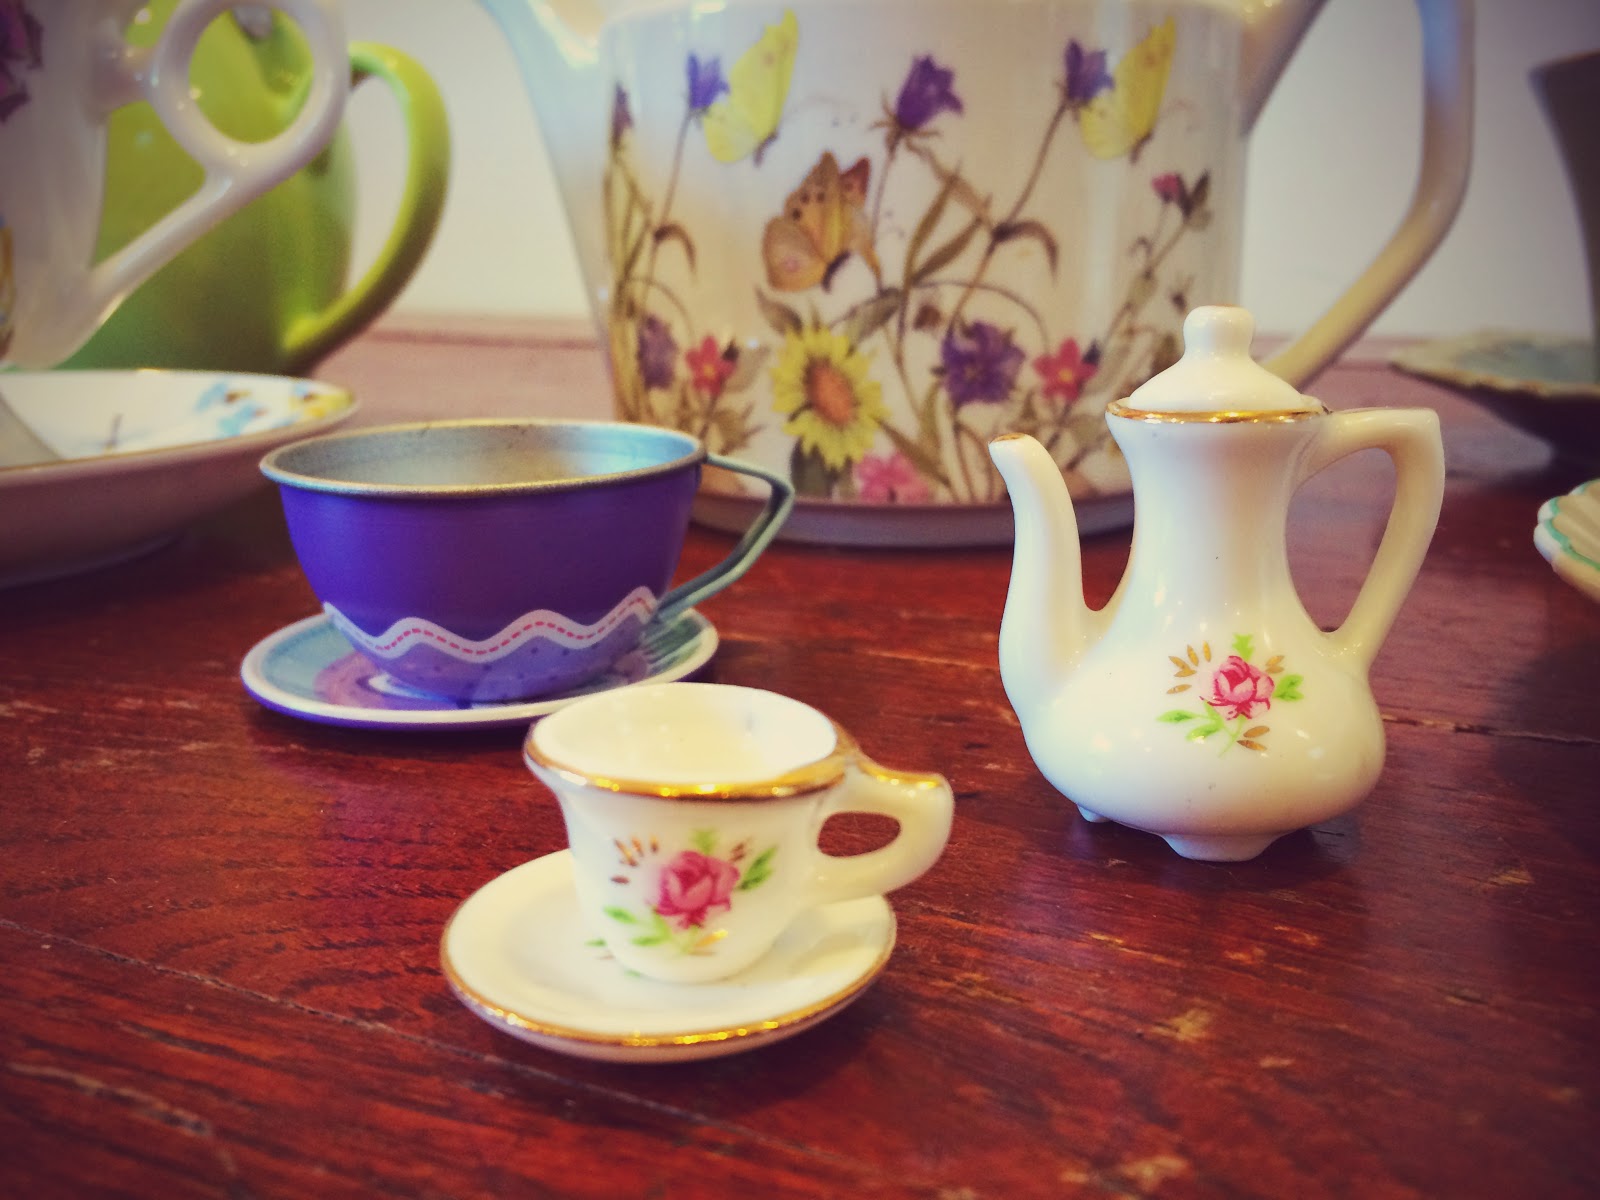
Over at Our Beautifully Messy House, we love a good TEA PARTY! We have breakfast tea parties and mid-afternoon tea parties, tea parties in a teepee outside, and tea parties on the kitchen floor! We have tea parties with friends and tea parties with fairies! There is only one rule in our house when it comes to having a tea party: Everyone must wear a hat! It doesn't matter if you are still wearing your pajamas, everybody starts the tea party with a hat! 


If you're planning ahead, you can make some "Floppy Newspaper Hats" for tea time! (DIY here.)


Tea Ideas: Obviously you can steep any flavor of tea, but with little kids you may want to get creative! Sometimes I pour L half a cup of Blueberry Wild Child Tea, fill the rest with milk and she drinks it out of her fancy tea cup with a straw. Anything goes! Kids can drink water, milk, juice mixed with water, or hot chocolate...if it's in a tea cup, it's tea! 


Tea Cups: Tea cups don't have to be fancy, but fancy is fun! The best place to find tea cups is at antique stores, yard sales and flea markets. Such places are filled with tea pots and cups and, at only a couple of dollars a piece, it's no big deal if one breaks. 


Tea Party Treats: For breakfast tea parties, we make PANCAKE SANDWICHES with cream cheese and strawberry jam layered in-between two pancakes. To make them extra fancy, cut the pancakes with a heart cookie cutter and let the red, strawberry jam shine through! 


These Strawberry Jam Scones are perfect for tea time! Get the recipe here.


No-Bake Acorn Treats are fun and yummy for your tea party outdoors! Get the quick and easy how-to here.


If you're just throwing together a tea party last minute, anything will do...a granola bar cut into bites, muffins, a bowl of popcorn. Your kids will love it! 

A Tea Party for Fairies


If you don't have fairies and fairy furniture, you can easily make some!


Acorn Cap Treasures (aka Fairy Hats!)

Use cheerios to make FAIRY DONUTS. If you have a microwave, simply place one chocolate chip on top of a cheerio and zap it for a few seconds. Top with mini-sprinkles! We don't have a microwave and melted the chocolate chips in a double-broiler on the stove-top and it worked just as well! For powdered fairy donuts, dip the cheerios in some maple syrup and then toss around in some powdered sugar. Silly, sweet, and so much fun!!! 


If you don't have a mini-tea set, you can use buttons for fairy plates and thimbles for the tea cups. Have the tea party on top of a box or a colorful pillow! 


Please don't think that if you have little boys that they can't partake in your tea party fun! Everybody loves a party and if you must, call it a "picnic!" Enjoy!!!


Saturday, January 24, 2015

10 Non-Candy Valentine Ideas!

Valentine's Day is just around the corner...time to spread a little love and happiness! Instead of giving out candy this year, why not make some NON-CANDY VALENTINES for friends and loved ones? Here are a few ideas for your kids' friends and for yours...you may even want to make a "Thumbprint Necklace" for yourself! Most of these are really quick and easy to make too! Enjoy!!!


Just click on the link under each picture for the "how-to!"

For kids:


For adults:


Wednesday, January 21, 2015

Melted Crayon Rocks

I remember doing this craft as a kid and how much I loved it, so today I introduced MELTED CRAYON ROCKS to L. And of course, she loved making them as well!!! It was the perfect way to spend this snowy afternoon! 


This is definitely a craft to do with older kids, as the rocks get extremely hot! L was just old enough at 3 yrs of age. I constantly reminded her not to touch the rocks and kept a close eye at all times! 

Materials needed:
-rocks
-crayons
-tin foil
-towels, cardboard, or newspapers
-oven mitt or tongs
-oven


First, clean and dry the rocks if there's any dirt on them. Lay them out on a cookie sheet and place in the oven, set at 350 degrees F for 10 minutes. After 10 minutes I turned the oven off, leaving the rocks in there until we were ready to use them. I removed one rock at a time as we went along. 


As the rocks are heating up, remove the paper from some crayons. If you use a knife to carefully cut down the side of the paper, it comes off in one nice, big piece. Prepare your work area with towels, cardboard or newspapers beneath a sheet of tin foil. 


When you are ready to create, remove one rock at a time using an oven mitt or tongs. Obviously, be very careful...you don't want to burn yourself or have the rock fall, roll and burn anyone else. 

Gently press crayons onto the rock and watch the wax melt down the side. Sooo relaxing and mesmerizing!!! You can draw pictures, designs or make them completely random! It's a fun craft to experiment with! 


MELTED CRAYON ROCKS would make sweet little gifts for family and friends...a fun surprise to leave in your neighbor's garden or on their front steps! I think we'll be making more this coming month to hand out on Valentine's Day, because LOVE ROCKS!!! Enjoy!!!