Showing posts with label outdoor crafts. Show all posts

Wednesday, September 2, 2015

DIY Toy Sail Boat

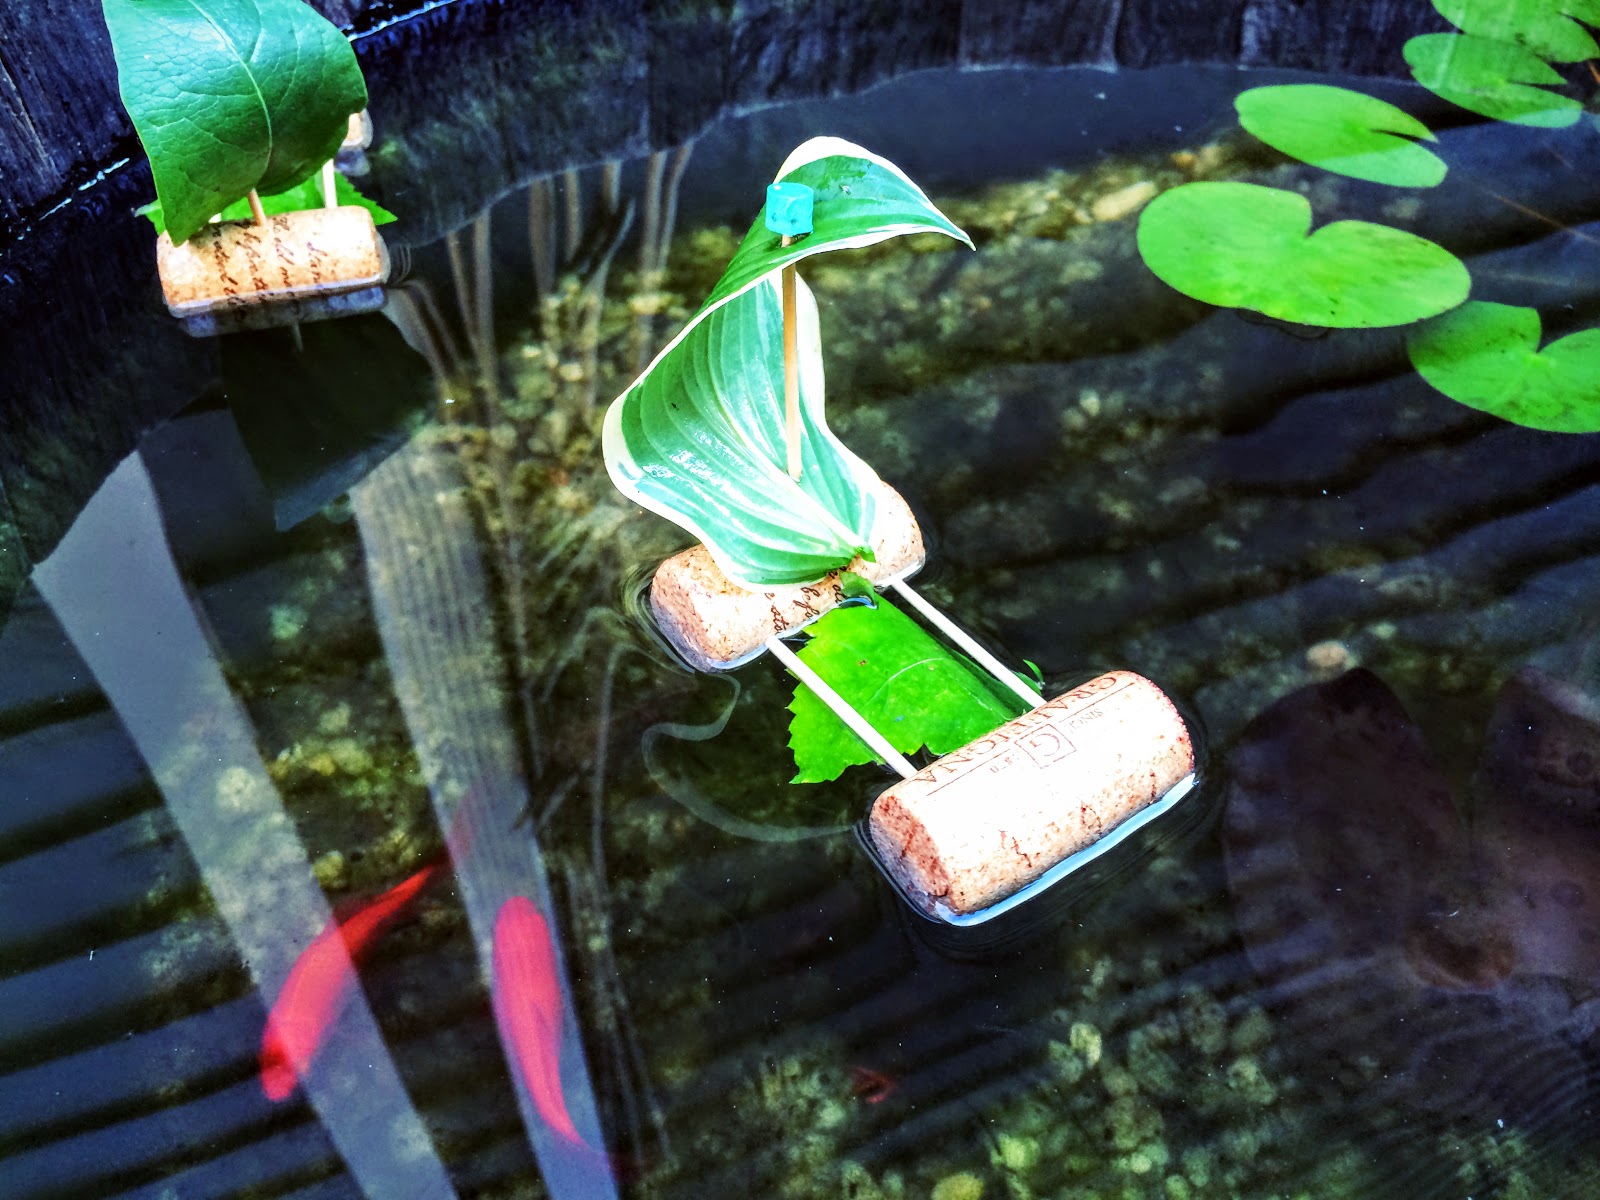
One evening this summer, while we were getting ready for bath time, L pulled a wine cork out of her pocket. She had been saving it all day to float it around and play with in the bath tub. That got me thinking...I knew with a few toothpicks and some leaves we could turn her wine cork into a little sail boat! Leaves work great for this project, because they're naturally water-proof and easily replaceable! 


Materials needed:
-2 wine corks
-4 toothpicks
-2 leaves
-old pencil
-scissors


Take one of the wine corks and stick three toothpicks into it, all pointing in the same direction in a line.


Next, push the second wine cork into the opposite ends of the toothpicks. 


Stick one more toothpick vertically into the middle of one of the corks. 


Find a medium-sized leaf and weave it through the bottom toothpicks. We used a balloon flower leaf. This step isn't necessary, but it makes a nice lil bed for anything you may want to sail on top...a bug, a rock, a fairy friend.


Next, find a slightly larger leaf and thread it onto the vertical toothpick, making a sail. We found the hosta leaves to work best for this, though any thick and sturdy leaf will do! 


To make the sail boat safer for little hands, twist an eraser off the top of an old pencil. Cut it in half with scissors and push it onto the top of the sail. 


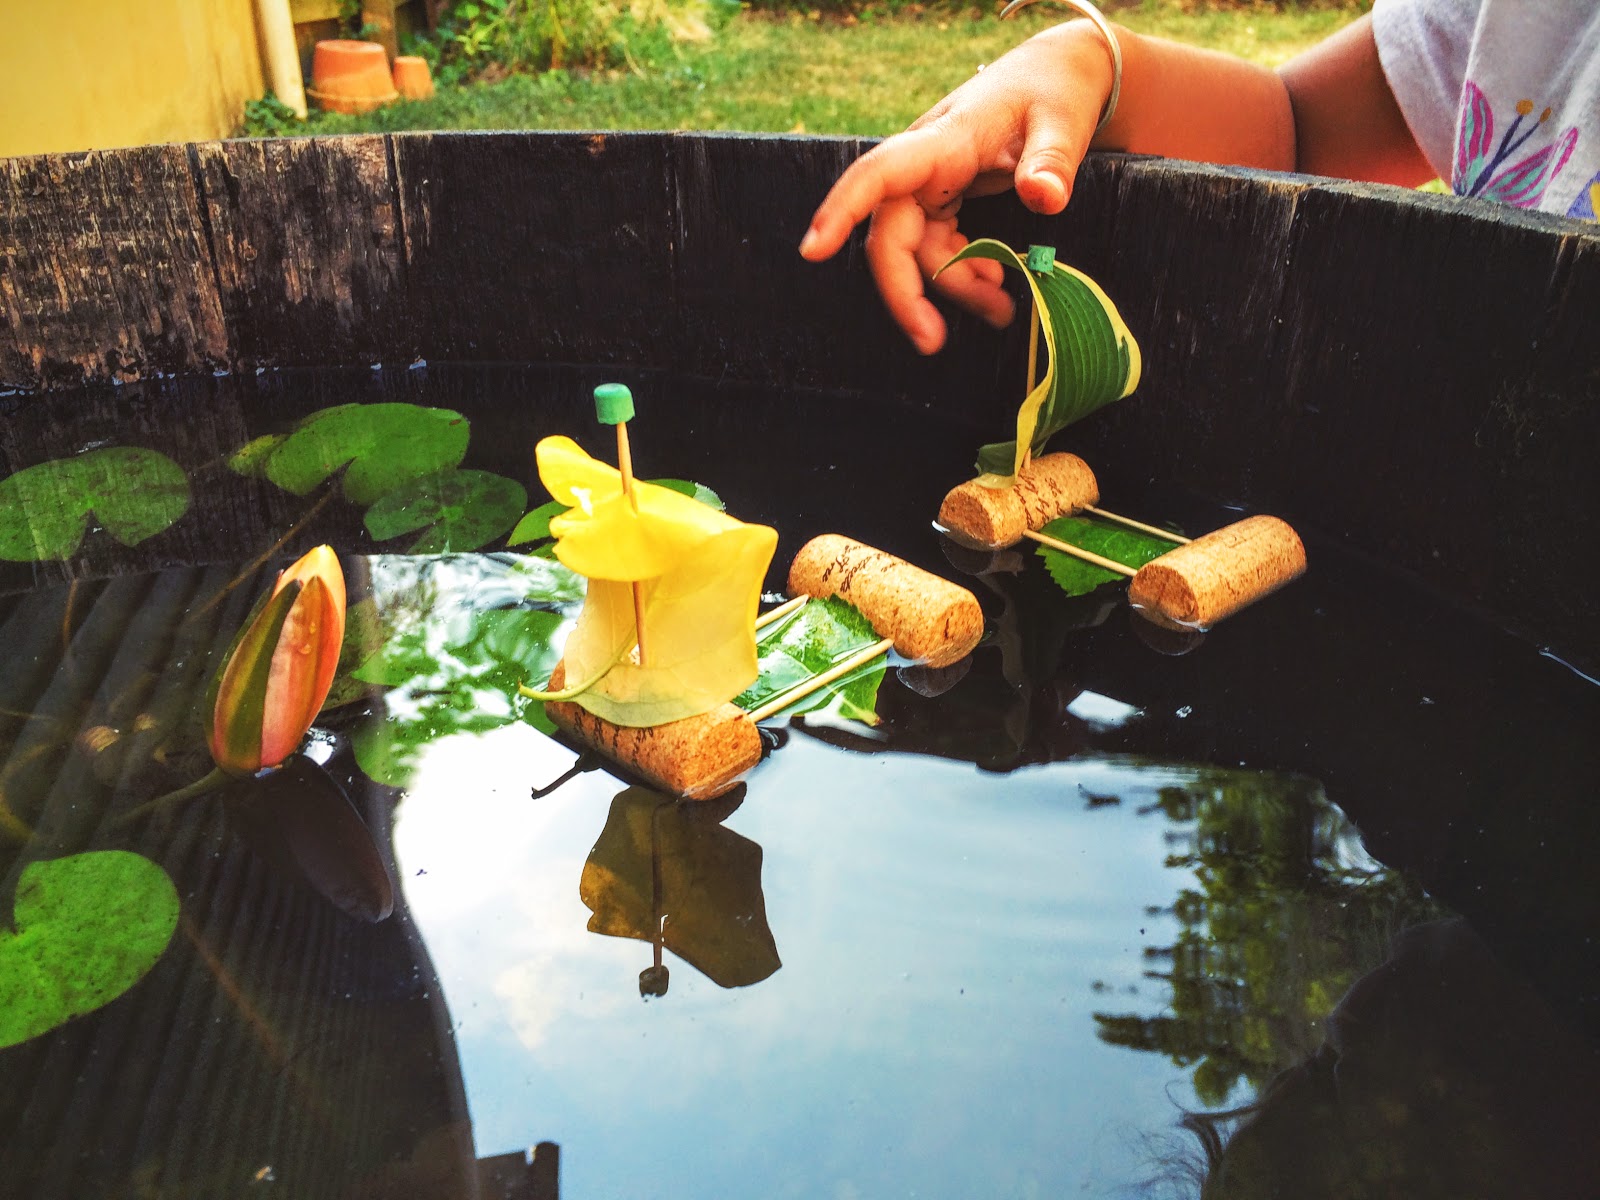
Now, time to play! L had hours of fun blowing her boats around our rain barrel! 


The boats may not seem like much, but ours withstood some submarine plunges under the water and lasted through two nights of bath time play! Tomorrow, we'll replace the leaves and keep sailing!


Enjoy!!!

Tuesday, August 18, 2015

White Picket Fairy Fence

Well, I couldn't show you how to make a Craft Stick Fairy Door without telling you how to make a WHITE PICKET FAIRY FENCE to go with it! The fence is simple to make and looks adorable out in the fairy garden! 


Materials needed:
-small craft sticks
-regular-sized craft sticks
-wood glue
-Q-tips
-white acrylic paint
-acrylic sealant


First, lay out your sticks...4 small craft sticks in the middle with 2 regular-sized ones on the ends. If you don't have small craft sticks, just cut some regular-sized one's in half. The two craft sticks on the ends are left long, so that you can easily stick them into the ground, keeping the fence upright!


Next, think about where two craft sticks that will lie across the other ones will be and use a Q-tip to put wood glue in those spots across each stick. Lay the craft sticks on top of the glue and press to secure.


After the glue has dried, paint the picket fairy fence white. 


Finish up with a coat of acrylic sealant spray. 


Now for the fun part...while sneaking a fairy door into your neighbor's garden, add a little white picket fairy fence as well! Gently push the ends of the fence into the soil. Enjoy!!!


Wednesday, July 15, 2015

DIY Toy Catapult

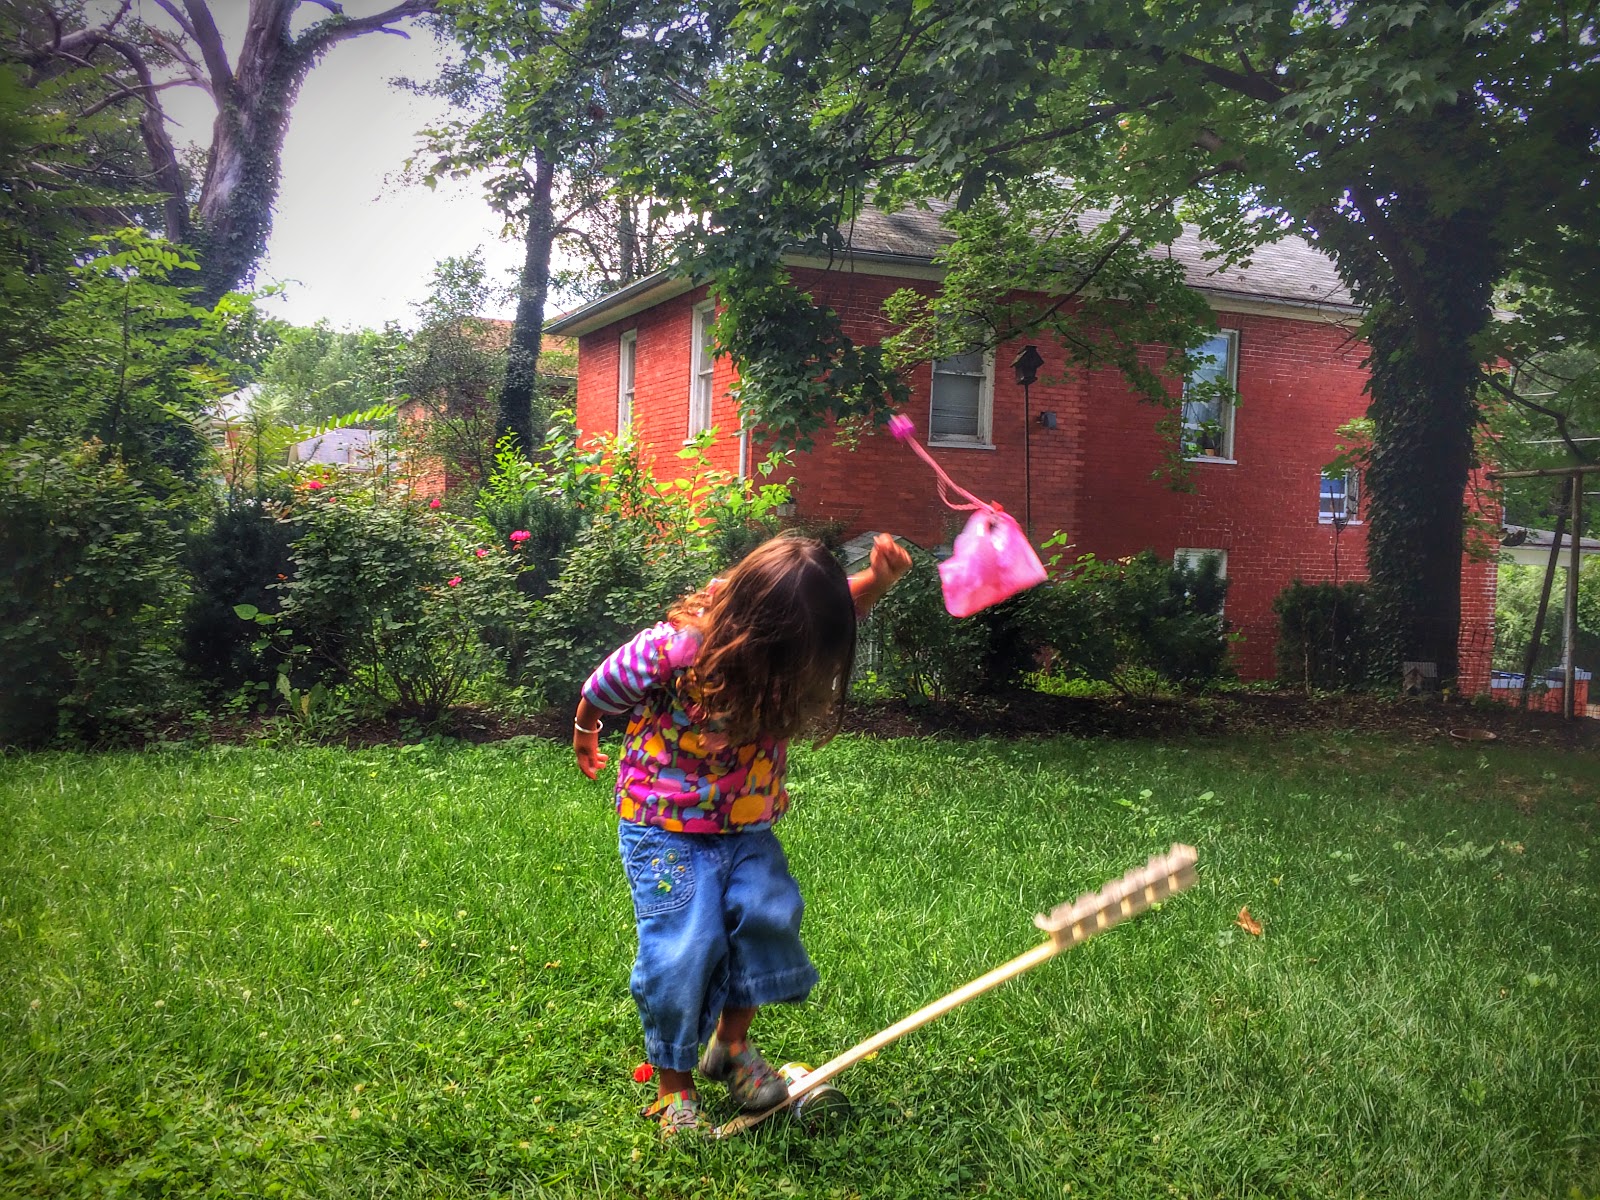
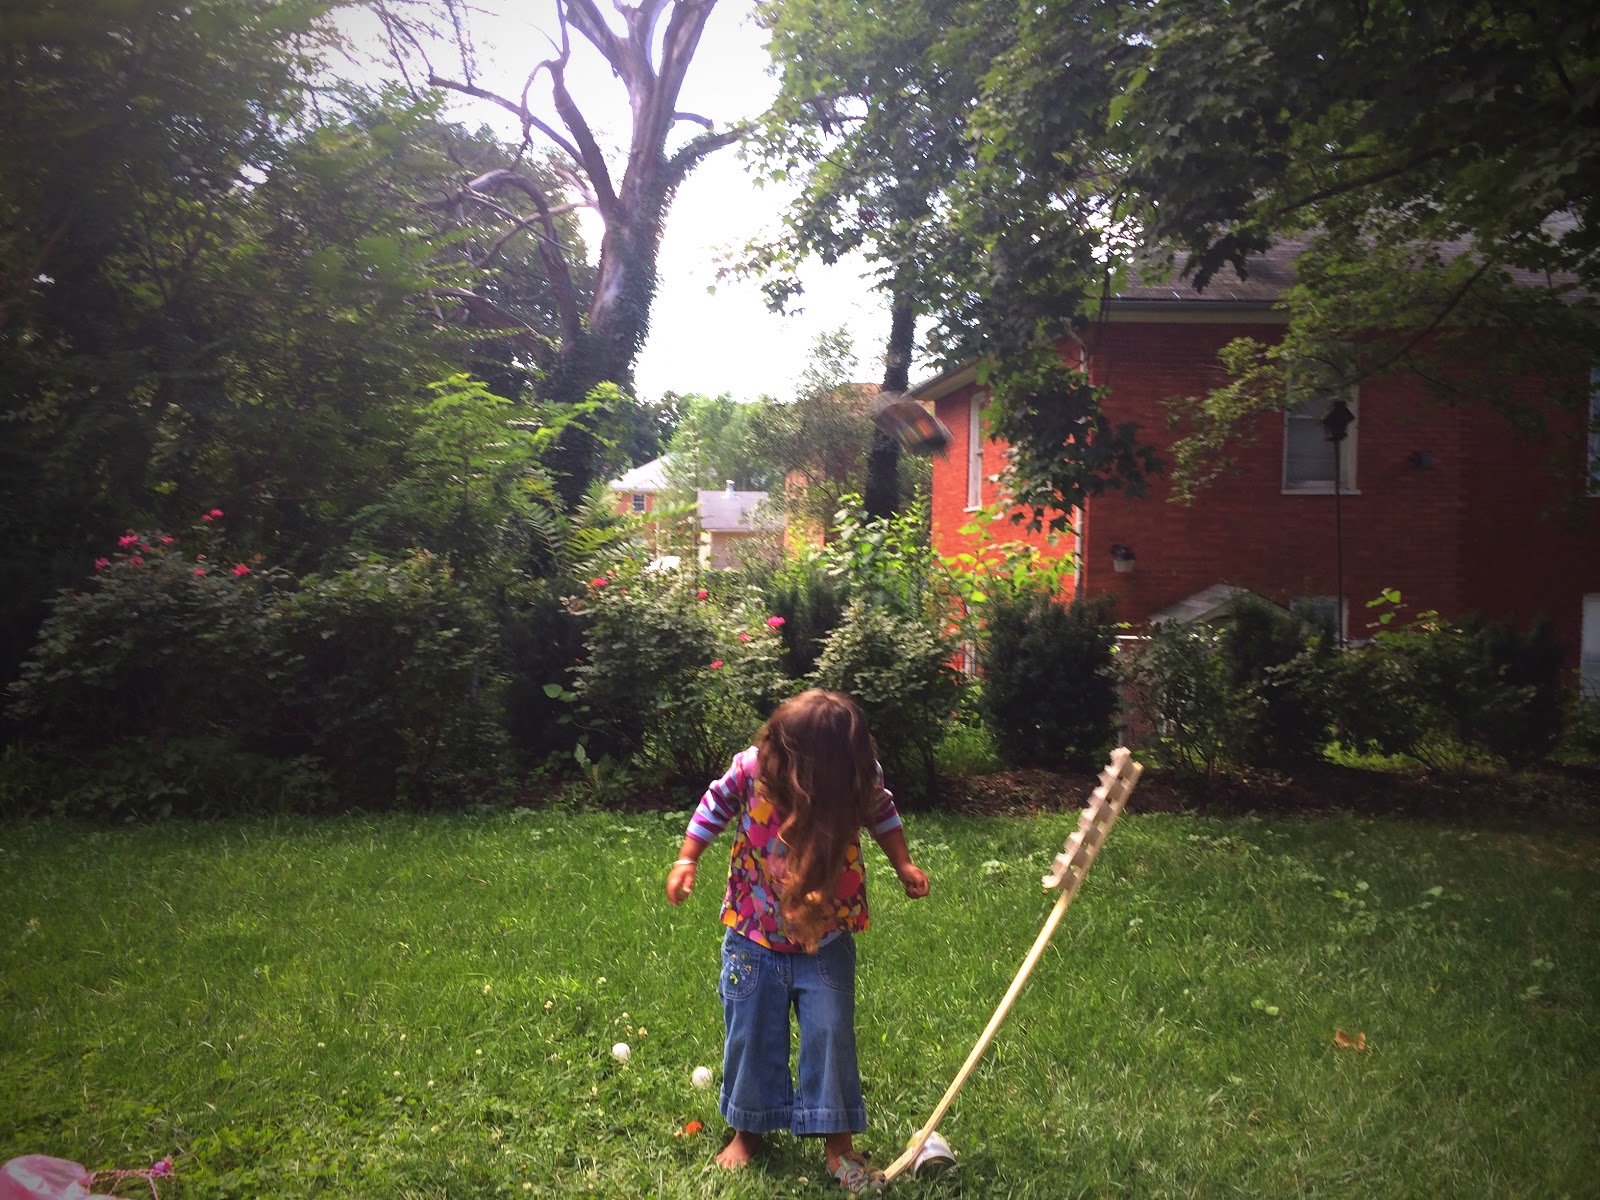
What kid (or adult) doesn't love launching things through the air? This DIY TOY CATAPULT takes only minutes to put together and your kids will play with it for hours...days even! I love how kids naturally experiment while playing with this toy. Even as young as three, L was moving the can (the fulcrum) around, placing the balls in various slots, and went on to launch her toy parachute, as well as her shoes! So much fun!!!


Materials needed:
-yard stick
-can of food 
-egg carton
-scissors
-hot glue gun
-permanent markers (optional)

Things to launch:
-ping pong balls
-pom poms
-cotton balls
-plastic figurines (fairies, dinosaurs, army men)
-marshmallows or cereal (to catch in one's mouth)


First, cut your egg carton in half.


Using a hot glue gun, glue the egg carton onto one end of your yard stick. (Don't worry...when your kids are done playing with their catapult, the egg carton and glue should peel right off the yard stick! I take ours apart every time we're finished playing with it!)


Next, number your egg carton slots and your ping pong balls. This step is optional, but it makes it easy to keep track of what ball goes the farthest and which slots you're putting things into...especially if you're launching multiple balls at once!


The set-up of your catapult is easy...just place the can on it's side in the grass (keeps it from rolling) and place the yardstick on top. Fill the slots with your projectiles!


Now, time to play!!!
Launching balls...


 Parachutes...


 And L's shoes...


What will you all send flying through the air???

If your kids like the catapult, they'll definitely love making POCKET PARACHUTES...another "make something from nothing" craft! Enjoy!


Thursday, July 2, 2015

Splatter Paint Fun!!!

While SPLATTER PAINT FUN! can be done anytime of the year, we thought it would be an exceptional craft to do on the 4th of July! This can get messy, so be sure to cover your work area with old newspapers or, better yet, take it outside! I helped L with the cut-outs, but let her do most of the splattering on her own. It's so much fun splattering paint, I bet you'll want to join in the fun too!


Materials needed: 
-toothbrush and/or kitchen scrub brush
-paint
-construction paper
-old cereal box
-scissors
-old newspapers, towels, etc.


First, cover your work area with old newspapers. After all, the paint will splatter!


Next, cut some fun shapes out of your old cereal box. We did some wavy stripes, stars, and a city skyline for the 4th of July.

Lay the shapes atop your construction paper. You can do all the shapes at once or, as we did, layer them. 


Next, dip your toothbrush bristles into paint. Facing the toothbrush downwards (bristles facing the paper) have your kids run their fingers along the bottom of the brush splattering the paint. When splattering around shapes, the more the better!


After splattering is complete, remove cardboard shapes carefully.


If layering paint and patterns, you can now lay more shapes down and splatter with a different color of paint. 


Experiment! Have fun! Make messes!


With the kitchen brush, we didn't "splatter" necessarily. (But you could!) Instead, L dipped the brush into paint and then pushed the bristles down on her paper to make her own, unique fireworks display! So cute and easy! 


For more fun painting ideas check out our page "10 New Ways to Paint"! Enjoy!!!