Showing posts with label recipes. Show all posts

Monday, September 21, 2015

Pumpkin Pancakes (GF)

I came up with this PUMPKIN PANCAKE recipe years ago and it remains a favorite in our house! Every Fall I wait for that first cold and rainy day and we have pumpkin pancakes for dinner! Paired with some bacon and homemade, baked apples, the meal couldn't be more cozy, more filling and it couldn't be easier to make! L likes to eat hers with her hands...with a couple apple slices folded inside of a pancake it's like a little taco! At times, I've made three or four huge pancakes, layered baked apples in-between, and served this up as a Pumpkin-Apple Cake! Such a yummy side to a fall soup or stew! 


You'd never know that the pancakes are low-fat. If you want to make them completely fat-free, replace the eggs with 3 egg whites. You can't even tell the difference! We make our pancakes with an all-purpose, Gluten-Free flour and they come out just fine. Go ahead and use whatever flour you fancy though...they'd be good with a whole wheat variety or your regular, unbleached white flour. 

Ingredients:
1 cup flour
1 tsp baking powder
2 Tbsp brown sugar
1/4 tsp cinnamon
dash of ginger and/or nutmeg
1/2 tsp salt 
2 eggs
1 cup plain, fat-free yogurt
1/2 cup canned pumpkin
1/4 cup unsweetened applesauce
1 tsp vanilla
1 box raisins (2 oz.) optional
3/4 cup milk or water

Mix dry ingredients thoroughly in a large mixing-bowl w/ hands or spatula.
In a separate bowl, combine eggs, pumpkin and liquid ingredients. Beat well.
Make a small well in center of dry ingredients and slowly beat in the liquid ingredients. Beat until contents are thoroughly mixed, but not too long. Add additional water to desired consistency. Stir in raisins with a spatula (optional).

Spray a large skillet lightly with non-stick cooking spray. Put over medium heat. Pan is ready when water droplets quickly sizzle and evaporate. 

Serves 2-3. Yummm!!! Enjoy!!!

Tuesday, August 4, 2015

Lemonade Play Dough

We love scented play dough at Our Beautifully Messy House and summertime is the perfect time to make LEMONADE PLAY DOUGH! 


I came up with this recipe a couple weeks ago, while mixing up some play dough to take with us on vacation to the beach. And the kids LOVED it!!! It's always nice having play dough handy for any down-time whether you're at the beach with family or you're having friends over for a play date. 


I've tried making citrus-scented play dough in the past with lemon extracts and oils, but that summery lemonade scent never comes through. Adding a packet or two of lemonade mix did the trick...it was super-quick and easy and smells delicious! I suggest using a sugar-free lemonade mix (Crystal Light brand works great!) so your play dough doesn't get super sticky with the added sugar. 


When I made our lemonade play dough I wanted to make both yellow and pink dough, so I split the dough and added the food coloring before kneading it. The colors came out just fine! This play dough takes only a few minutes to make, but stored in a gallon-sized bag or an air-tight container, it'll keep for nearly a year! This recipe makes plenty for 2 or 3 kids to play with! 


My tip to keep your kids entertained playing with play dough for longer: Start off with plain play dough. Let them play 15 or 20 minutes, then throw some glitter into the mix. Once their attention starts to drift, add some colorful beads or buttons. Add some measuring cups and kitchen utensils, some lil plastic dinosaurs or army men. Just don't give them everything at once, instead add to the play dough in intervals...works every time! 

Ingredients:
2 cups + 1/2 cup flour
1/2 cup salt
2 Tbsp cream of tartar
2 Tbsp vegetable oil
1.5 cups boiling water
food coloring
1-2 packets lemonade mix

First, put the water on to boil. Add a few drops of food coloring to the water (yellow or pink). As the water is heating up, mix 2 cups of flour, salt, cream of tartar and one packet of lemonade mix in a large mixing bowl. Then add and mix the vegetable oil into the flour mixture. Once the water is boiling, add it to the bowl and mix with a spatula. The dough will be a sticky mess while warm. Mix it as best you can, then let it cool off. After a few minutes cooling off, sprinkle your working surface with some of the remaining flour. Dump the play dough onto the flour, adding more flour to the top, and knead the dough. Continue working with the dough, adding a bit of flour as needed, til the dough is not sticky anymore and you've reached the desired consistency. If you like, sprinkle in another packet of lemonade mix to dough! Yum yum, Summer!!! Enjoy! 

Sunday, June 14, 2015

Homemade Sidewalk Chalk

Making SIDEWALK CHALK is so fun and easy, I doubt we'll ever buy it from a store again! I've seen multiple DIYs on making chalk, but they all seem to use toilet paper rolls lined with wax paper or foil...some big complicated mess. I decided to use our silicone molds (the ones we only use for crafts) and the chalk popped out easily, plus it took on some fun and funky shapes! HOMEMADE SIDEWALK CHALK can be made in less than 10 minutes, but it takes 2-3 days to set completely...so give yourself plenty of time!


Materials needed:
-Plaster of Paris
-tempera paints
-water
-silicone molds
-paper or plastic cups
-plastic spoons or craft sticks


First, protect your working area with some newspaper.

The recipe for sidewalk chalk is pretty simple: 50% plaster of paris, 50% liquid (water + paint).
You can measure it out precisely: 1 cup plaster, 3/4 cup water, 1/4 cup paint; or you can do what we did and just "eye ball" it. 

Fill up your disposable cups about halfway with plaster.
Add a good squirt of paint. 


Then add water. And mix. 


Once you have all your chalk mixed up, carefully pour it into the silicone molds. 


If you want to mix colors, making a funky tie-dye effect, fill your mold about halfway with one color. Then carefully pour other colors on top. 


Set your sidewalk chalk aside for a full day to dry. I suggest placing it near an air vent in your house to speed up the process. 


After a day has passed and the chalk looks dry, gently flip the molds over and release the chalk onto some wax paper. (If the chalk is still moist, you can try drying the chalk with a hair dryer too.) 


Once the chalk has been removed from the molds, put it aside for another day or two for the chalk to set-up and dry completely. (As you can see, our yellow mixture may have been a little too moist on our first try...it was still sticky when we took it out of the molds. We let the yellow dry for a day longer than the rest, and it colored just fine!)


Now, time to play!!! Aren't the colors beautiful? Brighter than any sidewalk chalk I've ever seen! 


Enjoy!!!

Wednesday, June 3, 2015

Patricia Polacco's THUNDER CAKE RECIPE

"Grandma looked at the horizon, drew a deep breath and said, 'This is Thunder Cake baking weather, all right. Looks like a storm coming to me.'"


If you haven't read the book "Thunder Cake" by Patricia Polacco, get yourself to the library or a local book store and get your hands on a copy pronto...you and your kids will love it! The story centers around the author and her grandmother (her Babushka) and the summer storms she feared as a little girl, at her grandmother's farm in Michigan. I've loved reading this book ever since I was a little girl and now L adores it as well. 


With the summer heat and thunderstorms we've been having lately, I decided it was definitely time to try our hand at baking some real Thunder Cake for ourselves! It's fun to make memories with your little ones and read this book as your Thunder Cake is baking in the oven...the perfect activity for a lazy, stormy, summer afternoon. It really seems like magic to smell the chocolaty cake baking in your own home as the little girl and her Babushka are putting theirs into the oven as well!


The recipe calls for 1 cup of shortening; we used what we had -- 2 sticks of butter  -- and the result was still wonderful! With the secret ingredient of pureed tomatoes, the flavor of this chocolate cake is very unique, but very moist and delectable as well. I suggest serving your Thunder Cake with extra strawberries...they pair so well with the hint of tomato and make the desert complete! 

As instructed in the book:
Cream together, one at a time...
1 cup shortening (or 2 sticks of softened butter)
1 3/4 cup sugar
1 teaspoon vanilla
3 eggs, separated (Blend yolks in. Beat whites until they are stiff, then fold in after the tomatoes.)
1 cup cold water
1/3 cup fresh, pureed tomatoes

Sift together...
2 1/2 cups cake flour (We used all-purpose, Gluten Free flour.)
1/2 cup dry cocoa
1 1/2 teaspoon baking soda
1 teaspoon salt

Mix dry mixture into creamy mixture.
Bake in two greased and floured 8 1/2-inch round pans at 350 degrees for 35 to 40 minutes. 
Frost with chocolate butter frosting. Top with strawberries.


We used this chocolate buttercream frosting recipe because I had all the ingredients on hand and it was quick and easy. Feel free to use your favorite chocolate buttercream recipe in its place! 

Enjoy!!!
Polacco, Patricia. "Thunder Cake." New York: Scholastic Inc., 1990. Print. 

Sunday, March 1, 2015

Homemade Butter in a Jar

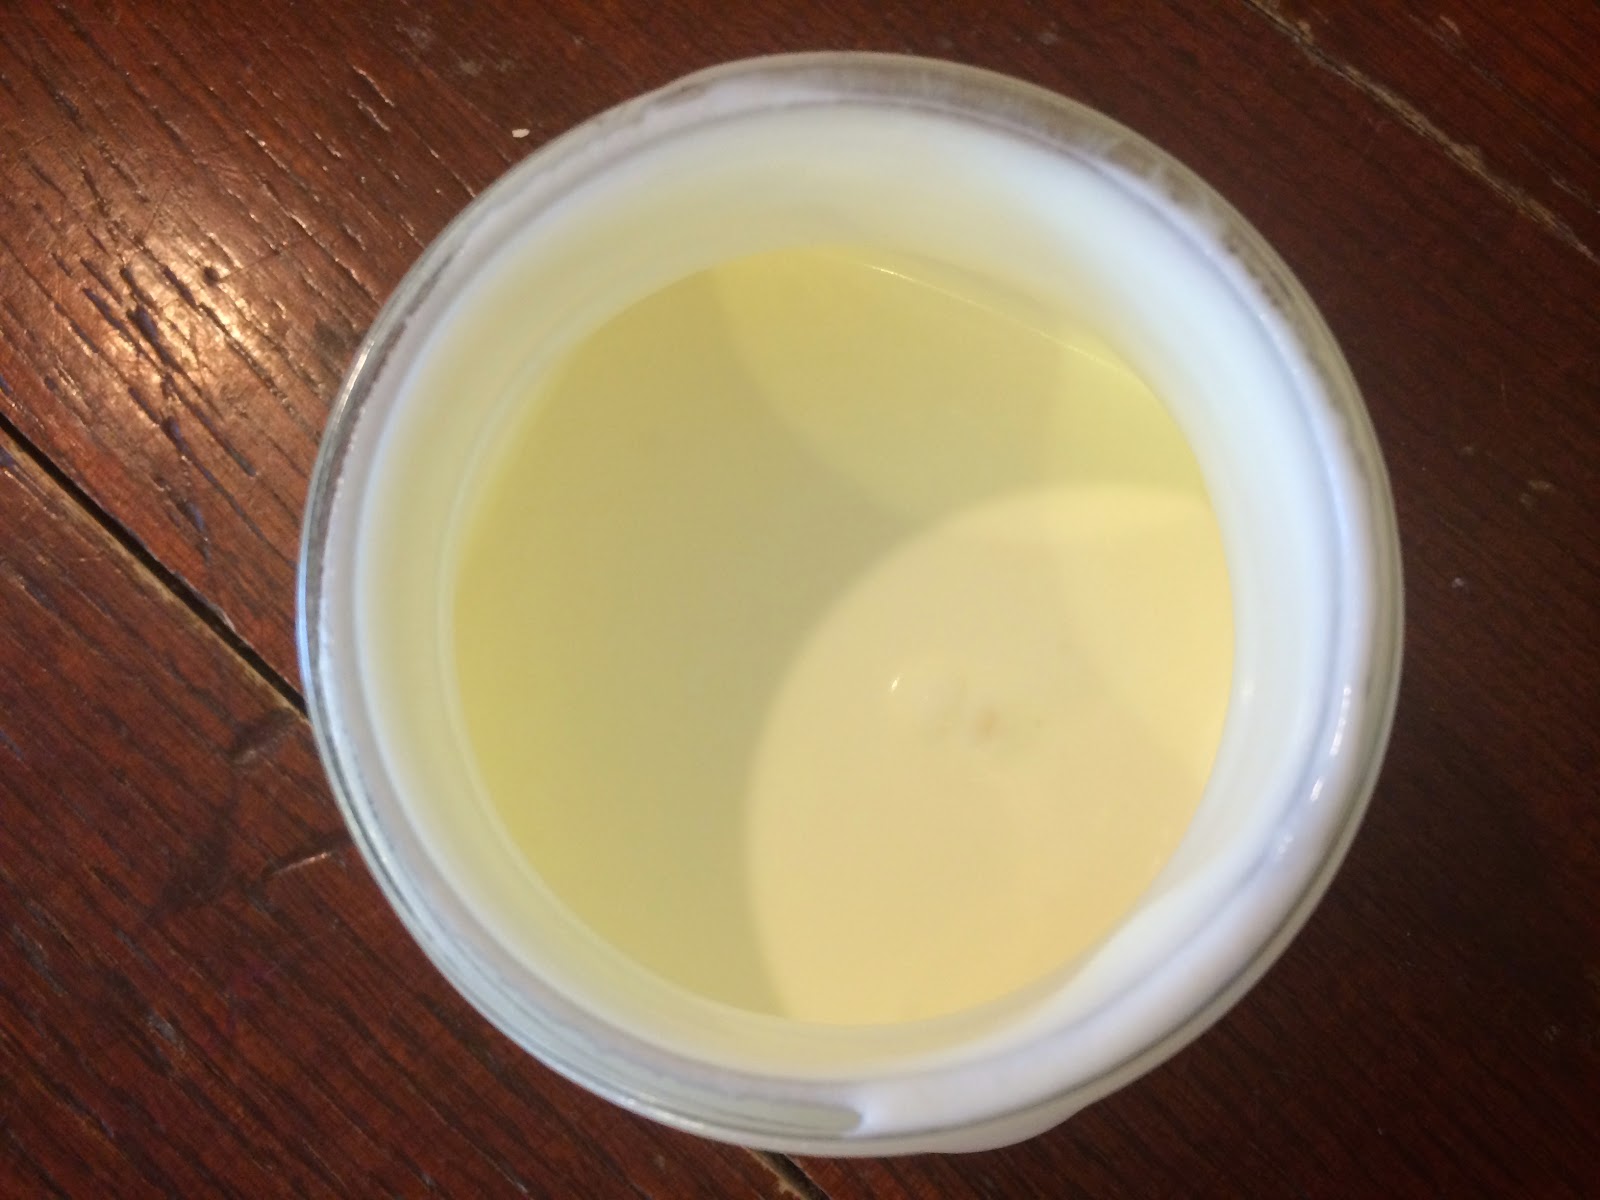
Have you ever been to a restaurant that along with fresh, baked bread served homemade butter? It's the smoothest, fluffiest, creamiest butter you've ever tasted and truly, nothing compares to it! Now you can make your own at home in only 10 minutes! This afternoon L and I made HOMEMADE BUTTER IN A JAR and it was so easy, so delicious, I may never buy butter from the store again!


Ingredients/Materials needed:
-heavy cream
-jar
-marble


While I made butter in a jar, L made some in a small plastic container with a screw-on lid...perfect for little hands!


First, fill your jar half-way with heavy cream. Add a clean marble and screw the lid on tight. The marble speeds up the process, churning the butter a little quicker, but you can make butter with just a jar too!


Next, shake, shake, shake! Shake the jar for a full 10 minutes! After about 5 minutes, the contents will be thick like whipping cream.


Continue to shake! If you get bored, turn some music on and dance while you shake! As the cream turns to butter, you'll hear the marble clanking less and less and eventually you won't hear it at all. 


Some people end up with thick butter at the bottom and a layer of liquid at top...if that happens, just pour the liquid off the top. That's the butter milk! Ours never separated and we ended up with just butter, through and through. Absolutely delicious, light and creamy butter! 


Spread on top of fresh, baked bread it could've been a meal in itself! I think next, we'll try making an herbed butter or homemade honey butter! Mmm... Enjoy!


Sunday, February 15, 2015

DIY Chocolate Orange Sugar Scrub

As we move towards Spring, I keep thinking of citrus, lemon-blueberry muffins, lemonade and sunshine! Unfortunately though, we're not quite there yet...wind chills today in the negative digits! I think it was 4 degrees out when we woke up this morning! Brrr... And let me tell you, this cold weather is not helping the chocolate addiction I acquired over the holidays. So with all that stirring around inside of me, I dreamed up this CHOCOLATE ORANGE SUGAR SCRUB and it is divine!!! Just what I needed today! This would be great to use in the bath or shower!


Ingredients:
1 cup white sugar
1/2 cup brown sugar
2 Tbsp cocoa powder
3 Tbsp olive oil (almond oil or coconut oil)
~15 drops (1/2 tsp) Sweet Orange oil
1-2 tsp orange zest (optional)


First, mix together the sugars with a fork. If your brown sugar is clumpy, try to mix until most of the clumps are gone.


Mix in the 2 Tbsp of cocoa powder.


Next, stir in the olive oil one Tbsp at a time. Some olive oils are pretty potent...if you have almond or coconut oil on hand you can certainly substitute that for the olive oil. I'm all about using what I already have though...and it turned out great!


Once the olive oil is added, stir in some Sweet Orange Oil. (I found mine in the organics section of our grocery store.) To really bring the aroma up a notch, add about 2 tsp of orange zest to the scrub! Now it is certainly good enough to eat, but even better to exfoliate your skin with in the bathtub! The sugars will scrub away any dry, dead skin and the oil will leave you with just the right amount of moisture. 


Spoon your concoction into 2 jars...one for you and one for a friend! Enjoy!!!


Sunday, February 1, 2015

It's Tea Time!!! Tea Party Ideas

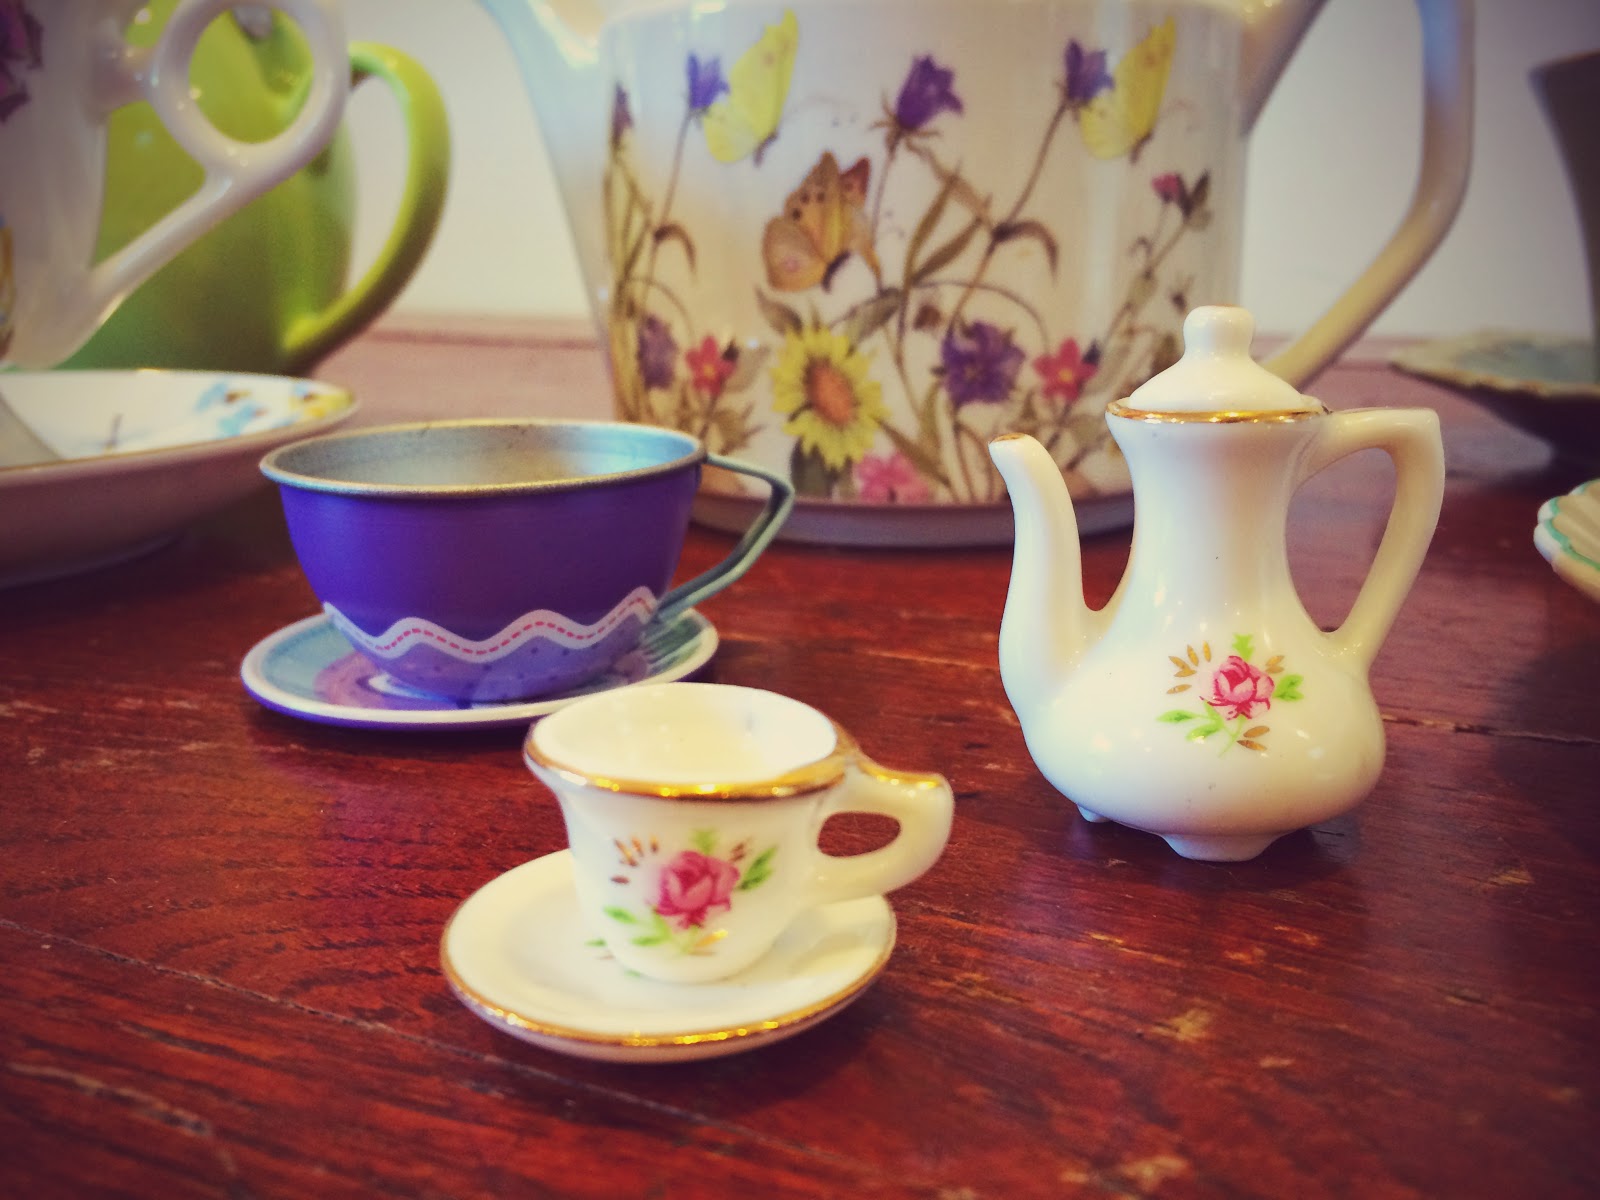
Over at Our Beautifully Messy House, we love a good TEA PARTY! We have breakfast tea parties and mid-afternoon tea parties, tea parties in a teepee outside, and tea parties on the kitchen floor! We have tea parties with friends and tea parties with fairies! There is only one rule in our house when it comes to having a tea party: Everyone must wear a hat! It doesn't matter if you are still wearing your pajamas, everybody starts the tea party with a hat! 


If you're planning ahead, you can make some "Floppy Newspaper Hats" for tea time! (DIY here.)


Tea Ideas: Obviously you can steep any flavor of tea, but with little kids you may want to get creative! Sometimes I pour L half a cup of Blueberry Wild Child Tea, fill the rest with milk and she drinks it out of her fancy tea cup with a straw. Anything goes! Kids can drink water, milk, juice mixed with water, or hot chocolate...if it's in a tea cup, it's tea! 


Tea Cups: Tea cups don't have to be fancy, but fancy is fun! The best place to find tea cups is at antique stores, yard sales and flea markets. Such places are filled with tea pots and cups and, at only a couple of dollars a piece, it's no big deal if one breaks. 


Tea Party Treats: For breakfast tea parties, we make PANCAKE SANDWICHES with cream cheese and strawberry jam layered in-between two pancakes. To make them extra fancy, cut the pancakes with a heart cookie cutter and let the red, strawberry jam shine through! 


These Strawberry Jam Scones are perfect for tea time! Get the recipe here.


No-Bake Acorn Treats are fun and yummy for your tea party outdoors! Get the quick and easy how-to here.


If you're just throwing together a tea party last minute, anything will do...a granola bar cut into bites, muffins, a bowl of popcorn. Your kids will love it! 

A Tea Party for Fairies


If you don't have fairies and fairy furniture, you can easily make some!


Acorn Cap Treasures (aka Fairy Hats!)

Use cheerios to make FAIRY DONUTS. If you have a microwave, simply place one chocolate chip on top of a cheerio and zap it for a few seconds. Top with mini-sprinkles! We don't have a microwave and melted the chocolate chips in a double-broiler on the stove-top and it worked just as well! For powdered fairy donuts, dip the cheerios in some maple syrup and then toss around in some powdered sugar. Silly, sweet, and so much fun!!! 


If you don't have a mini-tea set, you can use buttons for fairy plates and thimbles for the tea cups. Have the tea party on top of a box or a colorful pillow! 


Please don't think that if you have little boys that they can't partake in your tea party fun! Everybody loves a party and if you must, call it a "picnic!" Enjoy!!!