Showing posts with label GF baking. Show all posts

Monday, September 21, 2015

Pumpkin Pancakes (GF)

I came up with this PUMPKIN PANCAKE recipe years ago and it remains a favorite in our house! Every Fall I wait for that first cold and rainy day and we have pumpkin pancakes for dinner! Paired with some bacon and homemade, baked apples, the meal couldn't be more cozy, more filling and it couldn't be easier to make! L likes to eat hers with her hands...with a couple apple slices folded inside of a pancake it's like a little taco! At times, I've made three or four huge pancakes, layered baked apples in-between, and served this up as a Pumpkin-Apple Cake! Such a yummy side to a fall soup or stew! 


You'd never know that the pancakes are low-fat. If you want to make them completely fat-free, replace the eggs with 3 egg whites. You can't even tell the difference! We make our pancakes with an all-purpose, Gluten-Free flour and they come out just fine. Go ahead and use whatever flour you fancy though...they'd be good with a whole wheat variety or your regular, unbleached white flour. 

Ingredients:
1 cup flour
1 tsp baking powder
2 Tbsp brown sugar
1/4 tsp cinnamon
dash of ginger and/or nutmeg
1/2 tsp salt 
2 eggs
1 cup plain, fat-free yogurt
1/2 cup canned pumpkin
1/4 cup unsweetened applesauce
1 tsp vanilla
1 box raisins (2 oz.) optional
3/4 cup milk or water

Mix dry ingredients thoroughly in a large mixing-bowl w/ hands or spatula.
In a separate bowl, combine eggs, pumpkin and liquid ingredients. Beat well.
Make a small well in center of dry ingredients and slowly beat in the liquid ingredients. Beat until contents are thoroughly mixed, but not too long. Add additional water to desired consistency. Stir in raisins with a spatula (optional).

Spray a large skillet lightly with non-stick cooking spray. Put over medium heat. Pan is ready when water droplets quickly sizzle and evaporate. 

Serves 2-3. Yummm!!! Enjoy!!!

Wednesday, June 3, 2015

Patricia Polacco's THUNDER CAKE RECIPE

"Grandma looked at the horizon, drew a deep breath and said, 'This is Thunder Cake baking weather, all right. Looks like a storm coming to me.'"


If you haven't read the book "Thunder Cake" by Patricia Polacco, get yourself to the library or a local book store and get your hands on a copy pronto...you and your kids will love it! The story centers around the author and her grandmother (her Babushka) and the summer storms she feared as a little girl, at her grandmother's farm in Michigan. I've loved reading this book ever since I was a little girl and now L adores it as well. 


With the summer heat and thunderstorms we've been having lately, I decided it was definitely time to try our hand at baking some real Thunder Cake for ourselves! It's fun to make memories with your little ones and read this book as your Thunder Cake is baking in the oven...the perfect activity for a lazy, stormy, summer afternoon. It really seems like magic to smell the chocolaty cake baking in your own home as the little girl and her Babushka are putting theirs into the oven as well!


The recipe calls for 1 cup of shortening; we used what we had -- 2 sticks of butter  -- and the result was still wonderful! With the secret ingredient of pureed tomatoes, the flavor of this chocolate cake is very unique, but very moist and delectable as well. I suggest serving your Thunder Cake with extra strawberries...they pair so well with the hint of tomato and make the desert complete! 

As instructed in the book:
Cream together, one at a time...
1 cup shortening (or 2 sticks of softened butter)
1 3/4 cup sugar
1 teaspoon vanilla
3 eggs, separated (Blend yolks in. Beat whites until they are stiff, then fold in after the tomatoes.)
1 cup cold water
1/3 cup fresh, pureed tomatoes

Sift together...
2 1/2 cups cake flour (We used all-purpose, Gluten Free flour.)
1/2 cup dry cocoa
1 1/2 teaspoon baking soda
1 teaspoon salt

Mix dry mixture into creamy mixture.
Bake in two greased and floured 8 1/2-inch round pans at 350 degrees for 35 to 40 minutes. 
Frost with chocolate butter frosting. Top with strawberries.


We used this chocolate buttercream frosting recipe because I had all the ingredients on hand and it was quick and easy. Feel free to use your favorite chocolate buttercream recipe in its place! 

Enjoy!!!

Polacco, Patricia. "Thunder Cake." New York: Scholastic Inc., 1990. Print. 

Sunday, February 1, 2015

It's Tea Time!!! Tea Party Ideas

Over at Our Beautifully Messy House, we love a good TEA PARTY! We have breakfast tea parties and mid-afternoon tea parties, tea parties in a teepee outside, and tea parties on the kitchen floor! We have tea parties with friends and tea parties with fairies! There is only one rule in our house when it comes to having a tea party: Everyone must wear a hat! It doesn't matter if you are still wearing your pajamas, everybody starts the tea party with a hat! 


If you're planning ahead, you can make some "Floppy Newspaper Hats" for tea time! (DIY here.)


Tea Ideas: Obviously you can steep any flavor of tea, but with little kids you may want to get creative! Sometimes I pour L half a cup of Blueberry Wild Child Tea, fill the rest with milk and she drinks it out of her fancy tea cup with a straw. Anything goes! Kids can drink water, milk, juice mixed with water, or hot chocolate...if it's in a tea cup, it's tea! 


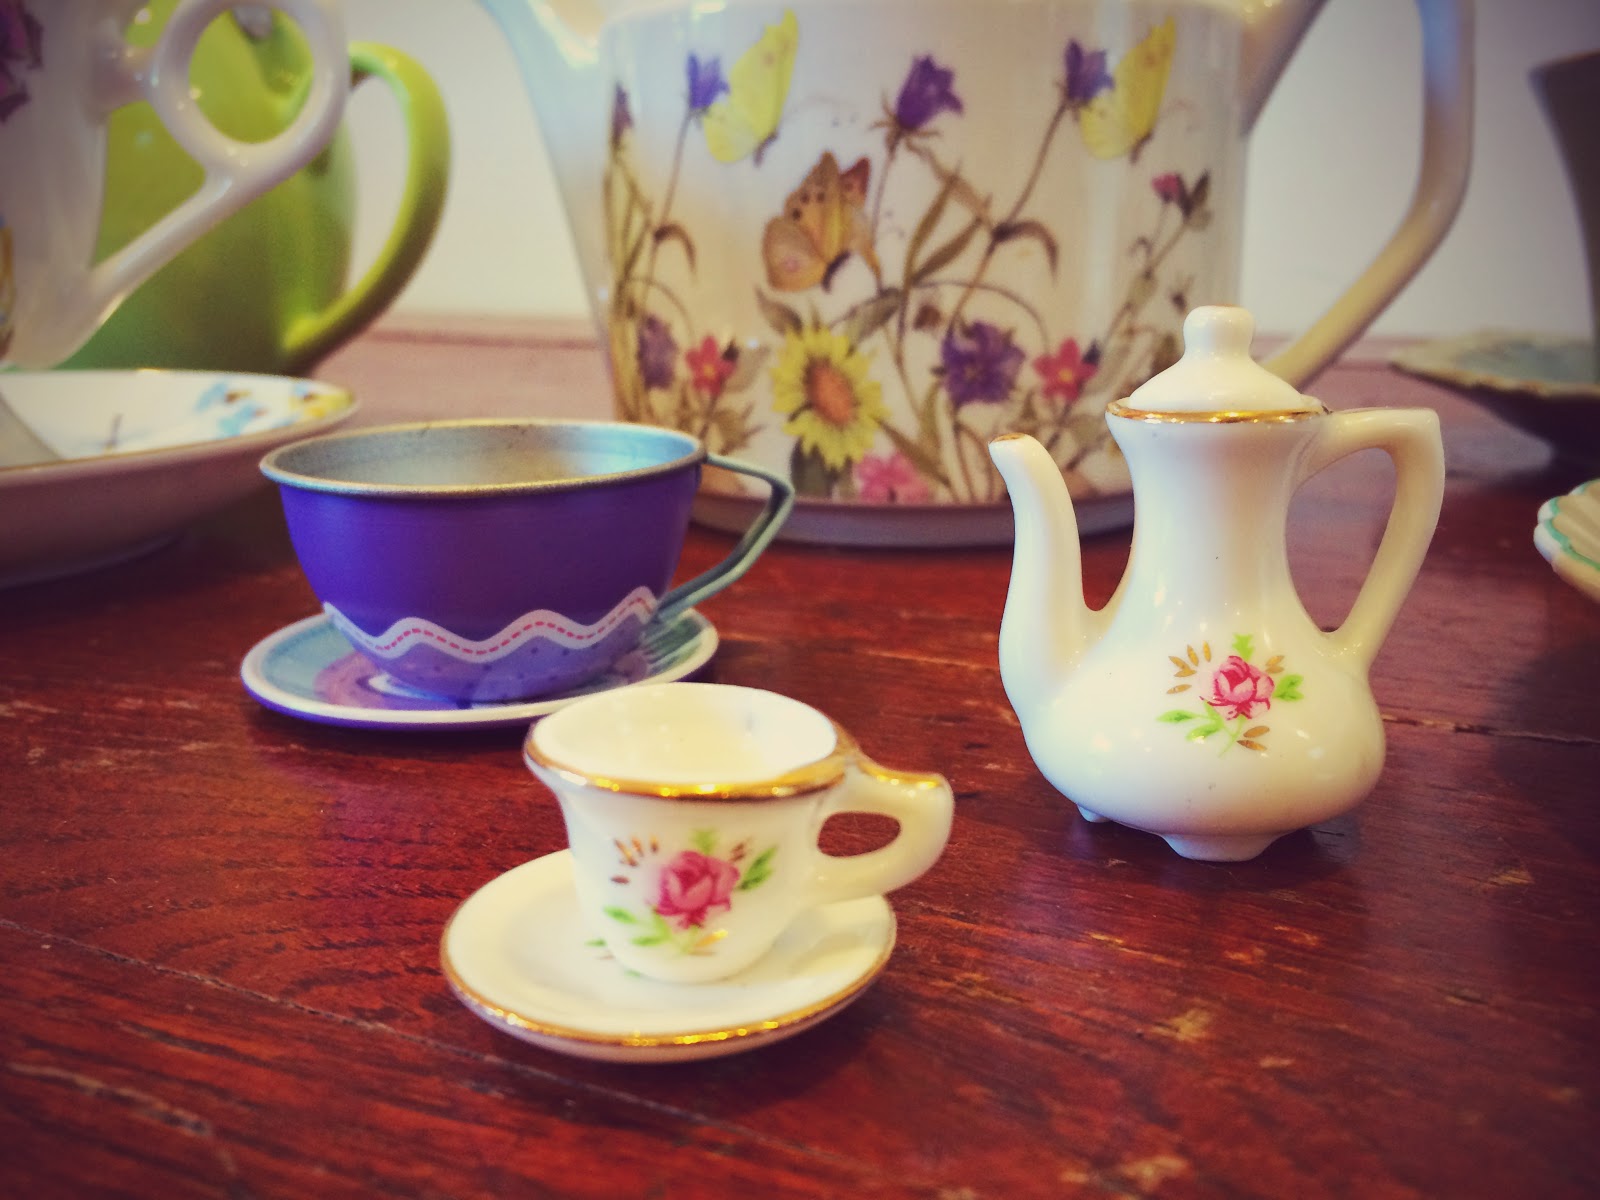
Tea Cups: Tea cups don't have to be fancy, but fancy is fun! The best place to find tea cups is at antique stores, yard sales and flea markets. Such places are filled with tea pots and cups and, at only a couple of dollars a piece, it's no big deal if one breaks. 


Tea Party Treats: For breakfast tea parties, we make PANCAKE SANDWICHES with cream cheese and strawberry jam layered in-between two pancakes. To make them extra fancy, cut the pancakes with a heart cookie cutter and let the red, strawberry jam shine through! 


These Strawberry Jam Scones are perfect for tea time! Get the recipe here.


No-Bake Acorn Treats are fun and yummy for your tea party outdoors! Get the quick and easy how-to here.


If you're just throwing together a tea party last minute, anything will do...a granola bar cut into bites, muffins, a bowl of popcorn. Your kids will love it! 

A Tea Party for Fairies


If you don't have fairies and fairy furniture, you can easily make some!


Acorn Cap Treasures (aka Fairy Hats!)

Use cheerios to make FAIRY DONUTS. If you have a microwave, simply place one chocolate chip on top of a cheerio and zap it for a few seconds. Top with mini-sprinkles! We don't have a microwave and melted the chocolate chips in a double-broiler on the stove-top and it worked just as well! For powdered fairy donuts, dip the cheerios in some maple syrup and then toss around in some powdered sugar. Silly, sweet, and so much fun!!! 


If you don't have a mini-tea set, you can use buttons for fairy plates and thimbles for the tea cups. Have the tea party on top of a box or a colorful pillow! 


Please don't think that if you have little boys that they can't partake in your tea party fun! Everybody loves a party and if you must, call it a "picnic!" Enjoy!!!


Tuesday, January 20, 2015

DIY Planetarium for Kids

Have your kids ever daydreamed about going to the moon? To Mars or the Milky Way? By making a PLANETARIUM FOR KIDS you can take them to outer space without even leaving your house! 


Last week L and I turned our dining room into a PLANETARIUM complete with the all the planets of our solar system, constellations, "telescopes," MOON DOUGH!, Glow-in-the-Dark Glitter Bottles, Sprinkle Star Sugar Cookies and more! Once you get going on this project the possibilities are endless...your kids will be entertained, playing and learning for days on end! 


First, start by making the planets in our solar system. Find a good picture of the solar system, in a book or online, and talk about the planets. Depending on the age of your kids, you can keep the research brief or stretch it out, talking about the facts and properties of each planet. (I included Pluto when teaching L about our solar system...it was always my favorite planet and last I heard, it was back in the solar system!) Next, cut out circles of construction paper to resemble the sun and each planet. Have your lil one color them! 


Tape your planets to the underside of a table! Depending on what your child is interested in, feel free to add the moon (made out of tin foil), some constellations...anything you all think is important and fun! Having a good time learning about outer space is the most important part here, so if your lil one wants stars all over in random places, go with it! Why not!? Among our randomly placed stars we included the Big Dipper and Cassiopeia. 


Hang some foil stars from the sides of your table for a lil extra pizzaz as well. This was WB's favorite part!


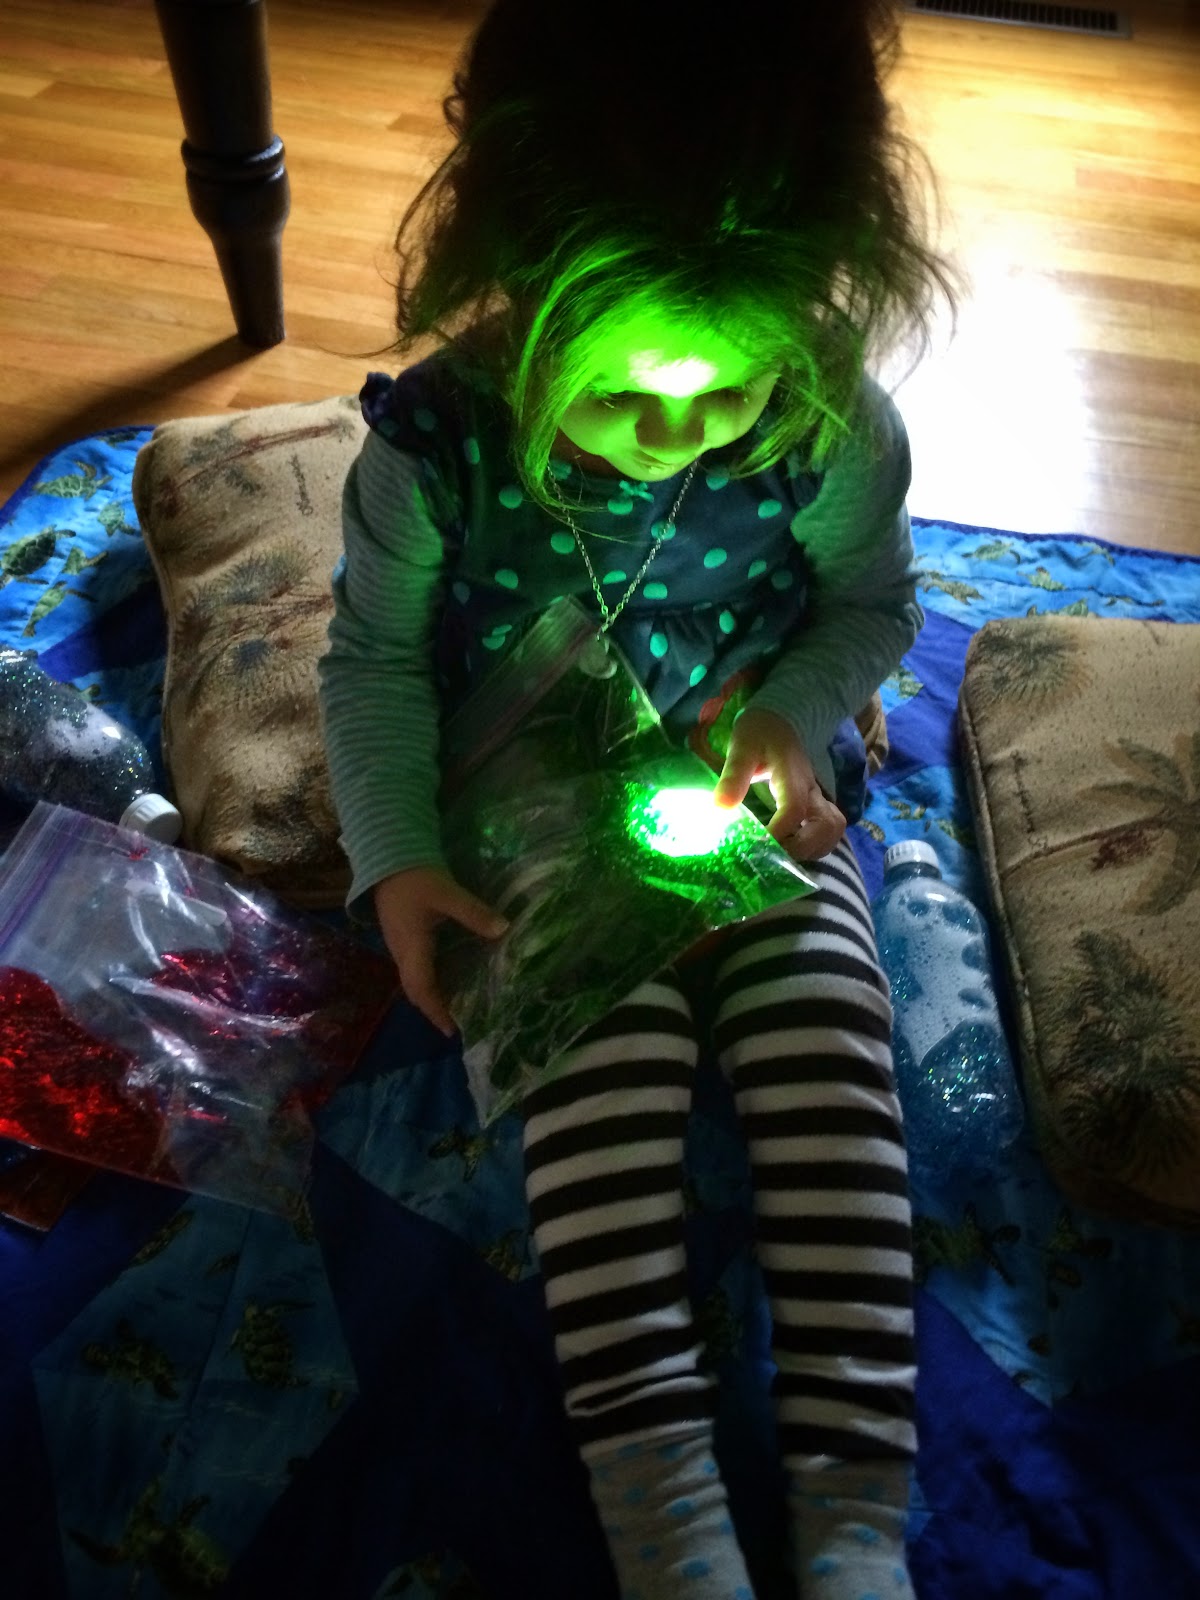
Throw a blanket and some pillows under the table, grab a flashlight and get ready to star gaze! "It's a real campout!" L exclaimed.


Having a flashlight is a must! You can put some SENSORY BAGS (click here) over the flashlight to change colors.


Make some sparkle bottles as well! The GLOW-IN-THE-DARK BOTTLES (DIY here) were a lot of fun with this activity! How many stars can you count? Can you see any constellations in the bottle?


Make a "TELESCOPE" too! 


Materials needed: 
-paper towel tube (or paper rolled up)
-clear plastic (sandwich bag works well)
-star stickers
-rubber bands


Cut the plastic sandwich bag into a small square. Stick some star stickers on top. Place the plastic over the cardboard tube and secure it with two small rubber bands. Looking out the window or at a light with the "telescope," your child will see stars! Maybe even a constellation!


You can also do the reverse...punch some holes out of construction paper (best if they are in the form of a constellation), and shine the flashlight through! The stars will appear upon the wall!


Getting hungry? Make some SPRINKLE STAR SUGAR COOKIES (recipe here) with your kids! It's a quick and easy sugar cookie recipe and perhaps you'll find more constellations as you snack! 


Another fun mess to make as you're exploring outer space is MOON DOUGH! (recipe here) One of our favorites...the silky powder can be molded into shapes and forms and only includes 2 ingredients! 


Have fun with this one!!! What else will you all come up with as you venture out, past our atmosphere??? 


Friday, January 16, 2015

Sprinkle Star Sugar Cookies (GF)

The "DIY Planetarium for Kids" we built under our dining room table this week inspired these SPRINKLE STAR SUGAR COOKIES. (Since we use gluten free flour in everything we bake around here, these too are gluten free!!!) 


I browsed around on the internet looking at other sugar cookie recipes and found a few recipes for "Sprinkle Cookies." I adapted the recipes to what we had on hand and...Voila! SPRINKLE STAR SUGAR COOKIES!!! 


These really are the quickest sugar cookies I've ever made...no refrigeration necessary before baking! And aren't they adorable??? All those lil stars and mini-sprinkles... So yummy! So colorful! So much fun! 


Ingredients:
1 1/2 cups flour
1 tsp cream of tartar
1 tsp baking powder
1/2 tsp baking soda
1/4 tsp salt
1/2 cup (1 stick) unsalted butter, room temperature
3/4 cup granulated sugar
1 egg
1-2 tsp vanilla extract
1 (1.25 oz) jar of Star sprinkles
1/3 - 1/2 jar mini-rainbow sprinkles

Preheat oven to 350 degrees F. Line two baking sheets with parchment paper.

In a medium bowl, mix together flour, cream of tartar, baking powder, baking soda, and salt.

In a med-large bowl, beat butter and sugar together with an electric mixer until light and fluffy. (It's important that your butter is at room temperature, nice and soft.) Add egg and vanilla, mix until combined. Next, add flour mixture 1/2 cup at a time, mixing until the dough is well-combined. 

Add the stars and rainbow sprinkles. Mix, using a large spoon or spatula, until the sprinkles are evenly distributed. 

Place tablespoon-sized balls of dough on cookie sheet. Make sure you leave about 1 inch on each side for spreading. 

Bake for 8 minutes. The cookies will not brown and are still soft coming out of the oven, but as they cool they will harden. Let cool for about 5 min on the tray before moving to a wire rack to cool completely. 


Yumm!!!! See any constellations in your cookies???

GF Strawberry Jam Scones

This quick, easy, absolutely delectable, melt-in-your-mouth recipe for GF STRAWBERRY JAM SCONES is adapted from Parents' "Jammy Scones." One of the best things about them is you probably already have all the ingredients in your cupboard! L and I whipped up these GF STRAWBERRY JAM SCONES one afternoon while WB took a nap. It was our first time making scones and was a big success!!! 


It's hard not to devour them all hot out of the oven! I had to hurry up and take a picture before they were gone! GF STRAWBERRY JAM SCONES are such a yummy breakfast on these chilly, winter mornings. If you make them the day before, just pop them in the oven for a minute or two to warm them up! Add a cup of coffee or tea...pure heaven!!!


Ingredients:
2 cups flour (I use Arrowhead Mills GF flour) 
3 Tbsp. sugar
2 tsp baking powder
1/2 tsp salt
1/2 cup (1 stick) butter, cold
1 egg
1/2 cup milk
1/4 - 1/3 cup strawberry jam
egg wash (1 egg whisked with 1 1/2 tsp milk)

Heat oven to 400 degrees F. Line a cookie sheet with parchment paper.

In a med-large bowl mix together the flour, sugar, baking powder, and salt. Cut the butter into small cubes and add it to the flour mixture. Using your hands, mix, squeeze and crumble the mixture together until it's crumbly.

In a small bowl, whisk together the egg and milk. Add the egg and milk to the flour mixture. Stir with a fork until evenly moist and the dough comes together.

Next, pour the mixture out on a floured surface and with flour on your hands, knead dough together. Separate the dough in half. Roll each half into a ball and then press flat with your hands. Makes about a 7 or 8-inch disk. 

Transfer one disk to the cookie sheet. Spread the strawberry jam over the disk leaving a half-inch border. Lay the second disk on top of the first and pinch around the edges to seal them. 

Carefully, cut the dough into 8 equal wedges and spread them apart a bit on the tray. Leave about 1 inch of space between the scones. Brush the tops with the egg wash. If you don't have a brush, use a spoon to gently spread the egg wash around. If you want a little heart on top of each scone, gently press a mini-cookie cutter about 1/4-inch deep on top of each scone. So cute!!!

Bake in the oven for 10-15 minutes, until the scones are gently browned. (Better brew some coffee or tea while you're waiting!) Let cool for a few minutes on the cookie sheet before moving them to a wire rack to cool completely. 


This is when you think you'll just take a teeny tiny taste of one and before you know it an entire STRAWBERRY JAM SCONE has disappeared! Good thing you had some coffee or tea ready to complete the moment! Enjoy!!!