Sunday, August 31, 2014

DIY Vintage Feather Garland

I love this simple, yet colorful and fun feather garland. The orange, yellow and browns of our garland take me back to the 70s and 80s, and the make-believe games of yesteryear, making it the perfect garland for a kid's bedroom or play area. You could spruce this garland up a bit for the holidays though, using all white or sparkly feathers. Peacock feathers would be beautiful as well! There are so many possibilities!
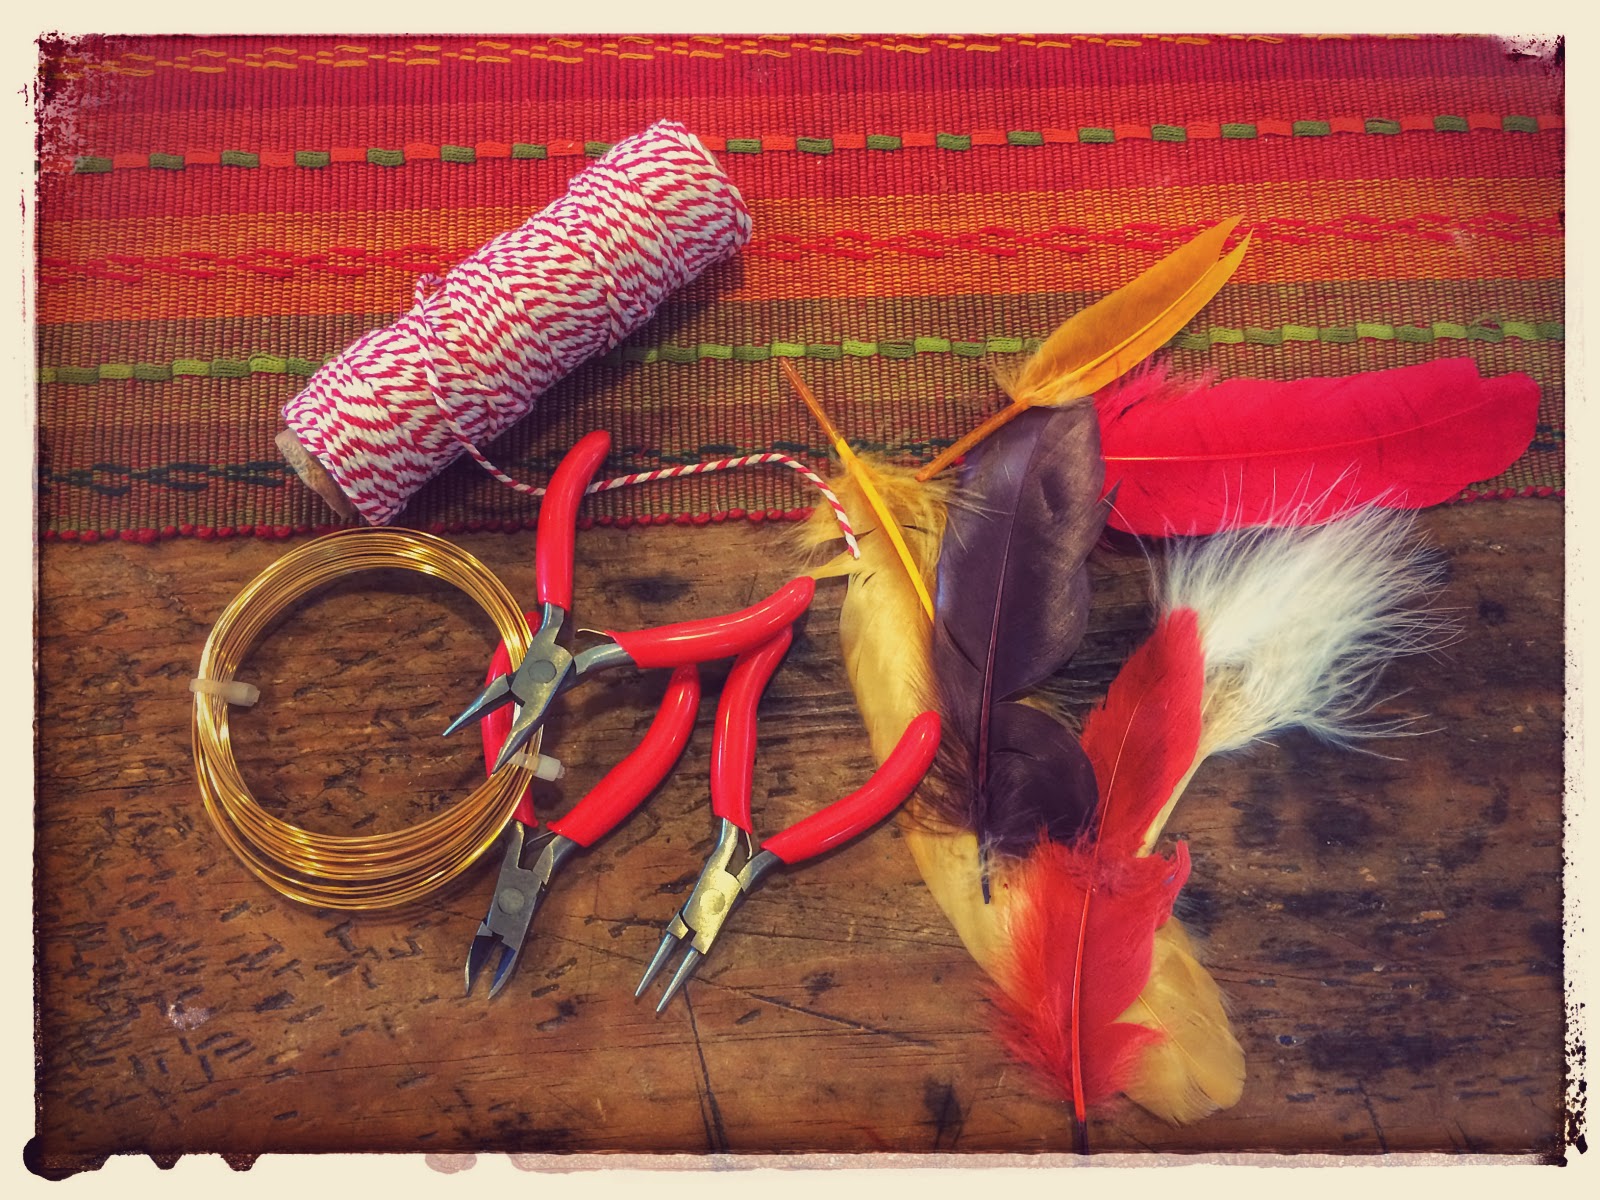


Materials needed:
-feathers
-gold wire
-basic wiring tools
-string


The easiest way I found to attach the wire to the feathers, is as follows... (If you "click" on each picture, the wiring is much clearer when it's enlarged.)

For each feather, you'll need a piece of wire about 1 1/2 to 2 inches long. 


Wrap one end of the wire twice, making a small loop.


About 1/2 an inch from the other end of the wire, wrap the wire once, folding the excess wire around the back of the mid-section. (Much easier to see in the picture than it is to explain!) Bend the loop you first made, so it's perpendicular to rest.


To attach the wire to the feather, thread the end of the feather through the bent loop. Bend the loop, back down so it's laying more or less flat against the feather, holding it in place. On the opposite end of the wire, hold the loop still while you wrap the excess wire around the feather. Repeat with each feather.


I've pictured multiple feathers in their completed state. As you can see each wiring job is a little different, adjusting to the various lengths and widths of the feathers' ends.


The last step is certainly the easiest...thread the feathers onto your string and hang! 


Our feather garland is hanging above the little one's play area. The brightly colored feathers are constantly in motion, gently dancing as the air moves around the room. I love how it catches WB's eye while she's playing on her back, taking in her surroundings. Where will you hang your feather garland for the whole family to enjoy?

Thursday, August 28, 2014

DIY Baby Play Area + DIY Baby Toys

Over the past few weeks I had been thinking of putting together a little play area for WB, now 7 months old. WB is definitely our laid back kid, compared to her wild-child, older sister. She is perfectly content sitting back and observing the world around her. WB can roll over and push herself up on her belly, but she doesn't do it very often...so I thought a little play area may be fun and may encourage her to move around a little more. And boy was I right...she LOVES it! When I saw some long mirrors for a good deal at Lowe's last week, inspiration struck and WB's play area was put in motion! 


Materials Needed:
-comfy, colorful blanket
-long mirror
-2 med-sized boxes
-6 to 8 bricks (or other heavy items)
-colored paper
-tape or glue


To hold the mirror in place, in a safe and sturdy way, I decided to fill a couple boxes with bricks. (We just happen to have a pile of them sitting outside of our house, leftover from a patio project.) You can also use heavy rocks, bags of sand, or whatever is most convenient for you! Brighten-up a plain cardboard box by taping colored paper to it. I originally planned to cover the diaper-box I was using as well, but then I remembered how much babies like other smiling babies and kids, so I only partially covered it. The box was colorful already too!


Other things you can put in or near your baby's play area include:


Sensory Bags (DIY link here.)

Sensory Bottles for Baby (link here.)

Sparkle Bottles (link here.)

Plush Animals and Toys (DIY bunny link here.)


Colorful Garland...I put this feather one up above for WB to look at while on her back. I love how the feathers gently "dance" continuously. (DIY feather garland link here!)


What will you include in your baby's play area??? As always, never leave your children unattended and make sure all toys you put in the play area are baby-safe! Have fun watching your little ones explore! 

Tuesday, August 26, 2014

Play Dough Funny Faces w/ DIY Outlet Covers

When I saw a variation of this craft years ago, I stored it away in the back of my mind, just waiting for L to be old enough to make and play with these! The outlet covers I saw were made using Sharpie Markers, but I love the color we brought to ours with paint! The outlet-cover funny faces are as much fun to make as they are to play with! L and I spent one day painting the outlet covers, let them dry overnight, then the next day, we were able to glue on the googlie eyes and stick them in our play dough! So silly and so much fun!


Materials Needed: 
-outlet covers
-paint (acrylic and/or puffy paint)
-googlie eyes
-jewels (optional)
-hot glue gun and glue
-your favorite play dough
-egg cartons (optional)


The first thing I did, preparing our work station, was to cut off the center tips of an egg carton. I then put an outlet cover in each opening so L could paint them with ease.


Then, paint away! I tried to paint mouths and noses on the outlet covers, while I let L paint hers however she pleased. I figured the ones she painted could be used to glue on the eyes and jewels later on. 


After the glue dries, you can go over some with puffy paint too! I thought it was a fun effect for big, puffy lips!


Using a hot glue gun, attach some googlie eyes and jewels to a few of the other outlet covers.


Now it's time to play! Just push the outlet covers into your favorite play dough...the funny face possibilities are endless! 


I love how the play dough doesn't stick to the outlet covers, rather it just falls off, making clean-up a breeze! Please share pictures of your funny faces...we'd love to see them! Enjoy!

Sunday, August 24, 2014

Tie-Dye Napkin Painting

In case the "10 New Ways to Paint" blog post wasn't enough...

I remember first doing this activity at a friend's house when I was in Kindergarten. It's so simple, yet so much fun! Even as an adult, I enjoy painting these with L...the finished painting always looks so much better than I expect it to!


Materials Needed:
-white napkins
-watercolor paints

Keeping it folded up, paint the napkin with the watercolors. Make sure the paint is plenty wet and soaks through the napkin completely. 


Once you're done painting dots, patterns, or whatever you fancy on the napkin, open it up for the surprise ending! See...so much cooler than you anticipated!!! 


L could paint these all day long! If you don't have paper napkins on hand, paper towels work too. Enjoy! 


Thursday, August 21, 2014

2-Ingredient Gooey Dough

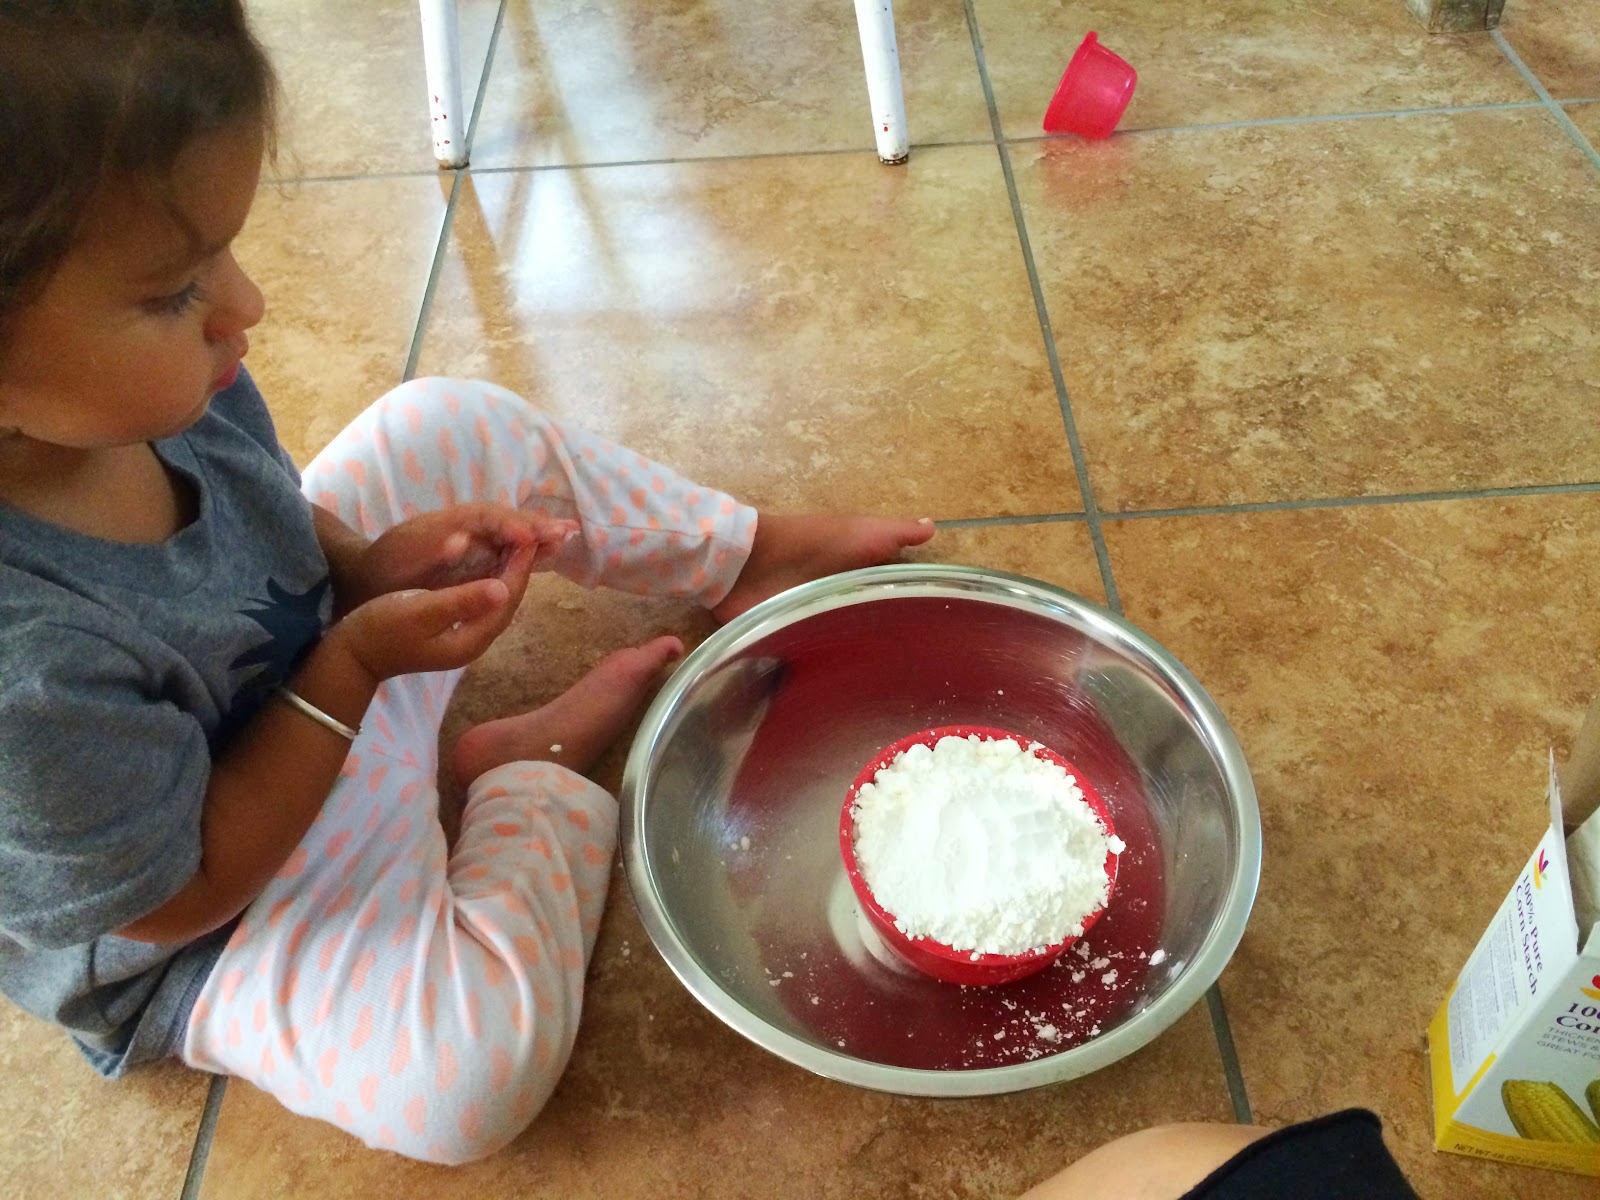
L and I are always looking for new play dough recipes, so when I came across this one I just knew we had to make it! We call it "Gooey Dough" because it's so stringy, smooth, and gooey! It feels good to squish through your fingers and fun to strrrrreeeeeetch as long as you can!


Materials needed: 
-1 to 1 1/2 cups, hair conditioner 
-2 cups, cornstarch 


Using a large mixing bowl, put both ingredients together and mix, mix, squish, mix! 


I have to admit that after about a minute, I thought this was the messiest, worst play dough ever made...BUT as I washed my hands, L kept squishing it together and a couple minutes later we had this wonderful concoction!!! I'm so glad she kept at it, because Gooey Dough has become one of our favorites! L has played with it for hours, day after day. 


You can add some food coloring if you like or toss in some glitter, but we were happy with the Gooey Dough the way it is...it's so white, smooth and the conditioner gives the whole kitchen a fresh scent! It's truly the most luscious dough we've ever made!


By day two, I came up with a couple tips...

-Store the dough in a sealed plastic bag or storage container (I've read that it keeps for months).
-It's best for your kids to take their clothes off to play or wear a smock shirt! It can get messy fast!
-This dough just asks to be squished all around, so tape down a plastic/silicone chopping mat on the table or work surface. 


Get messy and have fun!!!