Tuesday, October 28, 2014

Leaf "Glitter" Art

As the girls and I were crunching our way through leaves this week, this leaf "glitter" project came to mind. The leaves in our neighborhood are changing yet again...this time from their vibrant reds and oranges to dried-up, crunchy browns. No fear though, we can get one more craft out them!


Materials Needed:
-crunchy leaves
-paper (look in the recycling basket first!) 
-white glue
-a small container or bowl


First, crumble the leaves into the tiniest pieces possible and collect them in a small dish. 


Next, draw a Fall picture on the paper with the white glue. Feel free to draw some for your little ones, but let them scribble a glue picture too! 


Now, as you would do with glitter, sprinkle the leaf dust all over the glue. This was definitely L's favorite part.


Once the glue is all covered, gently shake the excess leaf "glitter" off and reveal your masterpiece! 


Sunday, October 26, 2014

Pumpkin Seed Necklaces

There's a lot of pumpkin carving going on this week, so I thought I'd hurry and get this one out there! Have you ever turned your pumpkin seeds into jewelry? The key to stringing pumpkin seeds with ease is to make sure that they're fresh...no baked or thoroughly dried pumpkin seeds here! This year we tried dying some seeds before stringing them too. This craft is super easy and so much fun! 


Materials needed:
-fresh pumpkin seeds
-dental floss, embroidery floss, or thread
-sewing needle

For colored seeds you'll also need:
-food coloring
-vinegar
-boiling water

As you carve your jack-o-lanterns, separate the pumpkin seeds from the pulp. Rinse the seeds in some water to get any excess pumpkin guts off. 


If you'd like some colored seeds, boil a cup of water. Add 1-2 tsp of vinegar and lots of food coloring. (I basically followed the directions for dying eggs on the food coloring box, adjusting it a little bit.) Let the water mixture boil for 5 minutes.


Turn the stove off and add your pumpkin seeds. Let them sit for 15-20 minutes, stirring the seeds a couple times, until you achieve the color you like.


Pour your seeds into a colander to drain them and run some cold water over the seeds briefly. Spread the seeds out on some cardboard to dry a bit. You can pat them dry with a paper towel too if needed.


Now, time to make some necklaces! Using the needle and thread (or dental floss), string the seeds on one at a time. If the seeds are a little tough, you can lay them flat on cardboard and push the needle through. 


This is a great time to talk to your kids about patterns! Have your little ones pick out seeds and lay them in order to help you string. When you're finished threading seeds, tie the ends in a knot or two to complete! Enjoy!


Some early morning necklace-making in our pajamas in Our Beautifully Messy House...


Thursday, October 23, 2014

Pine Cone Flowers

Have I mentioned before how much I love Fall?! So many things to find and create with...like these mini-pine cones! I've been thinking of making "pine cone flowers" for months now, and when L and I found these miniature ones it was a done deal. 


Materials needed:
-miniature pine cones
-twigs (the more lil knobs and branches the better)
-acrylic paints
-hot glue gun and glue


First, choose what colors you'd like your "flowers" to be...we choose multi-colored! Paint each little pine cone as you like. Set aside to dry.


Next, paint your twigs a mixture of dark and light greens. Allow to dry.


Once everything is dry, you can assemble your pine cone flowers. Using a hot glue gun, put a little dab of glue on the tip of a twig. Quickly press and hold a pine cone in place. Repeat until all your pine cones are used up. 


So cute, huh!? Arranged in a little, antique bottle they make a sweet gift for a child or an adult. 


Tuesday, October 21, 2014

Water Lens

I don't know a kid (or an adult) who doesn't love playing with a magnifying glass. They're just mesmerizing! The "water lens" experiment is such a fun activity that allows kids to not only play with a magnifying glass, but it shows kids how to make one too. So much discovering going on here! 


Materials needed:
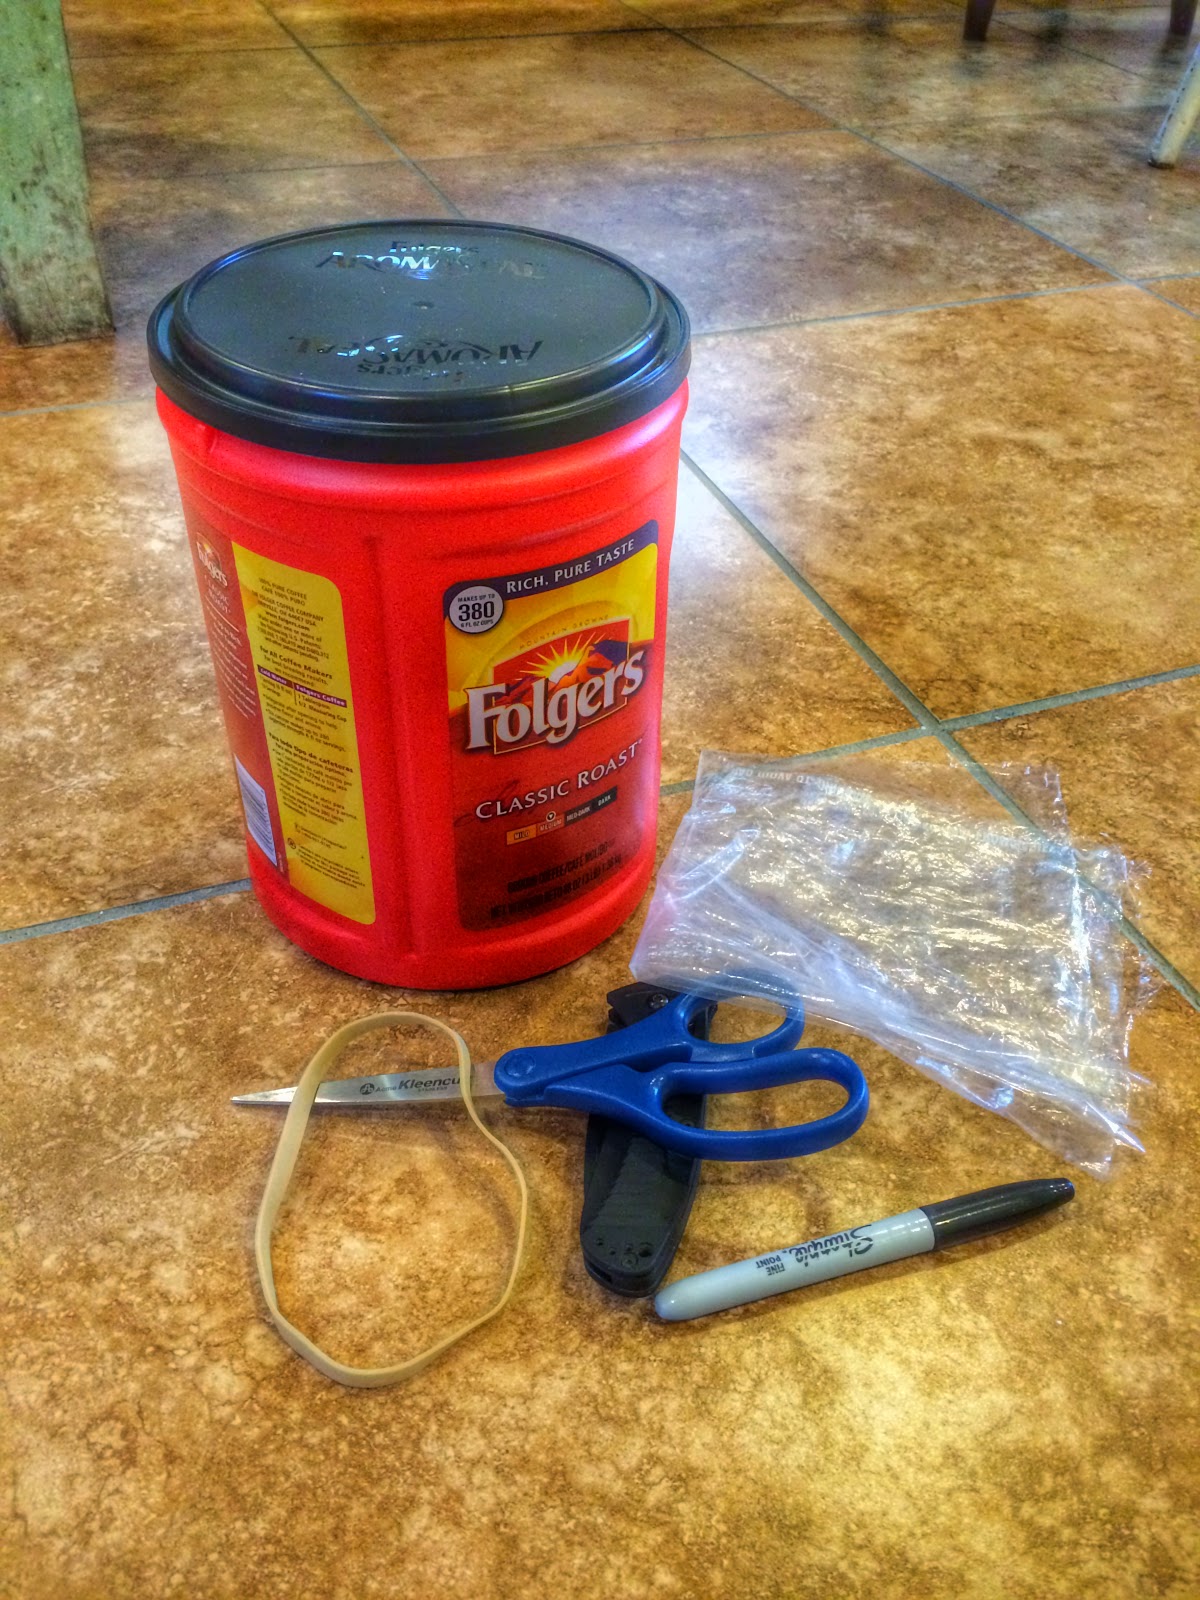
-a plastic bucket (we used a large coffee container)
-marker
-knife and/or scissors
-clear, plastic material (a dry-cleaners bag is best, but plastic wrap would work too!)
-large rubber band
-water
-small objects


First, draw three large circles on your bucket or plastic container. They need to be big enough to get one's hand in-and-out easily. Our coffee container had a funky handle part, so we just drew and cut a rectangle shape around it. Modify your circles however you need to to make it work! 


Using your knife and/or scissors, cut the circles out. Try making smooth edges so no little hands get cut going in-and-out. 


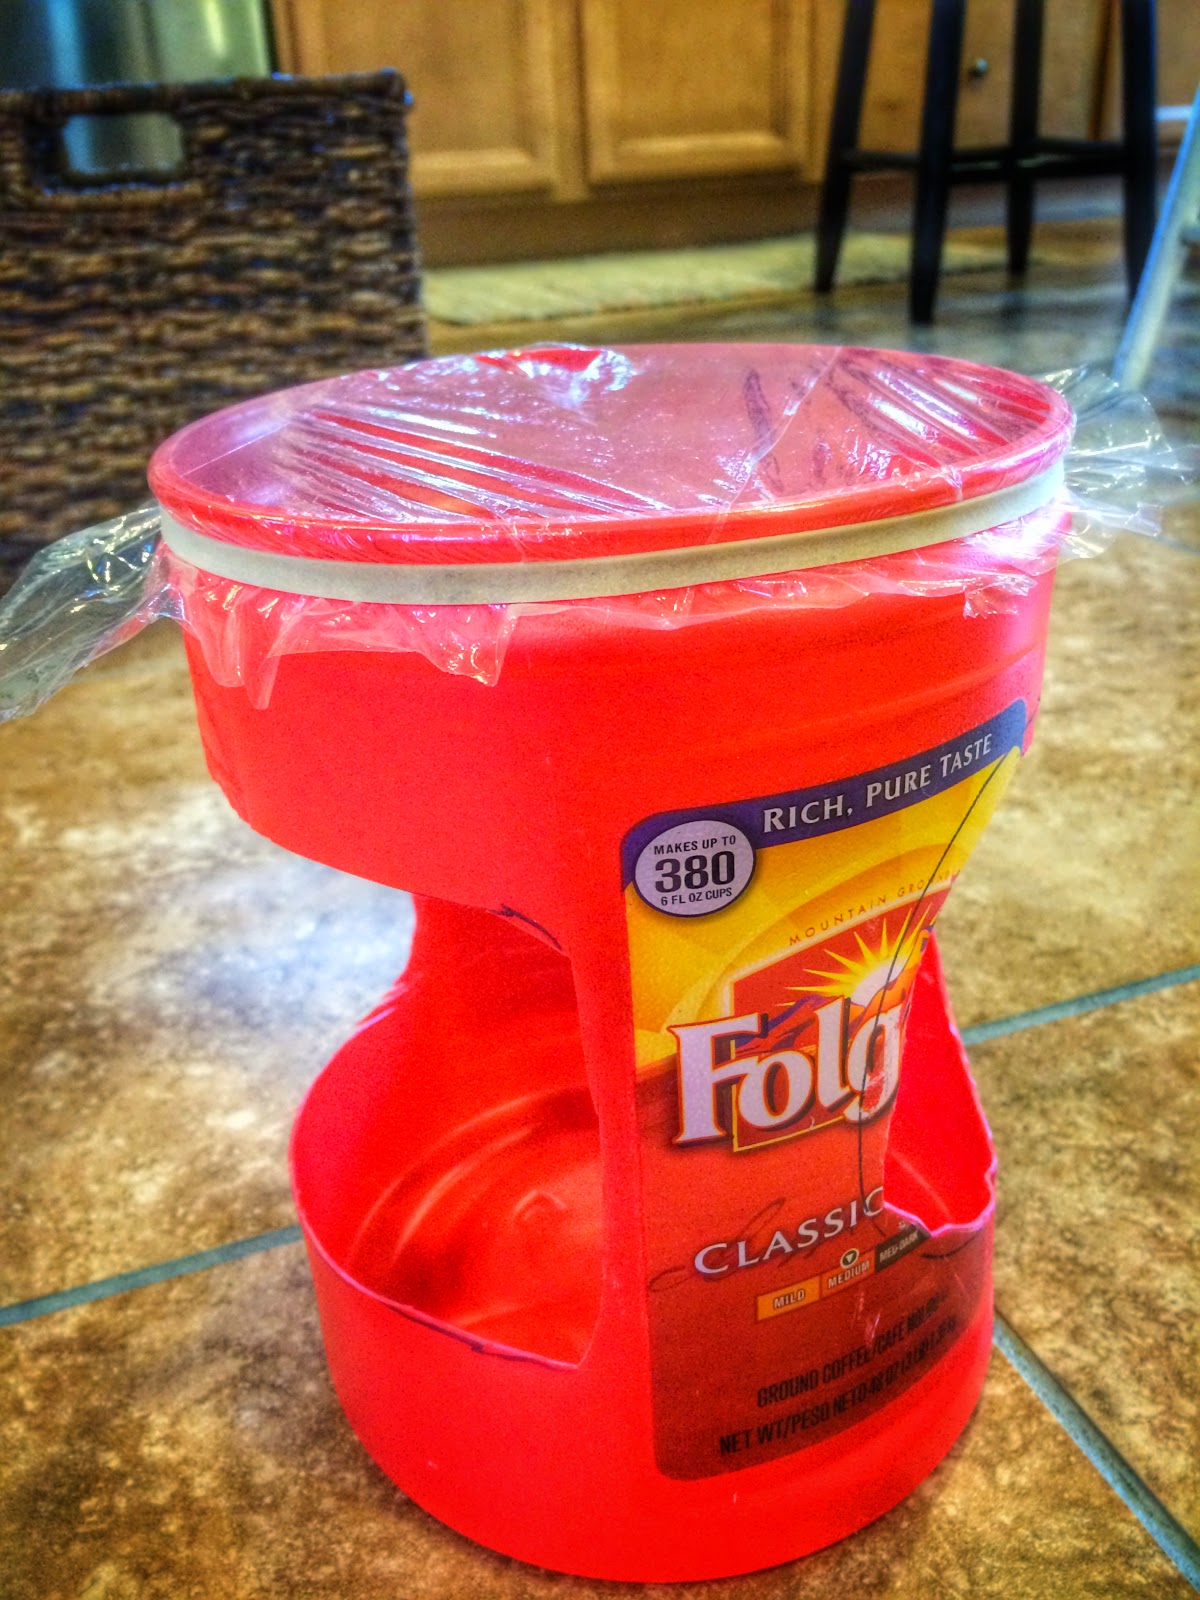
Next, lay the plastic material loosely over the bucket and secure it with the large rubber band. If you don't have a rubber band big enough, you could always cut and tie a couple together to make it work.


Since water is involved, it's best to do this activity outside, in the bath tub or in a water-safe area. We put a beach towel down on our kitchen floor and put our water lens inside a baking pan to catch any splashes...worked great!


Pour warm water onto the plastic material...as much as will fit without spilling over. And now your water lens is ready for play!


Have your kids take turns holding various objects underneath the "magnifying glass." They can experiment by moving their hands up and down, and by adjusting the amount of water in the lens. So simple to make, but so much fun! 


Make sure the water you use is warm...if you use cold water the lens will fog up quickly! We made that mistake for you! Ha! 


L had a ball with this one today! Tomorrow morning we plan to venture outside and collect more flowers, sticks, snail shells, leaves, etc. to examine up close with our homemade magnifying glass! Where will this discovering activity take you? Enjoy!!!