What kid (or adult) doesn't love launching things through the air? This DIY TOY CATAPULT takes only minutes to put together and your kids will play with it for hours...days even! I love how kids naturally experiment while playing with this toy. Even as young as three, L was moving the can (the fulcrum) around, placing the balls in various slots, and went on to launch her toy parachute, as well as her shoes! So much fun!!!


Materials needed:
-yard stick
-can of food
-egg carton
-scissors
-hot glue gun
-permanent markers (optional)
Things to launch:
-ping pong balls
-pom poms
-cotton balls
-plastic figurines (fairies, dinosaurs, army men)
-marshmallows or cereal (to catch in one's mouth)

First, cut your egg carton in half.

Using a hot glue gun, glue the egg carton onto one end of your yard stick. (Don't worry...when your kids are done playing with their catapult, the egg carton and glue should peel right off the yard stick! I take ours apart every time we're finished playing with it!)


Next, number your egg carton slots and your ping pong balls. This step is optional, but it makes it easy to keep track of what ball goes the farthest and which slots you're putting things into...especially if you're launching multiple balls at once!


The set-up of your catapult is easy...just place the can on it's side in the grass (keeps it from rolling) and place the yardstick on top. Fill the slots with your projectiles!

Now, time to play!!!
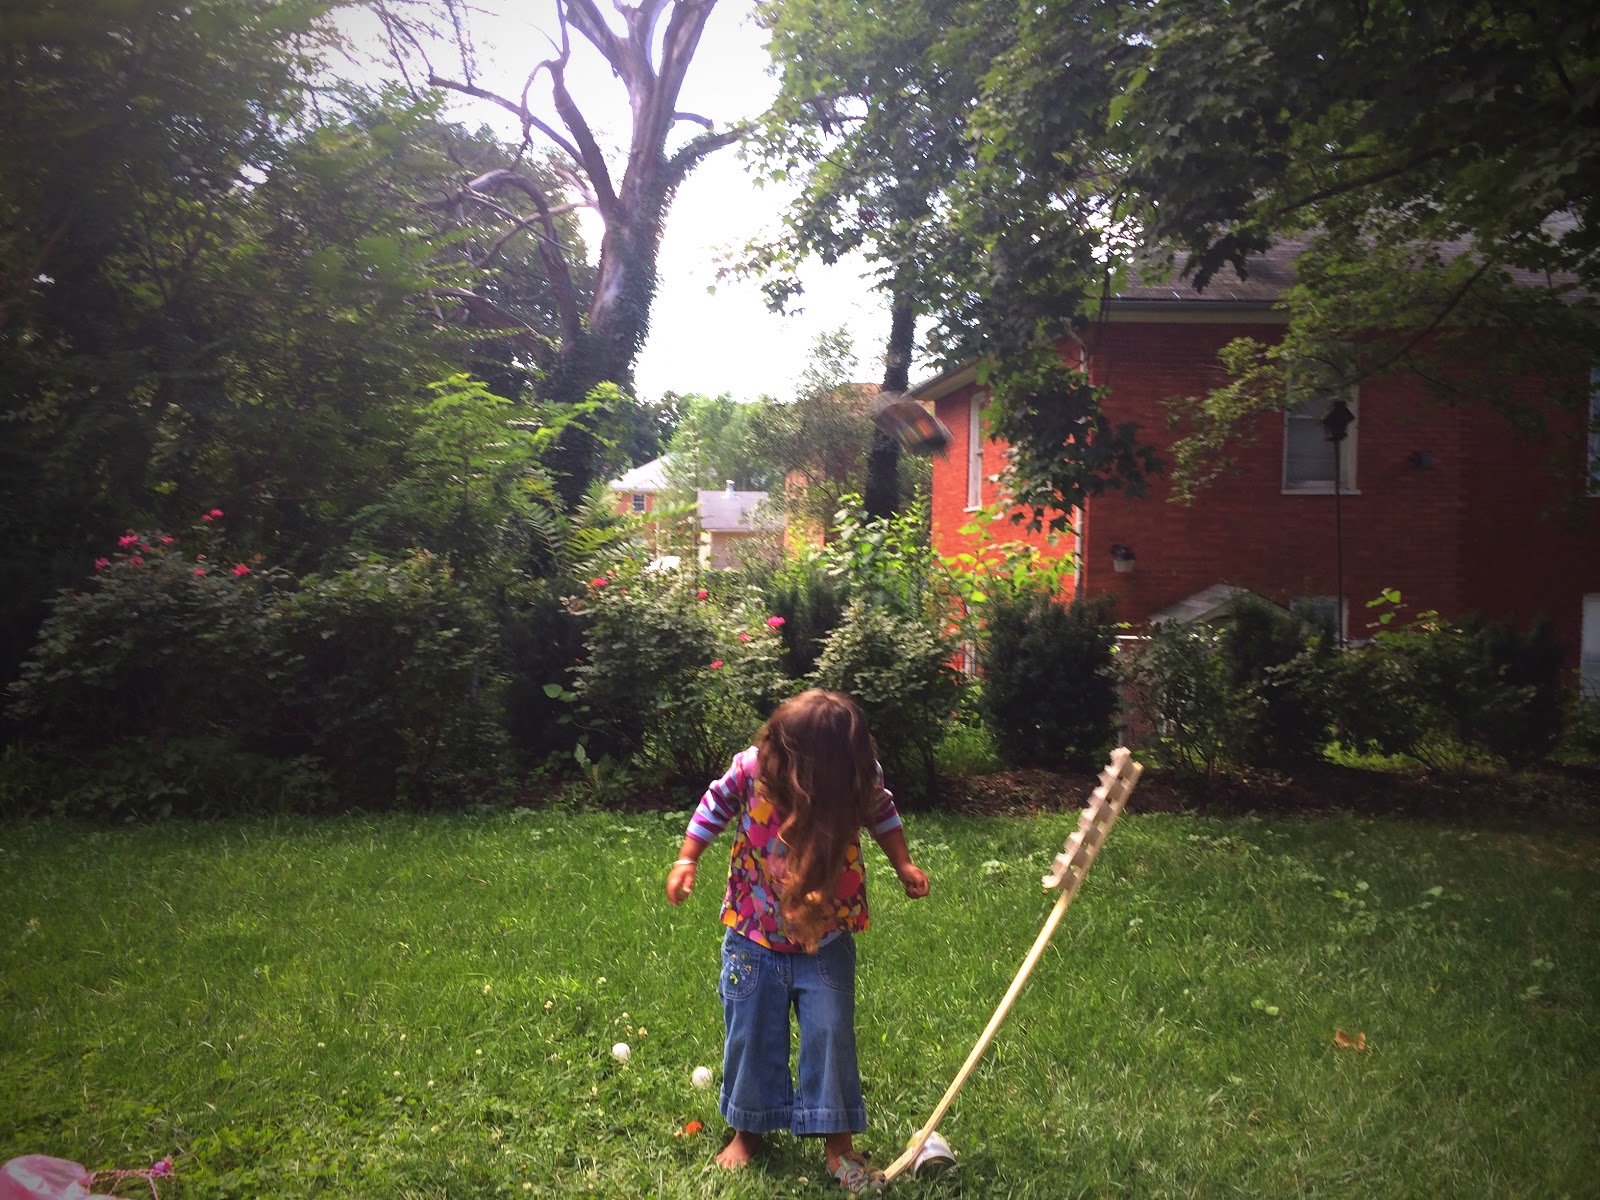
Launching balls...


Parachutes...

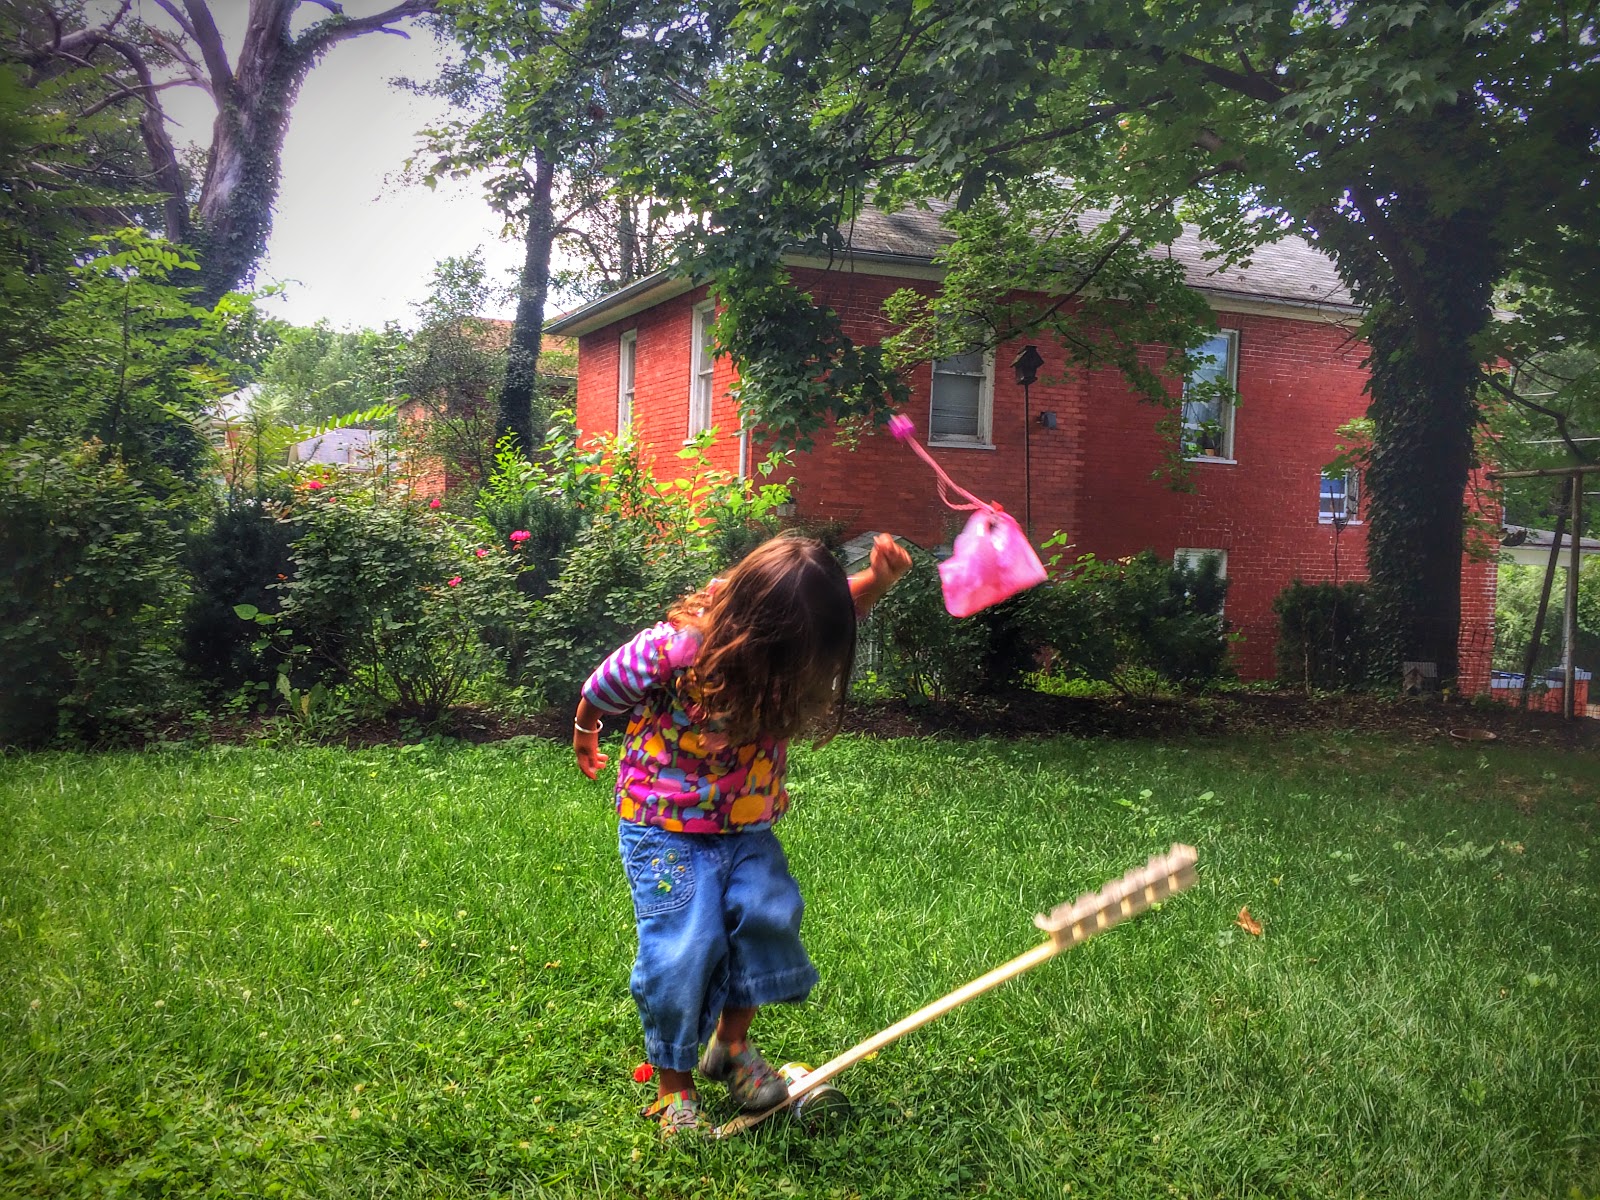

And L's shoes...

What will you all send flying through the air???
If your kids like the catapult, they'll definitely love making POCKET PARACHUTES...another "make something from nothing" craft! Enjoy!


