Have your kids ever daydreamed about going to the moon? To Mars or the Milky Way? By making a PLANETARIUM FOR KIDS you can take them to outer space without even leaving your house!


Last week L and I turned our dining room into a PLANETARIUM complete with the all the planets of our solar system, constellations, "telescopes," MOON DOUGH!, Glow-in-the-Dark Glitter Bottles, Sprinkle Star Sugar Cookies and more! Once you get going on this project the possibilities are endless...your kids will be entertained, playing and learning for days on end!

First, start by making the planets in our solar system. Find a good picture of the solar system, in a book or online, and talk about the planets. Depending on the age of your kids, you can keep the research brief or stretch it out, talking about the facts and properties of each planet. (I included Pluto when teaching L about our solar system...it was always my favorite planet and last I heard, it was back in the solar system!) Next, cut out circles of construction paper to resemble the sun and each planet. Have your lil one color them!
Tape your planets to the underside of a table! Depending on what your child is interested in, feel free to add the moon (made out of tin foil), some constellations...anything you all think is important and fun! Having a good time learning about outer space is the most important part here, so if your lil one wants stars all over in random places, go with it! Why not!? Among our randomly placed stars we included the Big Dipper and Cassiopeia.

Hang some foil stars from the sides of your table for a lil extra pizzaz as well. This was WB's favorite part!

Throw a blanket and some pillows under the table, grab a flashlight and get ready to star gaze! "It's a real campout!" L exclaimed.


Having a flashlight is a must! You can put some SENSORY BAGS (click here) over the flashlight to change colors.
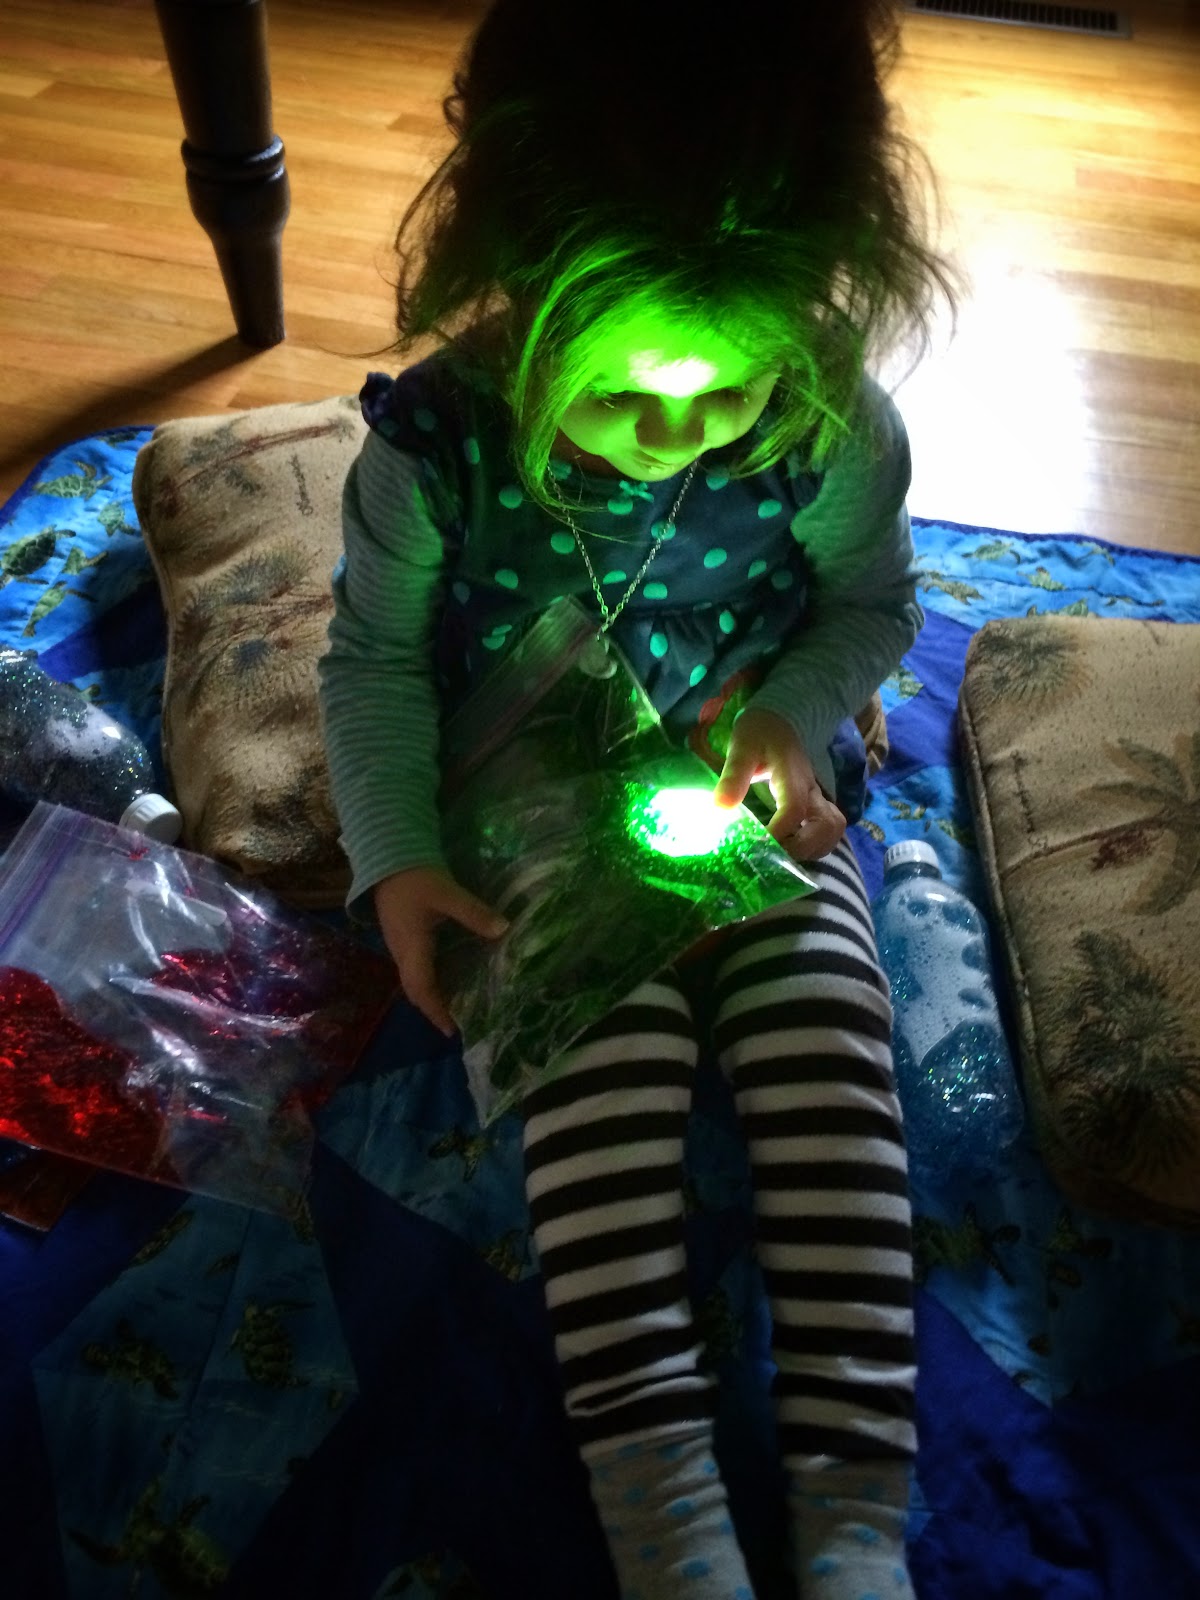

Make some sparkle bottles as well! The GLOW-IN-THE-DARK BOTTLES (DIY here) were a lot of fun with this activity! How many stars can you count? Can you see any constellations in the bottle?


Make a "TELESCOPE" too!

Materials needed:
-paper towel tube (or paper rolled up)
-clear plastic (sandwich bag works well)
-star stickers
-rubber bands

Cut the plastic sandwich bag into a small square. Stick some star stickers on top. Place the plastic over the cardboard tube and secure it with two small rubber bands. Looking out the window or at a light with the "telescope," your child will see stars! Maybe even a constellation!


You can also do the reverse...punch some holes out of construction paper (best if they are in the form of a constellation), and shine the flashlight through! The stars will appear upon the wall!

Getting hungry? Make some SPRINKLE STAR SUGAR COOKIES (recipe here) with your kids! It's a quick and easy sugar cookie recipe and perhaps you'll find more constellations as you snack!

Another fun mess to make as you're exploring outer space is MOON DOUGH! (recipe here) One of our favorites...the silky powder can be molded into shapes and forms and only includes 2 ingredients!

Have fun with this one!!! What else will you all come up with as you venture out, past our atmosphere???


