Tuesday, August 19, 2014

Bubble Blobs and Bubble Worms

Here is a super-fun activity made with materials you already have! L and I started making bubble blobs after breakfast this morning and we were still making them in the shower tonight! (I may or may not have bribed her into the shower with her bubble blob blower.) It's definitely a good summer activity, but there's no reason why it can't be done in the bathtub on a rainy, cold day. 


Materials needed:

-plastic drink bottle
-old sock (Thick socks work best!)
-rubber band
-dish soap
-food coloring (optional)
-a small bowl
-scissors


First, cut the bottom of the plastic bottle off and unscrew the lid. 


Turn the sock inside out (so the fluffier side is outside), and pull it over the bottom of the bottle. Secure it in place with a rubber band.


Next, put some dish soap in a small bowl with a little bit of water. If you want your bubble blobs and worms to be colored, add a few drops of food coloring too!


Now for the fun part...put the newly-made, bubble blob blower in the dish soap, then blow through the bottle top!


Instruct your kids to blow as if they're blowing up a balloon and not to suck in!!! L made that mistake once and got a mouthful of bubbles. Ick!


It's fun to see who can make the longest bubble worm! :) What other bubble inventions have you made? Please share in the comments section below! 

Sunday, August 17, 2014

Imagination Box!

I don't know about you, but our kids always seem to have too much stuff....too many stuffed animals, too many dolls, too many plastic play sets, too many puzzles, etc. When L is going to a birthday party, I hate to buy a toy that her friend will play with for 5 minutes and then toss to the side. Homemade gifts are truly the best, most heart-felt to give and I love making them, but I just don't have the time some days. The "Imagination Box" is my gift-giving solution!!! It is quick and easy to put together and kids of all ages LOVE it! The Imagination Box makes for a fun birthday gift, as well as a perfect "Get Well Soon" gift, plus it guarantees hours of entertainment!


"So, what do I put in the box?" you ask. Anything and everything!

Paper plates and cups, brown paper bags, construction paper, crepe paper, straws...


Cotton balls, clothes pins, colored craft sticks, paper clips, sponges, markers, googlie eyes...


Buttons, rubber bands, glue, beads, shoe laces, pipe cleaners...


Egg cartons, kid scissors, mini-staplers, felt squares, a few sandwich bags (for lil pieces with opened packaging)...


Just about anything that will fit in the Imagination Box, that kids can use to create art, works! I usually go to the Dollar Store, walking up and down every aisle, and look for items with crafting potential. It certainly looks like a lot pictured here, but the box can be filled with less than 25 dollars!


Last, but not least, you need a cardboard box to put everything in. Try to leave the box mostly undecorated, so the child receiving the gift can use it too! The box itself will make a perfect rocketship, firetruck, castle, table, bed, gnome house, etc.


When putting together an Imagination Box, you need to consider the child's age. It's best to put things in the box that the child receiving it can create with independently and safely. After all, the box is designed to keep kids busy creating (so mom and dad can cook dinner in peace)! For instance, if you're making an Imagination Box for a 2 yr old, you may not want to include scissors or a stapler, but an 8 year old would have no problem with them. Always make sure you give parents a heads-up of anything that's questionable.

Some ideas to get kids started...
-make a little town or fairy village using paper bags
-paper plate masks
-pipe cleaner bracelets, necklaces, glasses
-puppets
-robots
-make pretend food
-cotton balls for clouds
-clothespins to make people
-egg carton flowers
-egg carton caterpillar

Get messy and have fun!!! Let the kids' imaginations soar! 

Wednesday, August 13, 2014

Acorn Cap Treasures

L and I were so excited the other day when we noticed that acorns were starting to fall from the Oak trees. We collected as many acorns and acorn caps as we could carry and rushed home to make "acorn cap treasures" with them. This craft is so much fun to do and to observe that we'll probably be doing it every summer when the first acorns begin to fall. 


Materials needed:
-acorn caps
-markers (any kind should work)
-Elmer's Glue
-a medium container 
-rice or dried beans or lentils


First, color the inside of your acorn caps with the markers. L loved this part, but being only 2 yrs old she wasn't the best at coloring the entire cap...so I helped filling in any missed spots.


Next, pour some of the rice or beans into your container...it only needs to be about half an inch deep.  Have your child lay all the caps on top, one by one. Press down gently on each cap making sure they are upright...well, bottoms-up. 


Now, fill each acorn cap with the glue. This was our favorite part, watching the colors bleed out into the glue.


Wait and watch your acorn caps for a couple days as the glue begins to dry and the colors change. L loved checking on her treasures throughout the day, observing all the color variations. They take a full two days to dry!


When your acorn cap treasures are dry, the insides will be nice and shiny like true jewels. Now it's time to play!


L likes to pretend that her acorn caps are fairy treasures and coins. She tried giving me a couple of my favorite colored ones, the orange, in exchange for a cookie this afternoon. Ha! I love seeing L's imagination at work!


We also have fun playing matching games with them. We turn all the caps upside-down on a blanket. Then, one of us says a color and we take turns trying to find it. With the same set up, you can also take turns trying to find two of any matching color. So much fun to make and to play with! What games did your kids come up with???


Tuesday, August 12, 2014

Fairy Furniture

It wouldn't be fair for me to tell you how to make a "fairy door" without showing you how to make some fairy furniture to add to your garden as well! These tables and chairs are super easy and quick to make and, like most of my favorite crafts, they can be made with things you already have! 


Materials needed:
-bottle caps
-little sticks and twigs
-scissors
-hot glue gun and glue


First, have your kids help you collect sticks out of your yard and select some colorful bottle caps. (Bottle caps are another item we hoard in our house...they can be used for so many crafts!)


Using your scissors, cut a stick into four equal pieces...each about an inch long. These will be the legs of your chair.


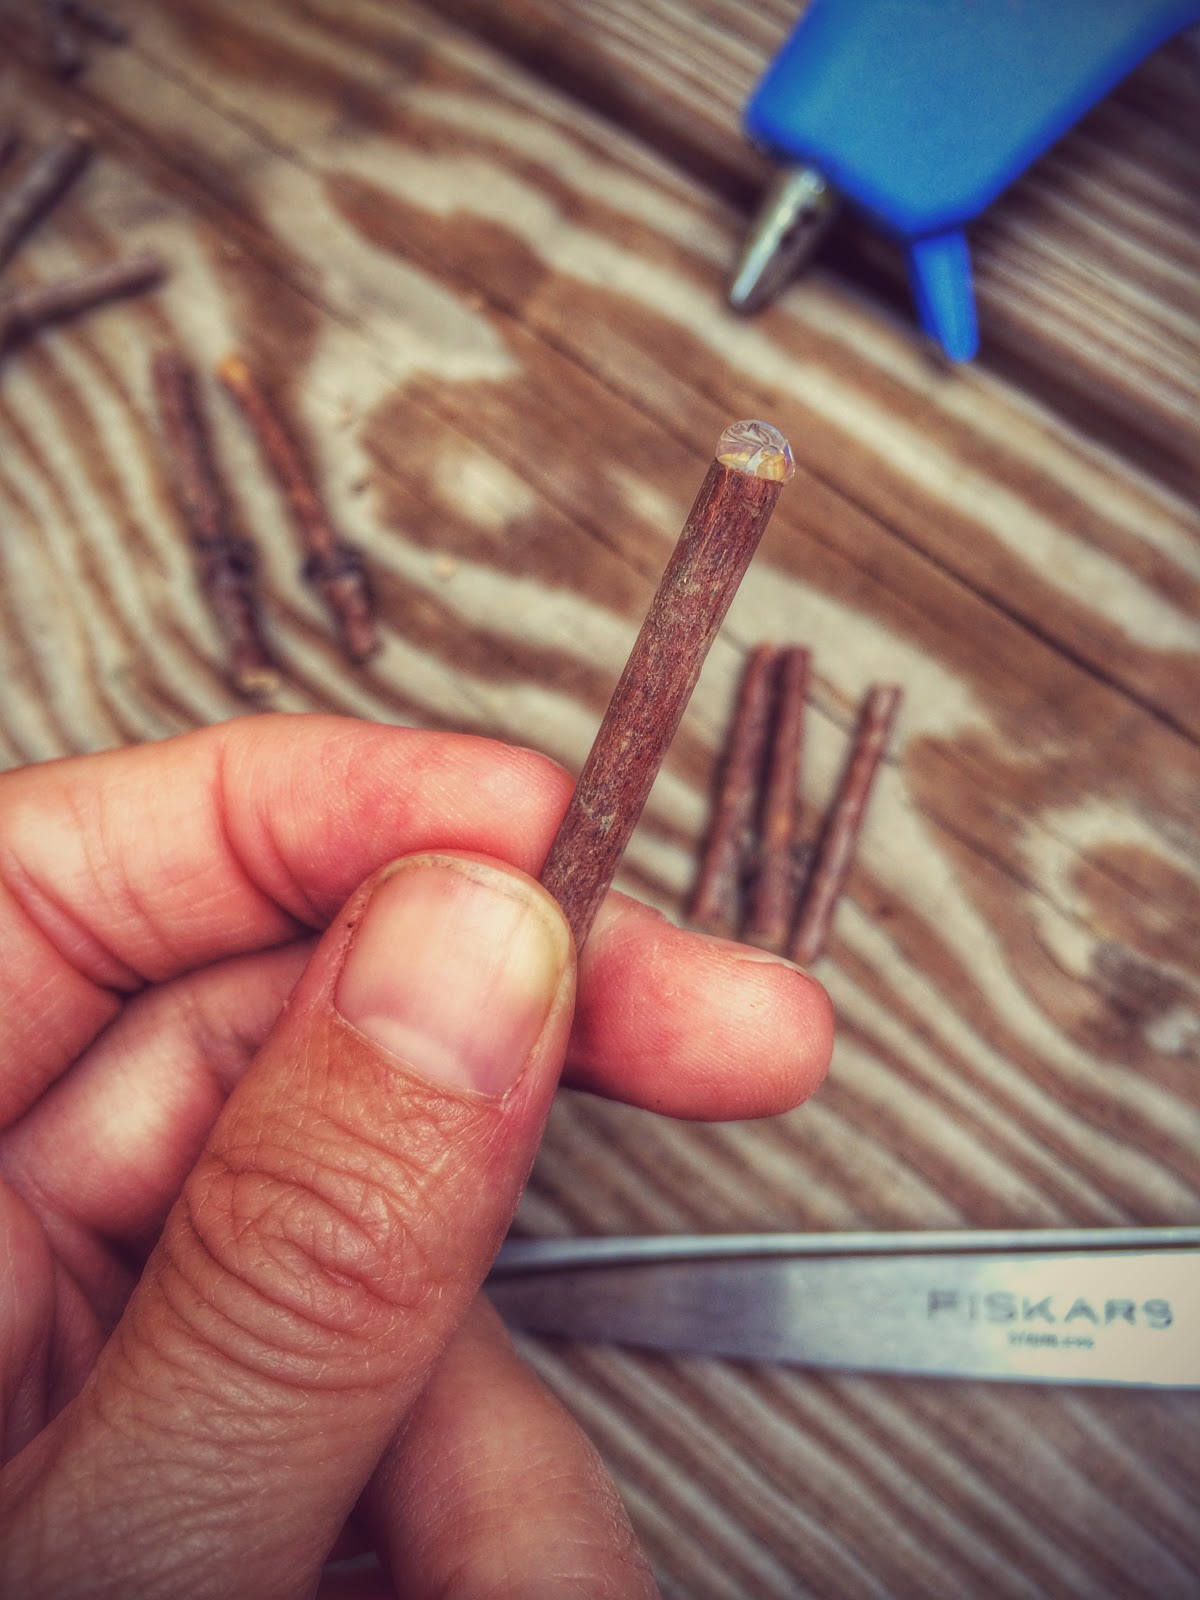
Turn a bottle cap upside down and glue the four legs into place. You can either put the glue onto the leg and push it into the bottle cap, or put the glue directly onto the cap and push the stick in. Whichever method you decide on, make sure you do it quickly so the chair legs are super-secure!


Cut two more sticks, about an inch and a half to two inches long. These ones do not have to be exactly equal in length or straight! Cut two or three more sticks about an inch in length.


These sticks will resemble a ladder-back chair. One by one, glue the inch-long sticks to the longer ones, attaching the two. (Easier to see in the pictures below than to explain!) I prefer the small, horizontal sticks to be a little crooked...gives the chair more character!


Once all the sticks are attached and the glue has dried, flip the chair over and decide which side will be the front and which will be the back. Glue the back of the chair to the seat with two more dots of glue. All done!!!


If you've made the chair, the table is super easy...essentially it's a back-less chair!


I just love the color and character the bottle caps give the fairy furniture! Have fun playing with this one! They are so quick and easy to make, you might as well make a few for your neighbor's garden as well.