Tuesday, December 9, 2014

DIY Soap Crayons

Here's another fun craft for your kids to help make and to play with...L had a ball with her DIY SOAP CRAYONS! They're a little different than the bath crayons you'll find at the store...these ones wash off the bath and shower walls easily with water. L likes to color with these ones in the shower before I turn the water on, then she makes a nice soapy, colorful mess once the water is on. They're fun for coloring on your skin too...just add warm water and it washes right off! 


Materials needed:
-bar of white soap
-cheese grater
-food coloring
-2 to 4 tablespoons hot water
-fork and spoon
-ice cube tray, muffin tin, paper cups or candy mold


First, grate the bar of soap into a large bowl. Grate the entire bar, making about 2 cups of soap shavings.


Add 2-4 tablespoons of hot tap water to the soap and mix-mash with a fork or spoon. Continue mixing until the soap has formed a semi-liquid consistency without any big lumps. 


Spoon the soap into your molds. Add about 5 drops of food coloring to each one and mix carefully with a spoon. We found that a baby spoon worked great for this step!
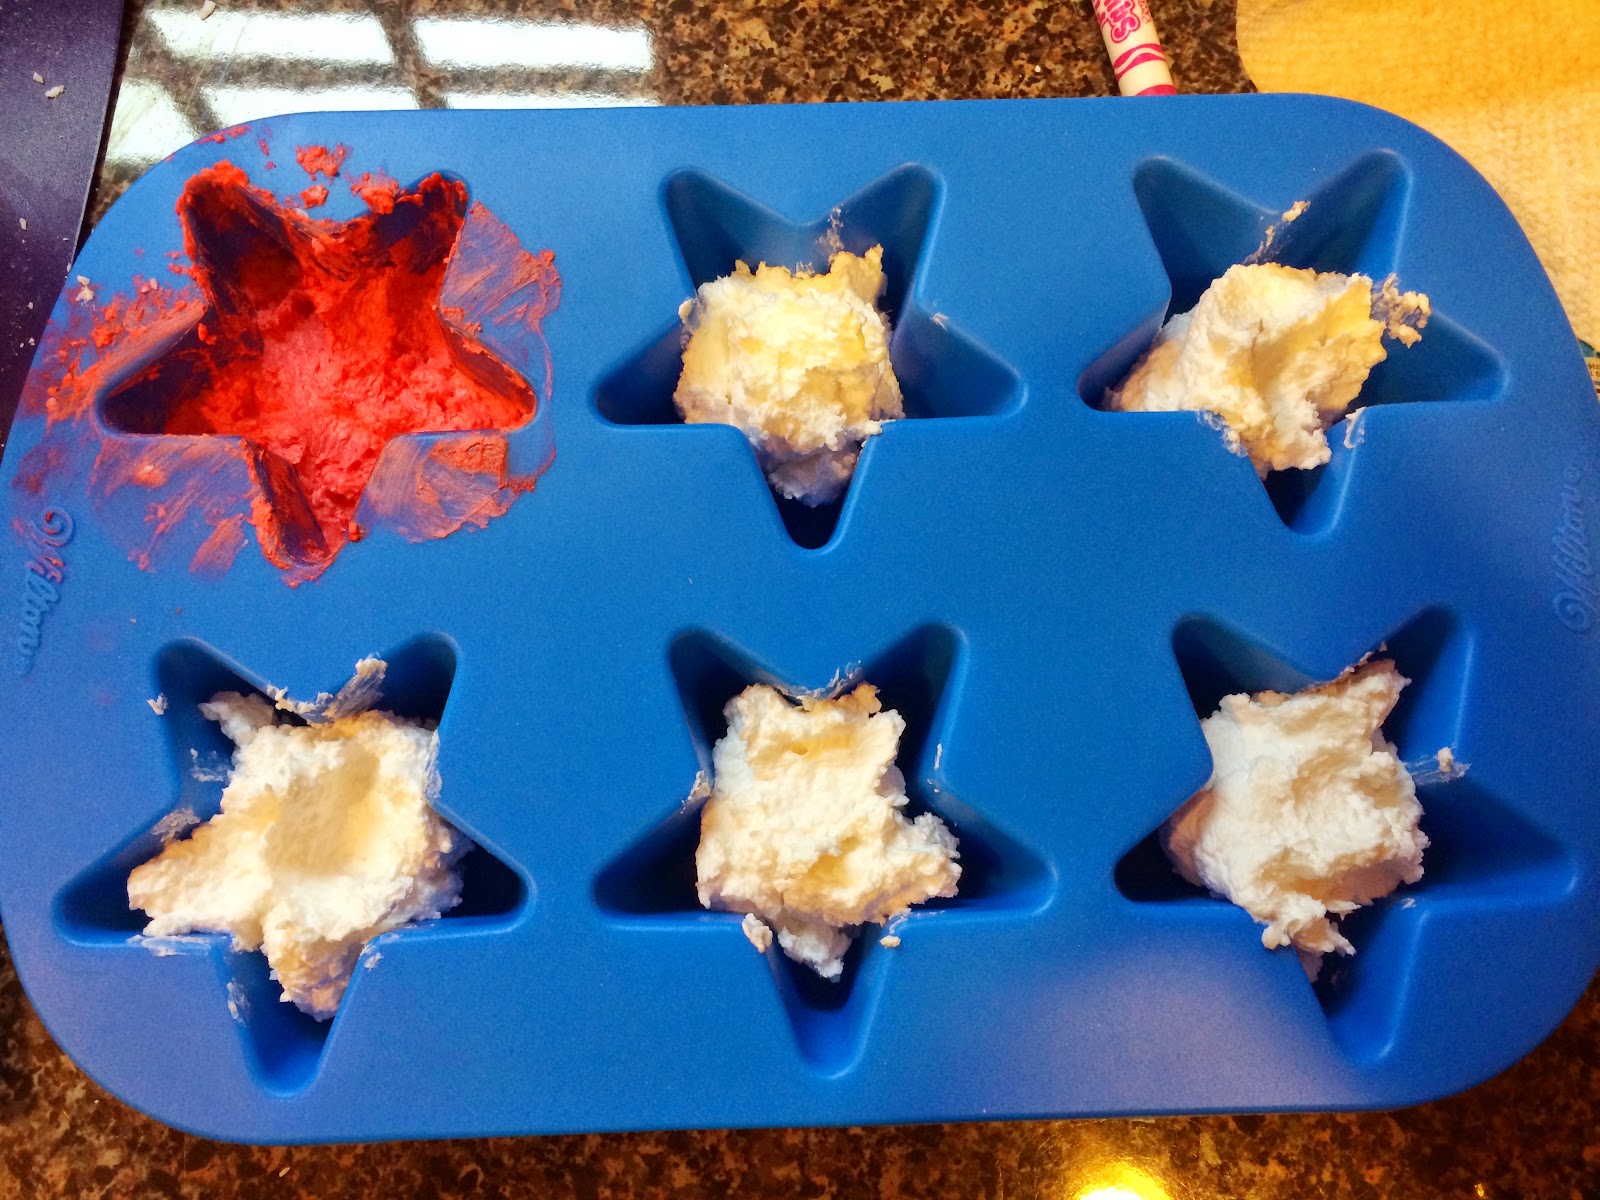


Once your soap crayons are all mixed and colorful, carefully push the soap down evenly into the molds. Set them aside to dry for a full week. 


After a week has passed and the crayons have hardened, carefully turn the molds over and pop the crayons out. If their underside is still a little soft, let them finish drying for a few more hours. 


(We saved all the little colorful crumbs too...added to a bubble bath or some shaving cream, they will make a beautiful rainbow mess!) 


Now for the fun part...time to color and play with your own homemade soap crayons!!! Enjoy!!!


Saturday, December 6, 2014

Thumbprint Christmas Lights Gifts

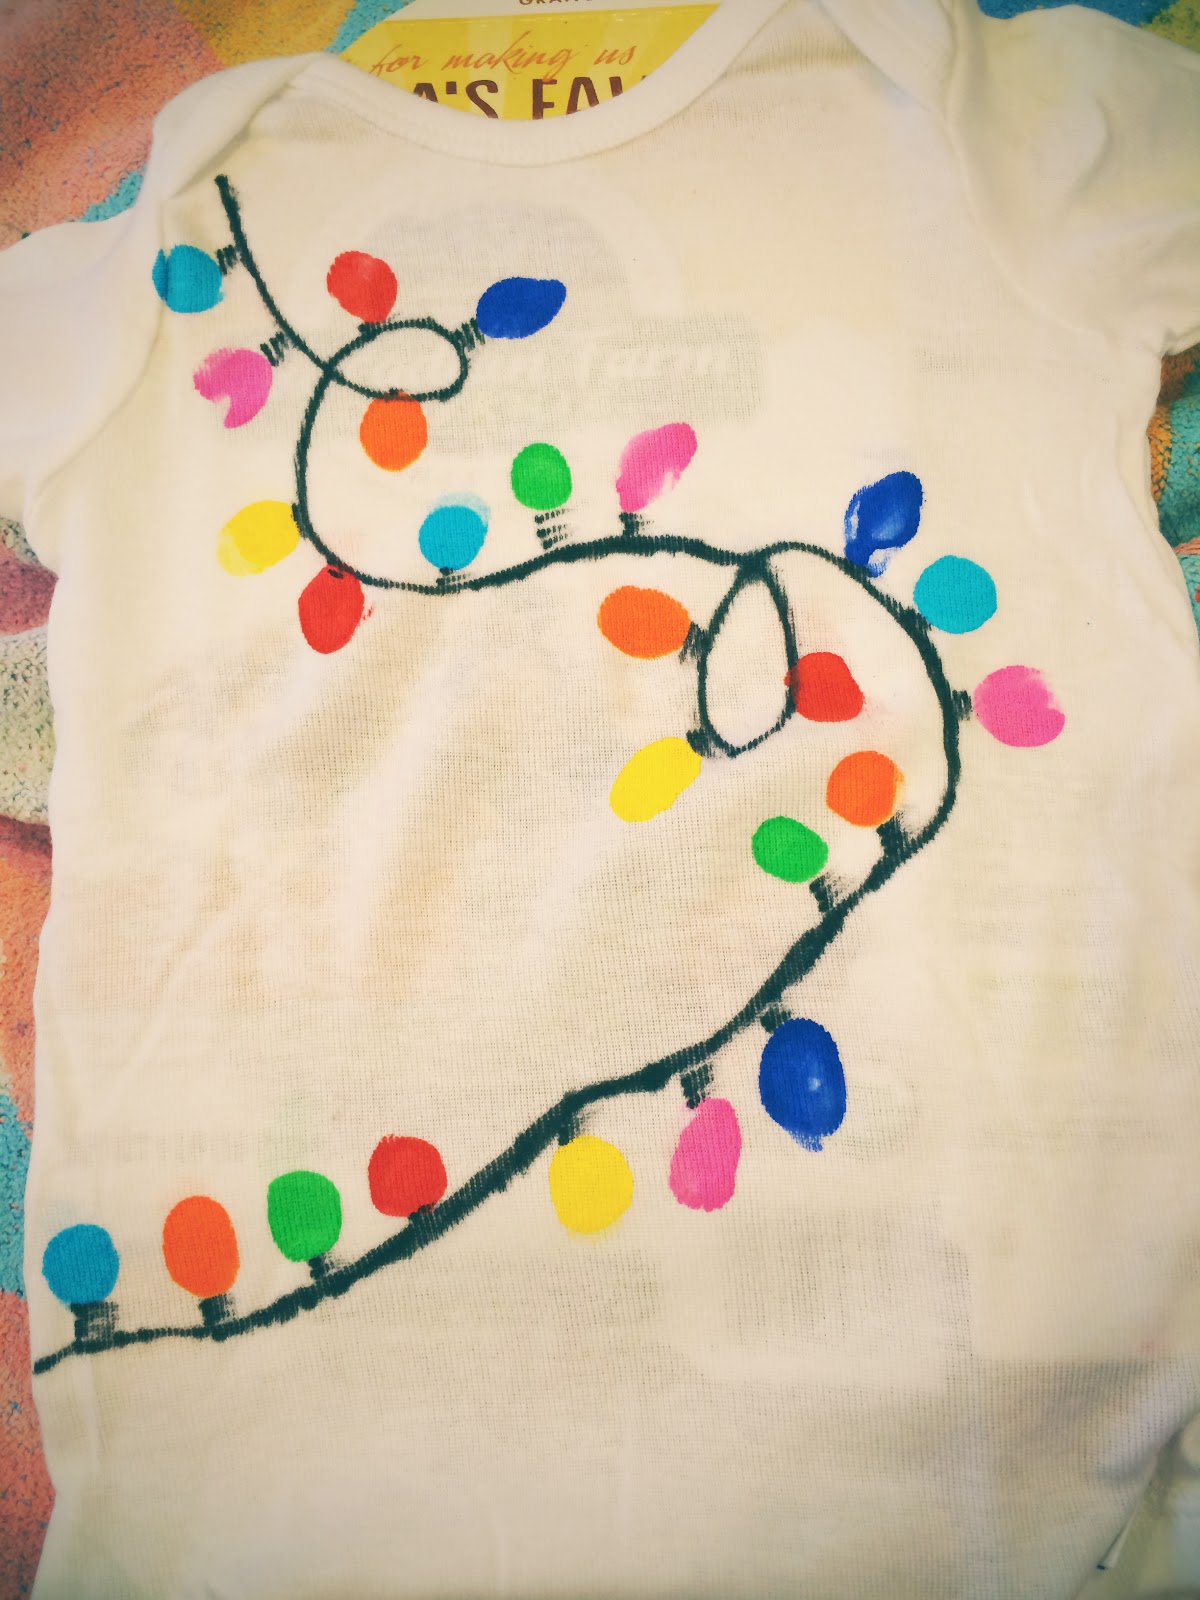
I'm super-excited about how easy these THUMBPRINT CHRISTMAS LIGHTS were to do and how cute the finished products turned out! L and I made pictures for her grandparents and this adorable little onsie for her baby sister. I think we'll be making more of these shirts this coming week...one for L and some for her friends too. The THUMBPRINT CHRISTMAS LIGHTS are just too cute! 


Materials needed (shirts):
-tshirt
-acrylic paints
-cardboard (old cereal box works)
-Sharpie marker, black

Materials needed (card or picture):
-paper
-acrylic paints
-Sharpie marker, black


First, when making prints onto clothing, put a piece of cardboard up through the middle of the shirt. A collapsed cereal box works great for little ones. This will keep any of the paint or marker from seeping through to the other side.


Next, draw a curly line across the shirt with the black Sharpie. 


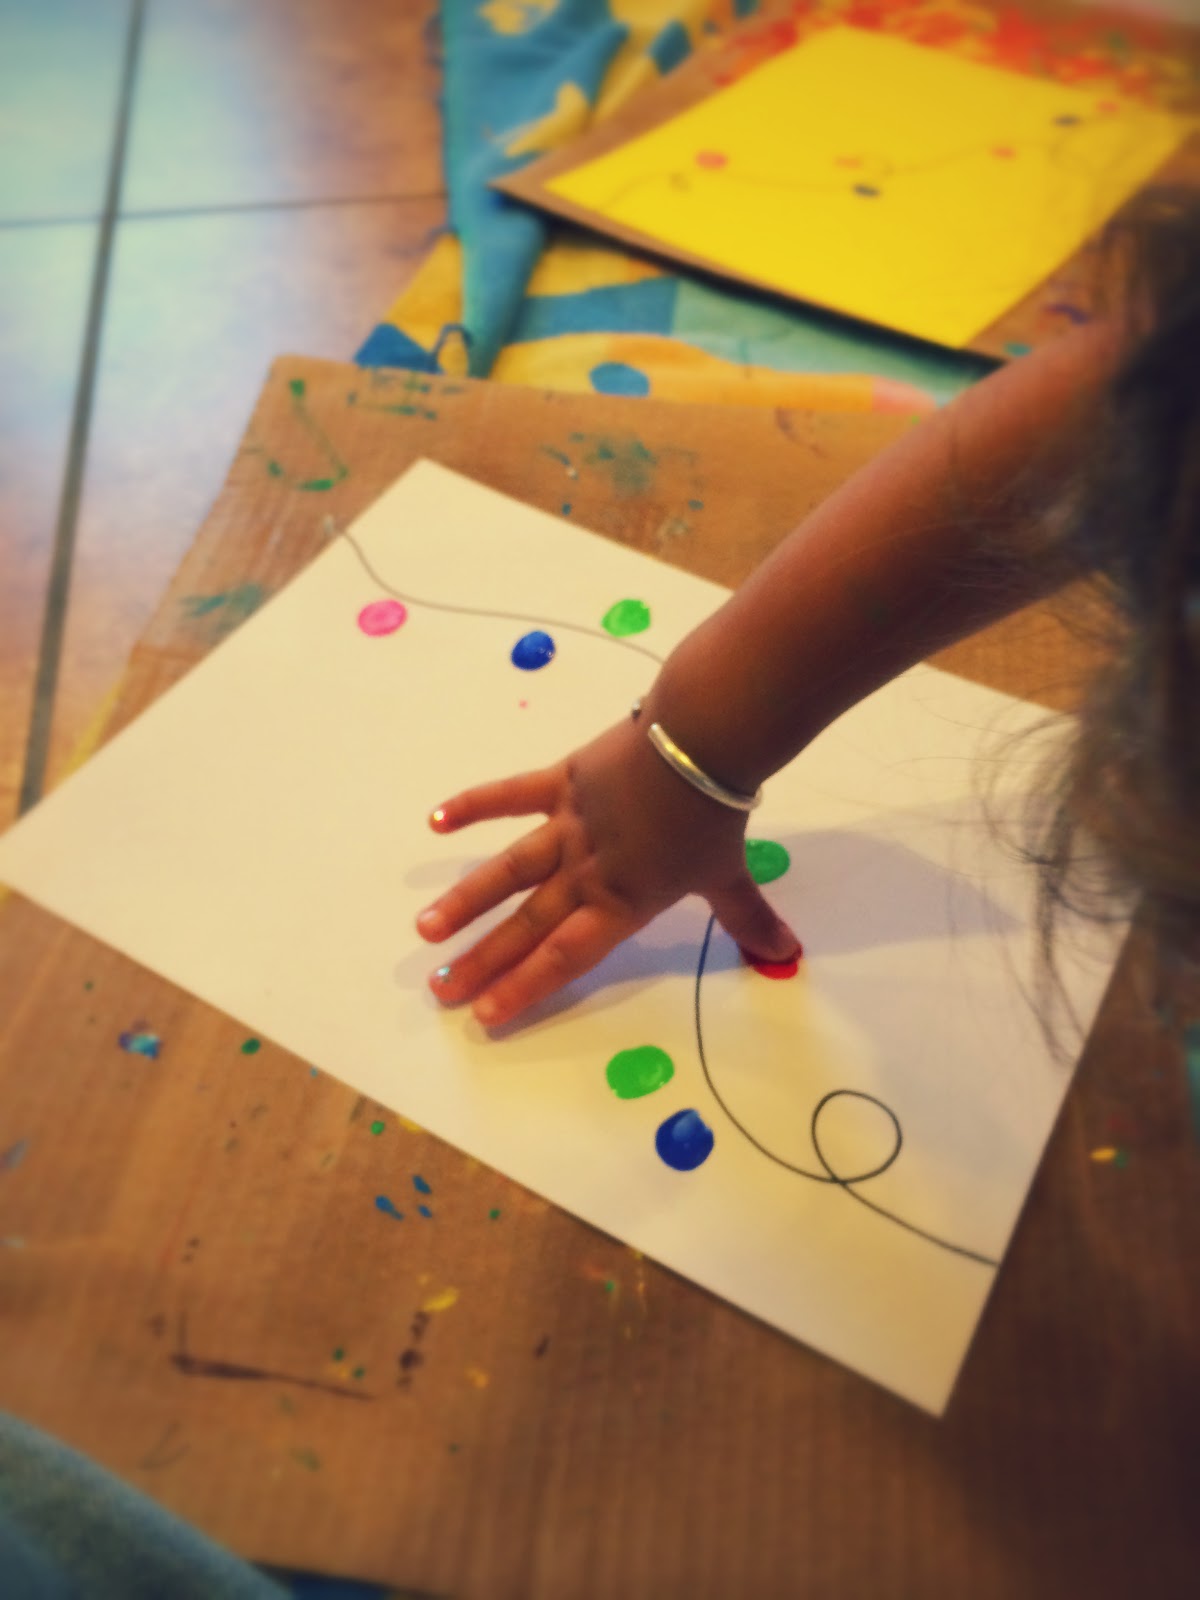
With the paint, help your little one make thumbprints along the line. The thumbprints shouldn't all touch the line, though it's okay if a few do. 


Once the paint has dried completely, go back with the Sharpie and draw 2, 3, or 4 lines under each thumbprint to make them look like a string of Christmas lights. 


So stinkin' cute! Huh? WB approves!


To make a Christmas card or picture, simply do the same on a piece of card stock paper. 


What else could you put THUMBPRINT CHRISTMAS LIGHTS on? A tablecloth, napkins, a small board of wood, little boy's pants, boxer shorts for dad, ball ornaments...so many possibilities!!! Enjoy!

Thursday, December 4, 2014

DIY Semisoft Honeysuckle Soap

I have to start by telling you that I'm not a fan of smelly soaps, smelly candles. I don't even own perfume. This honeysuckle soap is perfect though...its mild smell reminds me of childhood summers, playing outside in the woods, drinking the lil drops of honeysuckle nectar pretending it was a real treat. Just about everyone I give this soap to has asked for the recipe. It's just that good! 


Ingredients:
1 bar of unscented, white soap (my favorite to use is Dove for sensitive skin)
1 1/2 cups boiling water
1/2 to 1 tsp honeysuckle oil (I buy mine at the Handworks Gallery in Winchester, Va.)
4 drops red food coloring
10 drops yellow food coloring

Tools needed:
-blender
-cutting board and knife
-cooking spray 
-paper towel
-12 little jars and lids
-hot glue gun and glue (optional, to secure lids)


First, put the water on to boil. While waiting for the water to boil, cut your bar of soap up into small pieces. 


Place the soap into your blender. (Have the lil kids help with that step!) Pour in the boiling (or nearly boiling) water. Add the honeysuckle oil and food coloring. 


Blend for 15-30 seconds. Your blender will fill to the top with foamy, lotion-like soap. 


Prepare your jars with a quick spray of cooking oil. Follow by wiping the spray around the inside of the jar briefly with a paper towel. 


Carefully pour the soap concoction into each little jar. Set the jars aside for a few hours before putting the lids on. The soap will firm up a bit, but will continue to have a creamy, semi-soft texture. (Most canning jars come with the lids in two pieces. Just use a hot glue gun to secure the lids together if you like. Don't use super-glue or crazy glue!!! I made that mistake once and all the soap ended up smelling like toxic glue! Ick!) 


Stick a little label on the lid; tie a ribbon or string around the jar and you have the perfect "anytime gift." Enjoy! 


Sunday, November 30, 2014

DIY Vintage Postcard Christmas Garland

Anybody that's been to our house knows that I love garlands and the Christmas season is just another excuse for me to make and display more! Our POSTCARD CHRISTMAS GARLANDS are some of the quickest and easiest to make, plus they add a lot of character to the room. We have two postcard garlands in our house...one hangs across a wide doorway and the other under a mantel...both are made a little differently. 


The first VINTAGE POSTCARD GARLAND is one that I made new this year. I found a huge collection of postcards at a local antique store a couple weeks ago and knew that I had to do something with them. I carefully went through the postcards, all from the early 1900s, and picked out some of my favorites...some I chose because of the bright and colorful picture on the front and others because of the endearing (or humorous) message written on the back. 


Since these postcards were old I didn't want to damage them in any way, so I decided to clip them to a vintage-looking string with mini-clothespins. It was that easy. You can add an old ornament or a prism, as we did, in the middle as well. I just love ours!


The second POSTCARD GARLAND is one that I made a few years ago out of new, but old looking postcards. Have you ever read any of the "Flower Fairy" books by Cicely Mary Barker? The illustrations are just beautiful! 


I once found these postcards with the "Flower Fairies" depicted on them and knew it'd be perfect for a garland. No, these fairies aren't necessarily Christmassy, but I like things a little different, a little unpredictable. This garland celebrates all things magical about the Christmas season. To make this garland, I punched holes in the tops of the postcards and strung them up. On the ends I tied a few strips of fabric, just some scraps out of my scrap pile. And that's it! Simple, but definitely cute and fun! 


Enjoy! 

Saturday, November 29, 2014

Christmas Tree Decorating

I always feel like our Christmas tree is a miniature version of the one I grew up with...I'm sure as our ornament collection grows over the years, so will our tree. Many of our ornaments are ones that hung on my family's tree when I was a kid and hold such special memories to me. Isn't that one of the best, yet bittersweet parts of Christmas...all those memories? The exciting thing is that now we have the chance to make memories with our own children...some new and some borrowed from our own childhoods. I feel like our Christmas tree is just that!


Popcorn Garland
My parents' Christmas tree still dons the garland my brothers, sisters and I made when we were kids some 20-30 years ago. If you make it right and store it well, it will obviously last a very long time. 


One of the most important tips is using plain popcorn, popped in a hot air popcorn machine. Also, if you plan ahead and have the time, letting your popcorn sit overnight and become slightly stale helps in stringing it...it won't break as easily. To string the popcorn just use a piece of thread (or dental floss) and a sewing needle. You don't have to make one super long string at once, make 4 or 5 foot long ones and tie them together. 


When storing the popcorn, first start by adding a bright ribbon to both ends of your garland. That will make finding the end easier next year. Find a medium-large container and coil it around inside the container, much like you do a garden hose. We use a plastic tupperware-like container, but a large popcorn tin works very well too. 


Tree Skirt
If you're like me and like a homey, vintage looking tree skirt you don't have to look far. I bought this cheap Christmas blanket one year at a thrift store and we wrap and fold it around the bottom of our tree. I do wish it was actually a quilt and not a look-alike-quilt, but nobody would ever know the difference and it achieves the look I'm going for. You could do the same with a table cloth or any large piece of fabric. 


Tree Topper
Don't be afraid to use a non-traditional tree topper. I love decorating for Christmas, but even more I love adding magical little twists to our decorations...keeping things unpredictable and slightly quirky. I found this glittery butterfly clip at a local floral shop years ago and attached some florist wire to the back to help secure it to the tree. So much fun! 


Happy decorating everyone!