Showing posts with label garland. Show all posts

Monday, May 25, 2015

Tin Foil Jelly Fish Craft

I love this super cute, jelly fish craft for so many reasons. Our TIN FOIL JELLY FISH were inspired by a trip to the Baltimore Aquarium and the girls' fascination with "The Jelly Fish Invasion" exhibit. (Super cool...if you are anywhere near Baltimore, go see it!!!) I love that this craft costs nearly nothing to make and L learned all about textures and rubbings while coloring the foil. And I LOVE the way our jelly fish look hanging in our kitchen window. If you can, place them near an air vent...when the air kicks on the jelly fish will come to life, dancing and swimming in the sun!


"The Jelly Fish Invasion" at the Baltimore Aquarium...

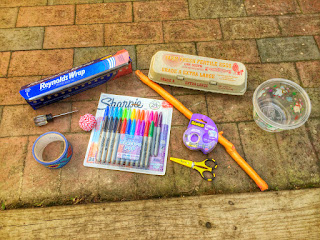
Materials needed:
-tin foil
-permanent markers
-egg cartons
-other small, plastic containers (think applesauce, olives, etc.)
-string or fishing line
-painted stick 
-tape
-scissors
-paperclips
-nail or sharp-tipped tool


First, cut your egg carton into little jelly fish shapes.


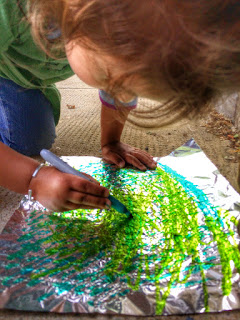
Next, take a few sheets of tin foil and have your children color them. This is a great opportunity to make rubbings. L colored on the patio furniture and bricks, over tree bark, on the textured sidewalk and on her slide. Not entirely necessary, but why not!? Your kids can also try making different patterns if coloring on a flat surface...stripes, dots, swirls, anything goes!


Cut the tin foil into little squares and have your kids wrap the egg carton cut outs with the foil. You may have to help them smooth down the outer edges. 


If you have some small, plastic containers to use as well, first poke a hole in the center. Next, cover the containers with the foil too. 


Cut strips of tin foil and tape the strips, 2 or 3 at a time, to the inside of your jelly fish. 


Using a nail or sharp tool, poke a hole into the top of each jelly fish.


Now, it's time to hang your jelly fish up. I knew ours would go in our kitchen window, so we hung the jelly fish along a painted stick. You could also make one large jelly fish and hang the smaller ones underneath. That method would be cute if hanging your jelly fish up under a light, in the center of a room.


We hung our jelly fish by stringing them onto fishing line and tying the line to a paperclip underneath each one. Some hung on their own, while others had a second jelly fish hanging underneath. Get creative and have fun with it! 


When doing projects like this, it's definitely easier to have the jelly fish hanging while you are tying them on rather than laying flat on the ground. 


Put them up to display and enjoy!!!


Tuesday, February 10, 2015

Bird Feeder Garland and Bird Feeder Ornaments

The BIRD FEEDER GARLAND is one of my favorite Winter crafts. It's fun to make and even more fun to watch the wildlife activity that arises in our backyard after we hang it up! This week we've watched birds nibbling, followed by squirrels chasing the birds, then snacking themselves, and lastly, we observed four neighborhood cats stalk the squirrels for two days straight. Easy Winter entertainment...the girls and I have been glued to our kitchen window! The BIRD FEEDER GARLAND itself looks beautiful hanging in a tree, around a bush, or along a fence!


Materials needed:
-dental floss
-unsalted peanuts in their shells
-old apples, oranges, cranberries and/or raisins
-embroidery needle
-cardboard


Thread the dental floss into the needle. I use dental floss for lots of projects, because it's always on hand and is super-sturdy! Using the needle, string the peanuts onto the dental floss. Having cardboard under the peanuts, makes it easier to push the needle through. Tie a knot after you string the first peanut to hold the rest on!


You can cut an apple into small pieces to string as well. If you have dried fruit, you can string that along with the peanuts too.

My helper squirreling away some apple bits...


Once the peanuts are all strung, find the perfect place to hang your BIRD FEEDER GARLAND!


The BIRD FEEDER GARLAND looks great on it's own, but to really give the birds a treat, add some BIRD FEEDER ORNAMENTS as well! Kids love helping with this part!


Materials needed:
-dental floss
-pinecones
-peanut butter
-bird seed
-butter knife
-2 plates


First, tie the dental floss in a knot or two around the top of the pinecone.


Using a butter knife, slather on some peanut butter.


Pour some bird seed out on a plate and let your little one roll the peanut butter-covered pinecone through the bird seed. 


Hang the pinecones from your BIRD FEEDER GARLAND!


You can also slice some apples and/or oranges to hang from the garland. And if you make these DIY Cereal Bird Feeders, you can add them as well! Enjoy!!!


Wednesday, January 7, 2015

DIY Flower Garden Entrance

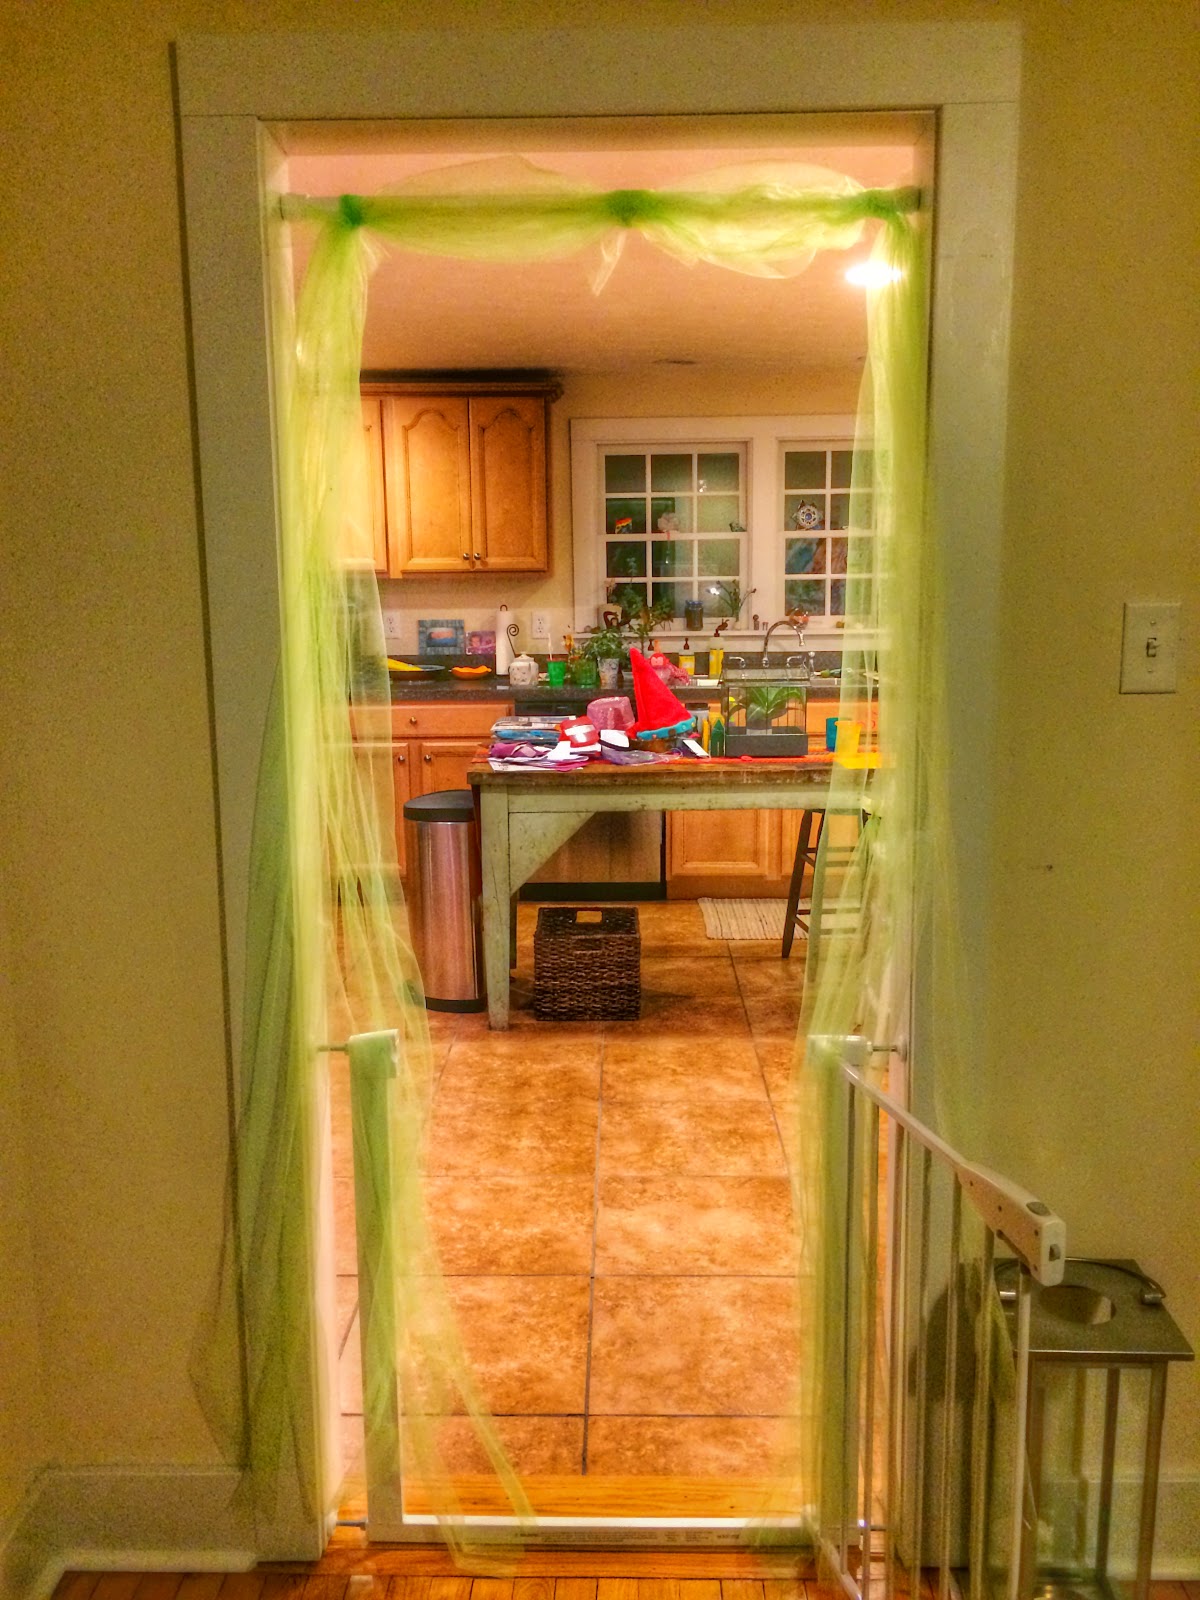
I made this FLOWER GARDEN ENTRANCE for WB's first birthday this week and I just love how it turned out! We put it up in our kitchen, but eventually we'll move it to brighten up the entrance to her bedroom! A FLOWER GARDEN ENTRANCE is the perfect decoration for birthday parties, tea parties, or anytime you want to bring a little sunshine inside! You could hang it in a doorway or above a window! 


Materials needed:
-adjustable shower curtain rod
-2 rolls of green tulle
-silk flowers 
-florist tape
-hot glue gun and glue
-piece of string

(Silk flowers are on sale during the winter months at most craft stores...I got these all 50% off!)


First, I measured the height and width of the doorway where our FLOWER GARDEN ENTRANCE would be. Our house is old with doors of various heights and widths...I wanted to make sure that if I made it in the kitchen doorway it would fit in the doorway to my daughter's room.

Next, put up the curtain rod and tie a piece of string around the middle. You will thread the tulle through this, so make it not too tight, but not too loose.


Now thread the tulle through the string, cutting strips in similar lengths. The tulle will travel along the top of the rod and straight down (see the next steps), so measure and cut accordingly.


Next, wrap a small scrap of tulle around the middle a few times, tie and cut. You can now remove the string that was holding everything up.


Do the same at both ends of the curtain rod...wrapping a scrap of tulle around the long tulle strands, tie and cut.


Now, figure out where you want your flowers to go. For long stems, I used floral tape to secure them to the curtain rod in various spots. With individual flowers, I just used a hot glue gun to glue them in place. Other smaller stems can be tucked in and behind the rest and may not even need tape or glue.


And finally, pick a few small, delicate flowers to glue in place along the long strands of tulle. My favorite and final touch!


My girls were so excited to find this hanging in the kitchen this morning! Easy, beautiful and fun!!!