Monday, January 19, 2015

Moon Dough!

There are lots of recipes out there for MOON DOUGH or, as some like to call it, "cloud dough." This recipe is one of our favorites! It's one of the easiest things to make, consisting of only 2 ingredients, and, if stored properly, it will practically keep forever! The consistency of MOON DOUGH is amazing...similar to sand it holds its shape when molded, though at the same time it easily crumbles back into its silky powder form. I have to warn you, it does make a mess...but a glorious, entertain-the-kids-for-an-hour mess! Just put a blanket down on your kitchen floor first or, when the weather is nice, take MOON DOUGH outside! 


Ingredients:
1 cup baby oil
4 cups flour

Simply put the baby oil and the flour into a large bowl or plastic container. Using a whisk, spoon or your hands, mix the ingredients together. Easy peasy!!! 


Fun tools for the kids to play with are spoons, forks, small measuring cups or bowls, a muffin tin, sand castle molds, plastic jewels, straws...


L enjoys building castles, searching for "treasures," making pretend cakes, and pretending her lil fairies and dinosaurs are walking on the moon. So much fun!!!


To store MOON DOUGH just put it in an air-tight container...any plastic container with a lid should work just fine...and keep it in a cool, dry place. Enjoy!!!

Saturday, January 17, 2015

Sensory Bottles, Sparkle Bottles, Glow-in-the-Dark Bottles, and an Ocean in a Bottle

We love SENSORY BOTTLES at Our Beautifully Messy House and have been experimenting with them for years! There are so many things to do with sensory bottles and sparkle bottles...some people use them as "time-out bottles" to help calm down their toddlers when they're having a meltdown. We like to play with our SPARKLE BOTTLES outside in the summertime, pulling them around in wagons, burying them in dirt...and inside in the play areas of our house. (Okay, I admit...that's every room of our house!) We take SENSORY BOTTLES with us on long car rides for simple, quiet entertainment. The kids love to bounce them around in the bathtub as well! The GLOW IN THE DARK BOTTLE is great for helping kids wind down at night and drift off to sleep. So much fun and so many possibilities!!!


I find the best, smoothest and cheapest bottles to use (esp. if you don't drink soda regularly and have a collection already) are the soda water bottles. Just look in the water or beverage aisle of your grocery store, seeking out the cheapest option...usually only $2-$3 for a pack of 6. Instead of dumping the soda water down the drain, entertain your kids with the fun "Raisins + Soda Water Experiment" while you're mixing up the SENSORY BOTTLES. 


SPARKLE BOTTLES
Materials needed:
-empty plastic bottle
-Elmer's glitter glue
-glitter, sequins, and/or beads
-water
-superglue 


First, put a small pot of water on to boil. When you add the water to the bottle you will want it to be hot, but not boiling. I like to bring the water to a boil, remove from heat and set aside for a few minutes to cool. 

Meanwhile, add the Elmer's glitter glue to the empty bottle...enough to fill the bottom inch or so of the bottle. Next, add some glitter, sequins and/or beads. 


When the water is ready, carefully pour it into the bottle as well. I like to use a measuring cup or a funnel to make this step easier. Once the bottle is filled, use superglue to secure the lid. Now it's time to shake, shake, shake!!! Shake the bottle for a few minutes, until all the glue melts into the hot water. You shouldn't see any globs or streaks of glue once the bottle is complete. While the bottle is warm, the glitter and sequins will fall very quickly to the bottom. Once it cools down completely over the next hour or two, the glitter will fall much slower. So relaxing... I'd like to put myself in "time-out" with one of these bottles, wouldn't you?


GLOW-IN-THE-DARK BOTTLES
Materials needed:
-empty plastic bottle
-Elmer's glitter glue
-glitter paint
-glow-in-the-dark paint
-glitter, sequins, and/or beads
-glow-in-the-dark stars
-water
-superglue


First, put a small pot of water on to boil. When you add the water to the bottle you will want it to be hot, but not boiling. I like to bring the water to a boil, remove from heat and set aside for a few minutes to cool. 

Meanwhile, add the Elmer's glitter glue to the empty bottle...enough to fill the bottom inch or so of the bottle. Next, add a squirt of glitter paint and a squirt of glow-in-the-dark paint. Add some glitter, sequins and/or beads. 


When the water is ready, carefully pour it into the bottle as well. I like to use a measuring cup or a funnel to make this step easier. Once the bottle is filled, screw the lid on tightly, but don't superglue it yet. Now it's time to shake, shake, shake!!! Shake the bottle for a few minutes, until all the glue melts into the hot water. You shouldn't see any globs or streaks of glue once the bottle is complete. The bottle will be a milky color compared to the SPARKLE BOTTLES because of the glow-in-the-dark paints. Once the bottle is shaken and cooled a bit, add the glow-in-the-dark stars and superglue the lid in place. I guarantee your little one will be excited to go to bed tonight with a GLOW-IN-THE-DARK BOTTLE in hand!!! 


OCEAN IN A BOTTLE
Materials needed:
-empty plastic bottle
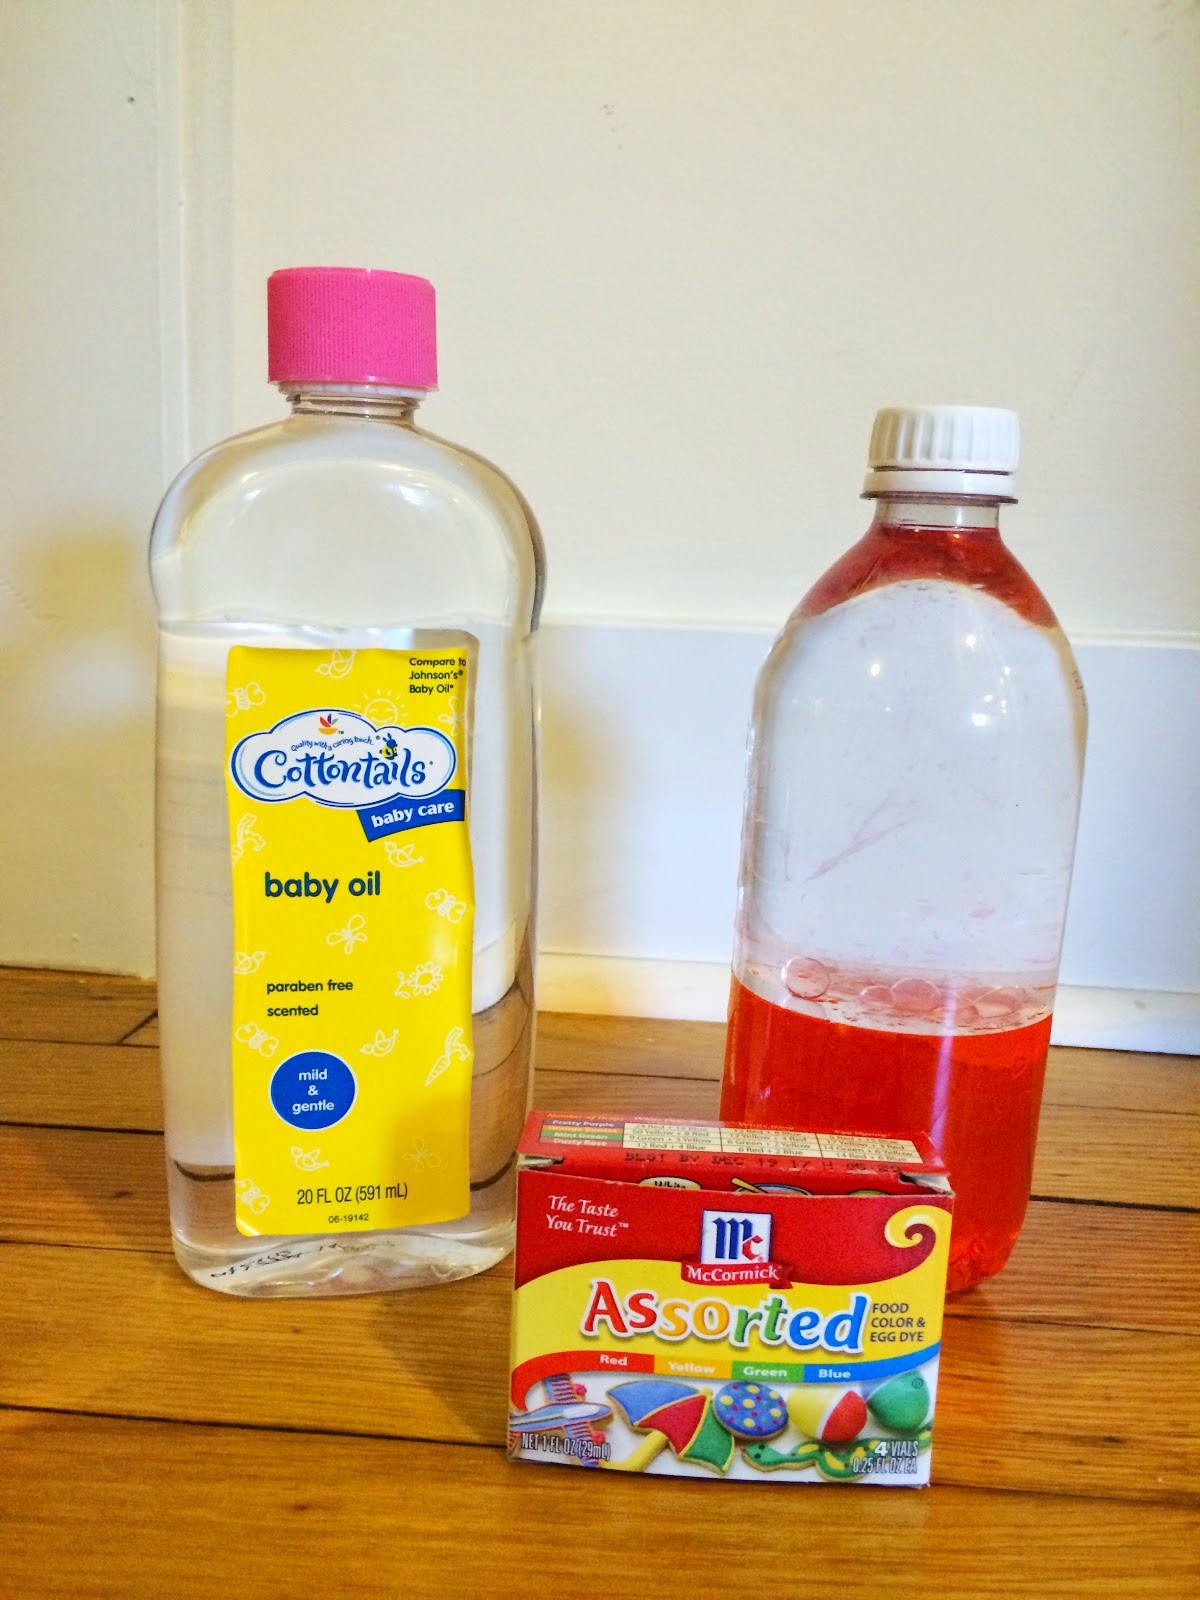
-oil (vegetable oil or baby oil)
-water
-food coloring
-superglue


First, fill the bottle about 1/3 of the way full with water. Add a few drops of food coloring and screw the lid on tight. Shake the bottle a bit until the food coloring is evenly dispersed throughout the water. Next, fill the bottle the rest of the way with oil...using a funnel is best. Superglue the lid onto the bottle. Complete! 


Have fun swishing the bottle from side to side or shaking it all up, just to watch the bubbles of oil pop while the water settles at the bottom and the oil at the top. This is a great time to talk to your kids about the density of liquids as well! It may be a bit over their heads if they're really young, but you'll be surprised at what they will comprehend and remember! Basically, the water weighs more (has a higher density) thank the oil and will sink below it in the bottle, no matter how much you shake your OCEAN IN A BOTTLE and attempt to mix the two together. So cool!!!

Friday, January 16, 2015

Sprinkle Star Sugar Cookies (GF)

The "DIY Planetarium for Kids" we built under our dining room table this week inspired these SPRINKLE STAR SUGAR COOKIES. (Since we use gluten free flour in everything we bake around here, these too are gluten free!!!) 


I browsed around on the internet looking at other sugar cookie recipes and found a few recipes for "Sprinkle Cookies." I adapted the recipes to what we had on hand and...Voila! SPRINKLE STAR SUGAR COOKIES!!! 


These really are the quickest sugar cookies I've ever made...no refrigeration necessary before baking! And aren't they adorable??? All those lil stars and mini-sprinkles... So yummy! So colorful! So much fun! 


Ingredients:
1 1/2 cups flour
1 tsp cream of tartar
1 tsp baking powder
1/2 tsp baking soda
1/4 tsp salt
1/2 cup (1 stick) unsalted butter, room temperature
3/4 cup granulated sugar
1 egg
1-2 tsp vanilla extract
1 (1.25 oz) jar of Star sprinkles
1/3 - 1/2 jar mini-rainbow sprinkles

Preheat oven to 350 degrees F. Line two baking sheets with parchment paper.

In a medium bowl, mix together flour, cream of tartar, baking powder, baking soda, and salt.

In a med-large bowl, beat butter and sugar together with an electric mixer until light and fluffy. (It's important that your butter is at room temperature, nice and soft.) Add egg and vanilla, mix until combined. Next, add flour mixture 1/2 cup at a time, mixing until the dough is well-combined. 

Add the stars and rainbow sprinkles. Mix, using a large spoon or spatula, until the sprinkles are evenly distributed. 

Place tablespoon-sized balls of dough on cookie sheet. Make sure you leave about 1 inch on each side for spreading. 

Bake for 8 minutes. The cookies will not brown and are still soft coming out of the oven, but as they cool they will harden. Let cool for about 5 min on the tray before moving to a wire rack to cool completely. 


Yumm!!!! See any constellations in your cookies???

GF Strawberry Jam Scones

This quick, easy, absolutely delectable, melt-in-your-mouth recipe for GF STRAWBERRY JAM SCONES is adapted from Parents' "Jammy Scones." One of the best things about them is you probably already have all the ingredients in your cupboard! L and I whipped up these GF STRAWBERRY JAM SCONES one afternoon while WB took a nap. It was our first time making scones and was a big success!!! 


It's hard not to devour them all hot out of the oven! I had to hurry up and take a picture before they were gone! GF STRAWBERRY JAM SCONES are such a yummy breakfast on these chilly, winter mornings. If you make them the day before, just pop them in the oven for a minute or two to warm them up! Add a cup of coffee or tea...pure heaven!!!


Ingredients:
2 cups flour (I use Arrowhead Mills GF flour) 
3 Tbsp. sugar
2 tsp baking powder
1/2 tsp salt
1/2 cup (1 stick) butter, cold
1 egg
1/2 cup milk
1/4 - 1/3 cup strawberry jam
egg wash (1 egg whisked with 1 1/2 tsp milk)

Heat oven to 400 degrees F. Line a cookie sheet with parchment paper.

In a med-large bowl mix together the flour, sugar, baking powder, and salt. Cut the butter into small cubes and add it to the flour mixture. Using your hands, mix, squeeze and crumble the mixture together until it's crumbly.

In a small bowl, whisk together the egg and milk. Add the egg and milk to the flour mixture. Stir with a fork until evenly moist and the dough comes together.

Next, pour the mixture out on a floured surface and with flour on your hands, knead dough together. Separate the dough in half. Roll each half into a ball and then press flat with your hands. Makes about a 7 or 8-inch disk. 

Transfer one disk to the cookie sheet. Spread the strawberry jam over the disk leaving a half-inch border. Lay the second disk on top of the first and pinch around the edges to seal them. 

Carefully, cut the dough into 8 equal wedges and spread them apart a bit on the tray. Leave about 1 inch of space between the scones. Brush the tops with the egg wash. If you don't have a brush, use a spoon to gently spread the egg wash around. If you want a little heart on top of each scone, gently press a mini-cookie cutter about 1/4-inch deep on top of each scone. So cute!!!

Bake in the oven for 10-15 minutes, until the scones are gently browned. (Better brew some coffee or tea while you're waiting!) Let cool for a few minutes on the cookie sheet before moving them to a wire rack to cool completely. 


This is when you think you'll just take a teeny tiny taste of one and before you know it an entire STRAWBERRY JAM SCONE has disappeared! Good thing you had some coffee or tea ready to complete the moment! Enjoy!!! 

Wednesday, January 14, 2015

DIY Heart Wreath

I'm so glad I dreamt this HEART WREATH up last night...it's that time of year when your Christmas wreath needs to come down off the front door, but it's not quite time for your Spring wreath to go up. This HEART WREATH is cute, simple, sweet and perfect to get us through the months of January and February! 


Materials needed:
-wire coat hanger
-fabric scraps
-scissors
-pliers
-ribbon


First, untwist the coat hanger apart. It's easiest to do this part with your hands, holding the top of the hanger in one hand and untwisting it from below with the other. 


Once the hanger comes apart, try to smooth out some of the bends. Gently fold the hanger in half as well.


Next, bend the hanger into a heart shape, looping the ends together with the pliers. It's okay if your heart isn't perfect...the fabric scraps will hide any blemishes. 


Once you are satisfied with your wire heart, it's time to cut some fabric strips. Each strip should be about 1-1.5 inches wide and 5-7 inches long. They do not all have to be the exact same length!


Now to assemble your wreath...simply knot the fabric strips around the wire. Pull each knot taut and, every once in a while, push the knots down so you can squeeze on as many fabric strips as possible.


If the fabric you're using is blank on the underside, simply fold it in half before knotting.


Once your heart wreath is made, use a ribbon to hang it on your front door! So sweet!!! 


This wreath would also be beautiful hanging inside in a kitchen window or on a wall! Enjoy!!! Happy Valentine's Day!

Sunday, January 11, 2015

Winter Shelter for Strays

Though we don't own any furry pets ourselves, our neighborhood seems to have its own little cat community. On any given day we may have up to 5 or 6 cats playing in our yard, hiding under our front porch or napping beneath our Little Free Library. Some of the cats have collars and tags, though quite a few do not. With the temperatures dropping well below freezing, L and I decided to make a warm place for our kitty friends to rest. 


Materials needed:
-styrofoam cooler (found at your local grocery store)
-knife
-paints (optional)
-old towels or bedding
-tape

First, remove the lid and turn the cooler over. Using a knife, cut a small doorway for the cats to go in and out. Next, paint the cooler whatever snazzy way you like! 


Once the paint is dry, fold up some old towels or bedding (we cut up an old mattress pad) and place it inside the lid. 


Put the cooler on top of the lid and tape it in place. 


(My friend Helen takes this project a step further...she places the styrofoam cooler inside a plastic rubbermaid-like box with a hole cut out and layers hay in between! Extra warm and cozy!)

Now for the final step, find a safe place near your home to put your WINTER SHELTER FOR STRAYS, preferably up against a building and out of the wind. 


We put our Winter Shelter in our backyard where we often see cats passing through and, an extra bonus, we can see the shelter from our kitchen window. I know L will be watching for her feline friends first thing every morning! She was so proud today knowing she was helping others! 

Friday, January 9, 2015

Giant Ice Marbles

How cool are these GIANT ICE MARBLES!? I'd seen pictures of something similar before, but never a "how-to" on making them. Figuring it couldn't be too hard to do, we gave it a try! There is definitely a list of things not to do we quickly found out. Haha! Hopefully I can help you avoid such mistakes! These GIANT ICE MARBLES are just beautiful in the snow!


Materials needed:
-regular sized balloons
-food coloring
-warm water
-below freezing temps

First, put 5-10 drops of food coloring in a balloon. Next, fill with warm water and tie off with a knot. Do not try putting food coloring in last...your hands may become dyed blue for a day or two if you do. Make sure to use warm water instead of cold...it helps the coloring spread evenly around the entire balloon. If you fill the balloon to only mid-capacity it will help make the marble round as a ball. Before tying the knot, very carefully let any air residing just above the water line out of the balloon...simply do this by loosening your grip on the mouth of the balloon until a bit of water starts to leak out. 


Now, it's time to put the balloon outside. Placing the balloon partially on its side (like the balloon pictured on the far right) and in snow is best...helps it keep a nice round shape rather than flattening out. 


Leave the water-filled balloon outside in below freezing temps for 36 to 48 hours. Even if the temperature is in the single digits, one night is not enough for the entire balloon to freeze. As you can see with this one, the water in the center will flow right out. 


Finally, after the water is completely frozen, cut and remove the balloon from your GIANT ICE MARBLE. Beautiful!!!