I love finding new uses for old things and I'll take any excuse to peruse an antique store, so making these wind chimes was the perfect project for L and me! Like most of our home decor projects, L couldn't help with everything, but I let her help where she could...she painted all the keys and picked out all the buttons we used. Your wind chime doesn't have to include everything ours does, but hopefully it inspires you to make one with things you do have around the house!


Materials for Wind Chime #1:
-antique cheese grater
-old buttons
-keys
-an old prism
-sturdy thread or cord
-acrylic paint
-glossy sealant spray
Materials for Wind Chime #2:
-antique, silver candy dish
-old buttons
-keys
-an old prism
-sturdy thread or cord
-acrylic paint
-glossy sealant spray
For Wind Chime #1, which we made for my younger brother, I painted an old cheese grater that I had found at an antique store. While I painted the cheese grater, L painted a bunch of old keys. Once the keys dried, we turned them over and painted the other side different colors. After both sides were painted and dried, I sprayed the keys and the cheese grater with a glossy sealant. It gives the items a more finished look and will help them stand up to the weather a little better too.


First, figure out how you'd like your wind chime to hang...for instance Wind Chime #1 was hung on a slight angle, so the painting was visible. Wind Chime #2 was an antique candy dish hung upside-down. Hang the wind chime between two chairs while you work on it. This makes fastening all your keys and buttons soooo much easier!

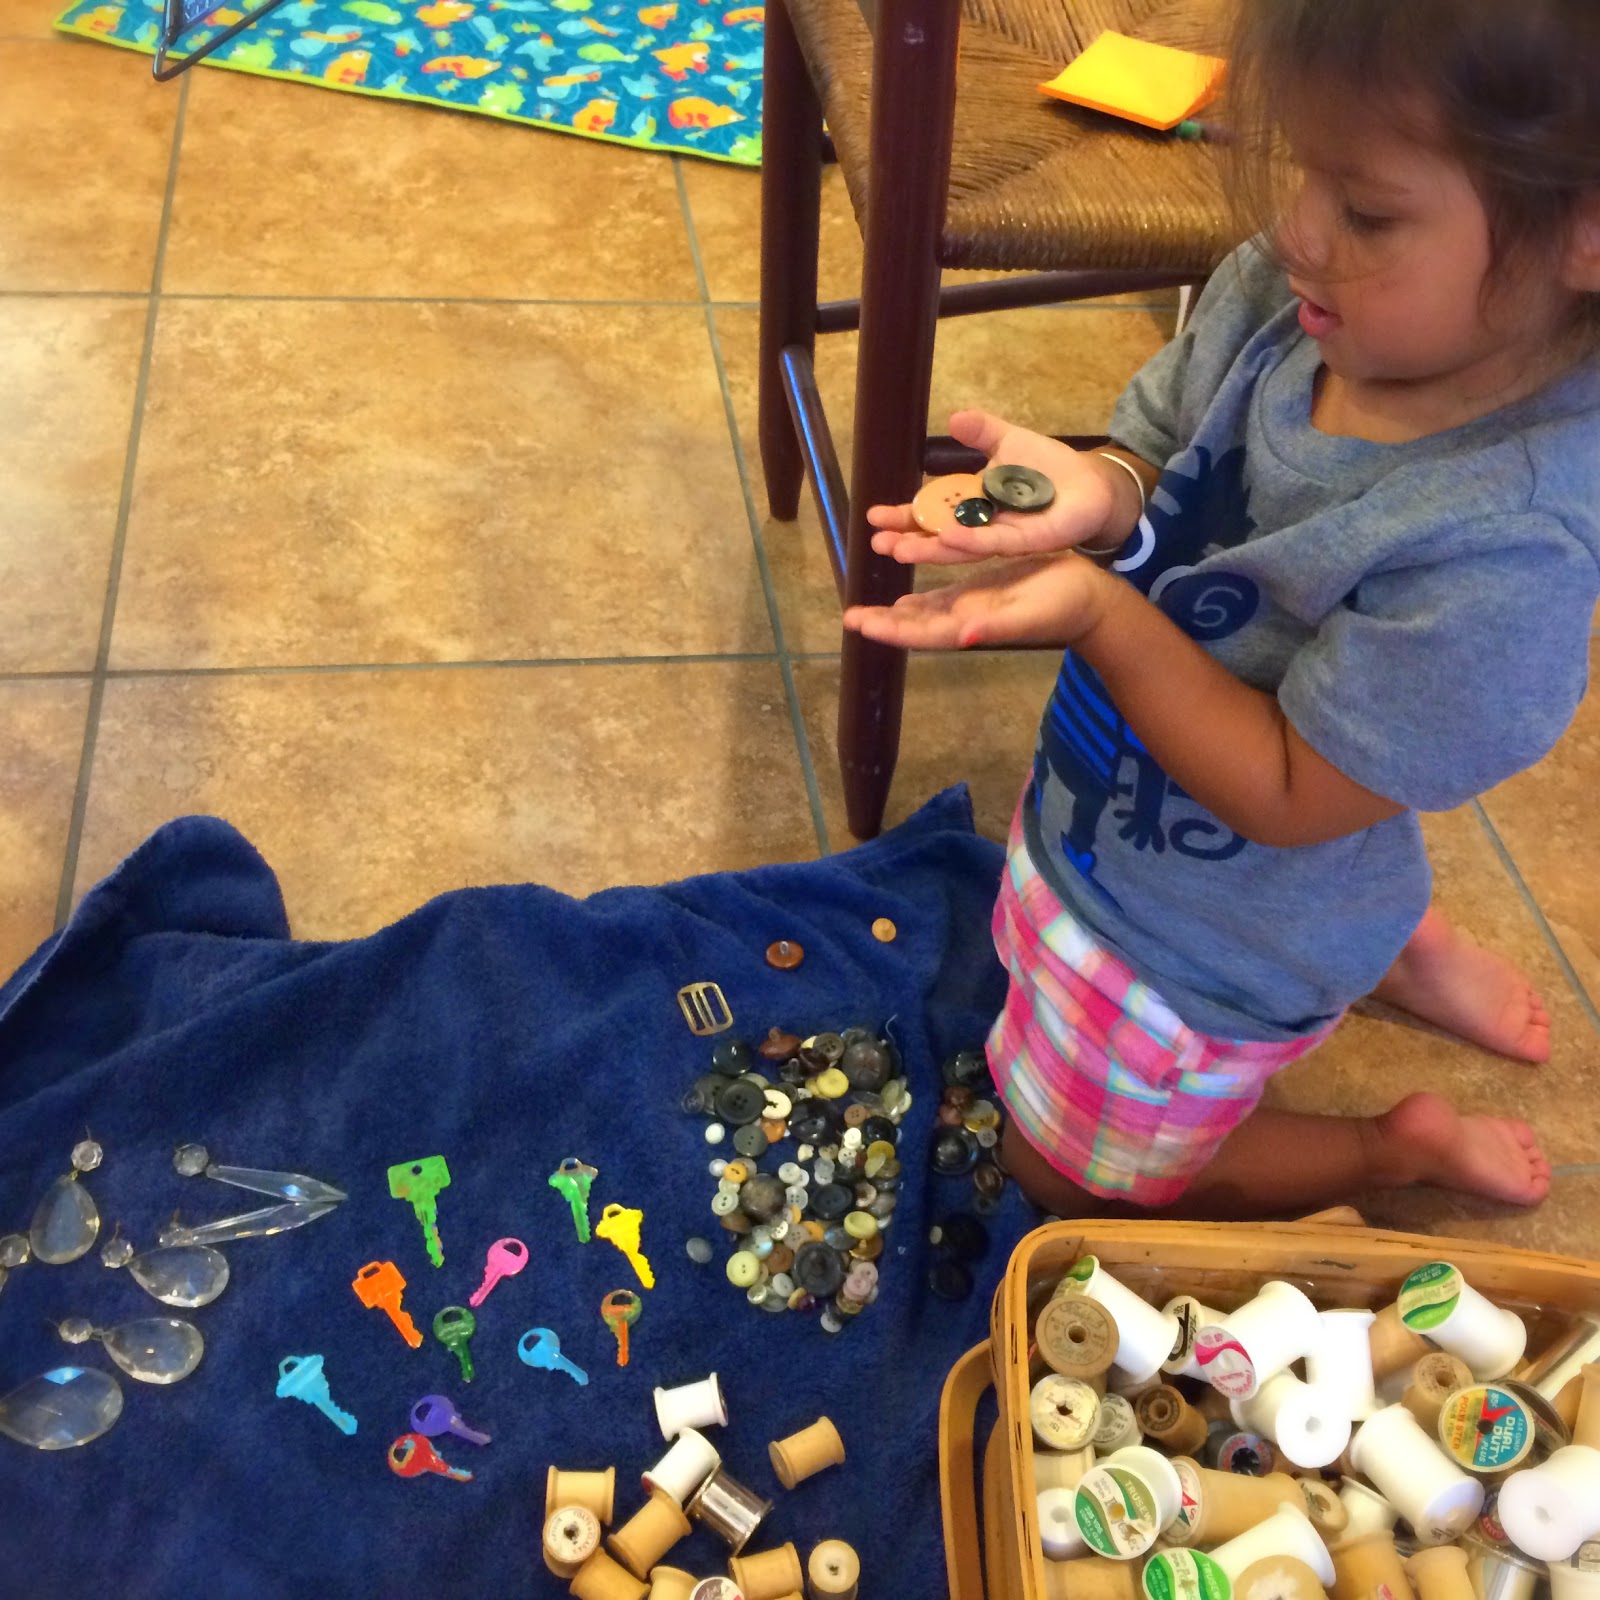
To assemble the wind chime, we first laid out all the materials we had on hand...buttons, keys, old thread spools, and prisms. From here we decided what we wanted the wind chime to look like and started piecing it all together. It's a great opportunity to talk about patterns with your little ones!

After everything was strung-up and fastened the way we liked it, I put a spot of crazy-glue on each knot and cut the extra strings. Now for the fun part...ready to wrap it up and give it away as a gift or find the perfect spot for your wind chime to hang! What will your wind chime look like?


No comments:
Post a Comment